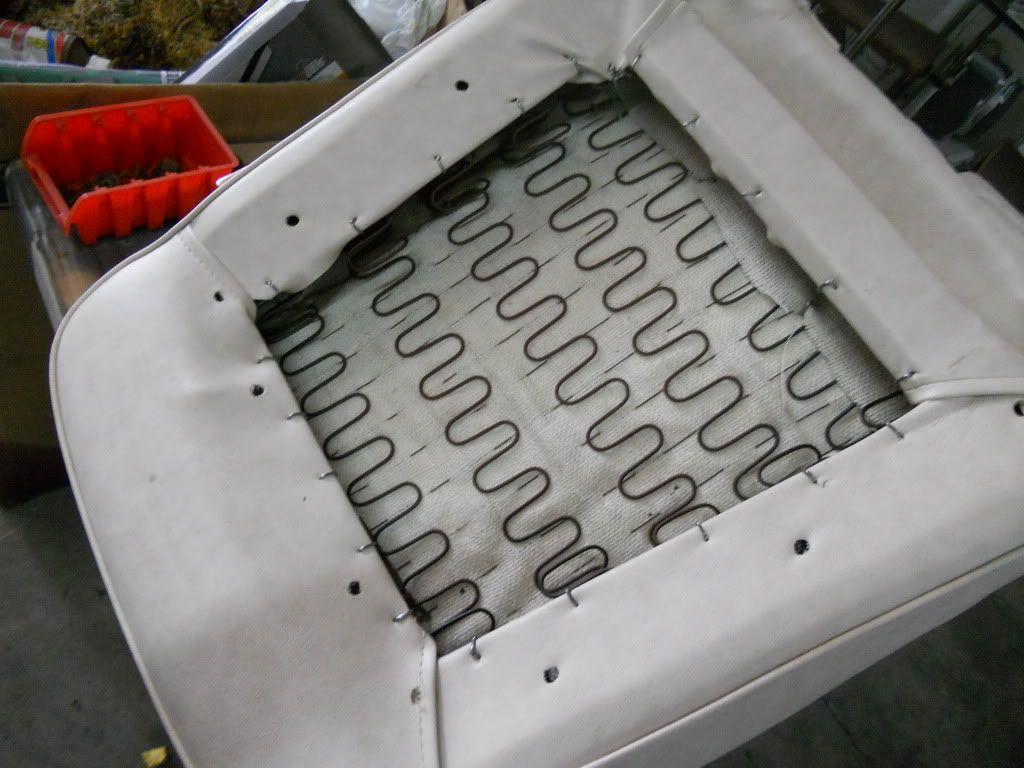
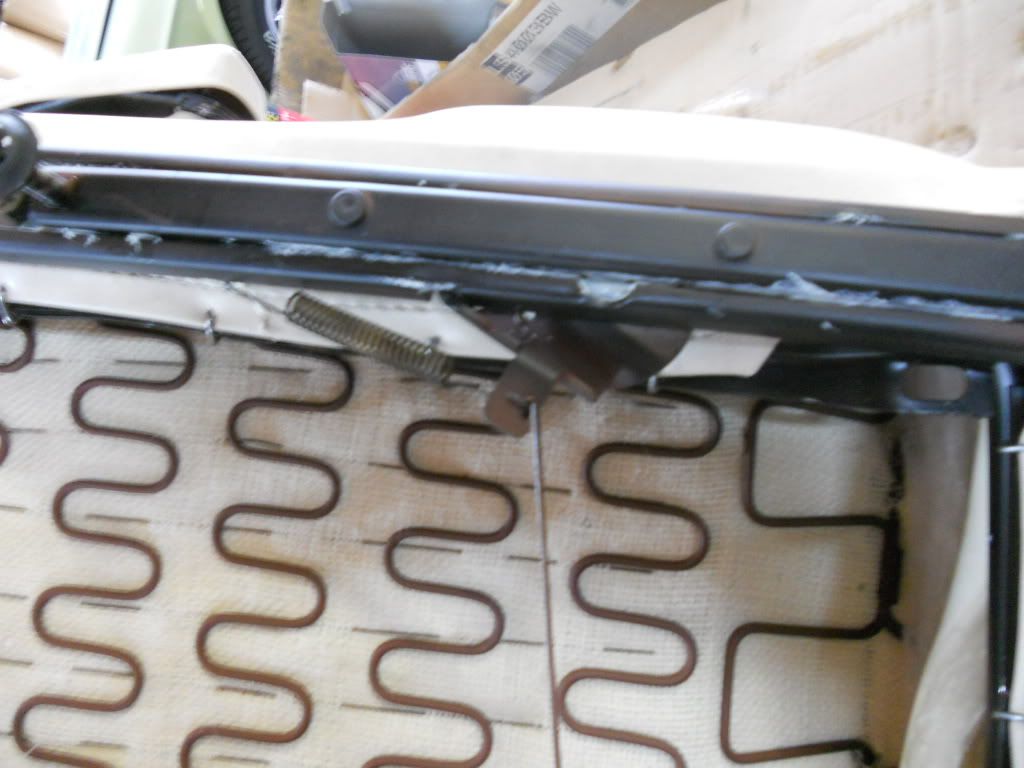
Been slowly chipping away at the old girl with a bad back but making progress. Left the seat base in the sun for almost a day before I pulled out all the temporary hogg rings and gave it the best I had. I managed to get it pretty tight but one corner (underneath) isn’t the way I wanted it but your not going to see that…still pi55es me off though.

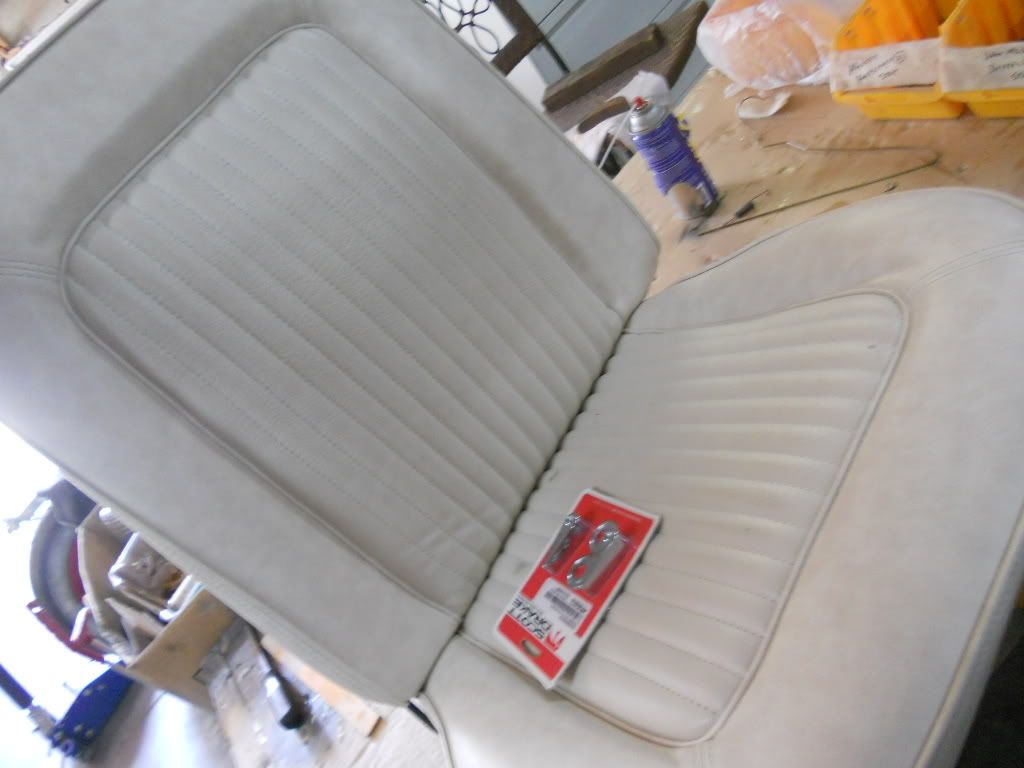
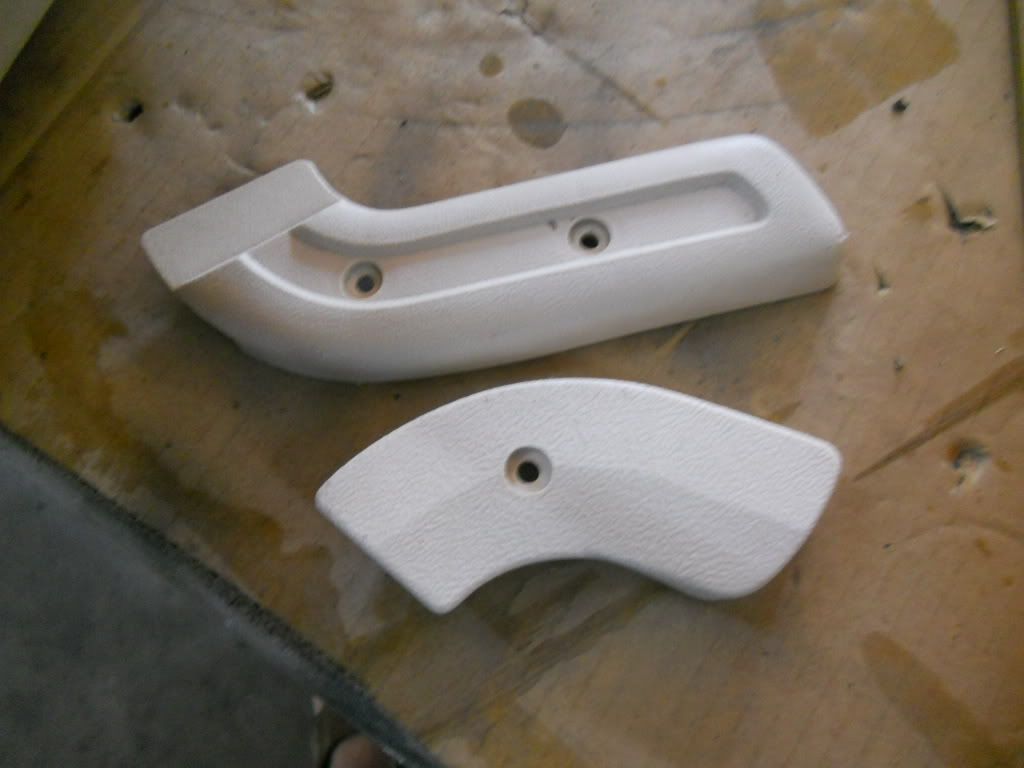
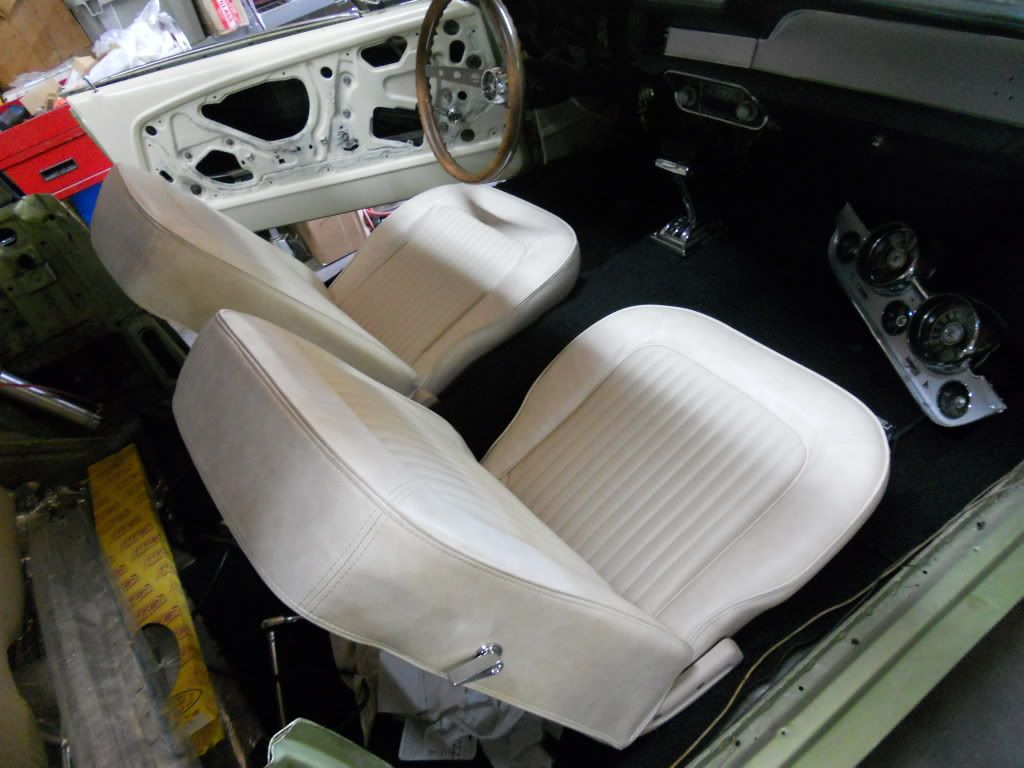
Bolted the seat back together, centre punched the holes in the back, fitted the back seat panel and gave the plastic covers a clean with some thinners and a small brass wire brush to get some old overspray off and out of the grain. They came up practically new. Fitted them then threw on the seat tracks…..lubed them up with a tonne of white spray lithium grease and through it in the front of the car. All bolted up and the car looked sensational.

I had to take out the whole back seat and side panels as the rear windows were being a pain in the ar5e. Spent close to 4 hours on the F@#KING things and gave up. Ended up taking the whole thing out twice. Cut the back of my hands up…extremely frustrating…..Its now a job for Monday.
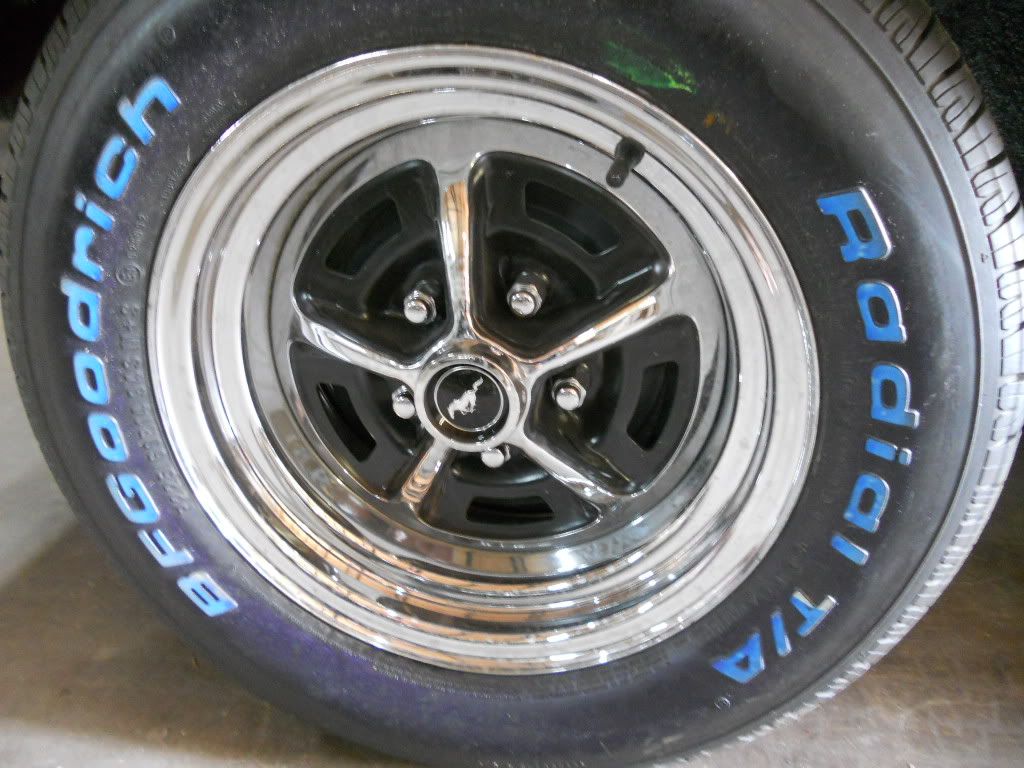
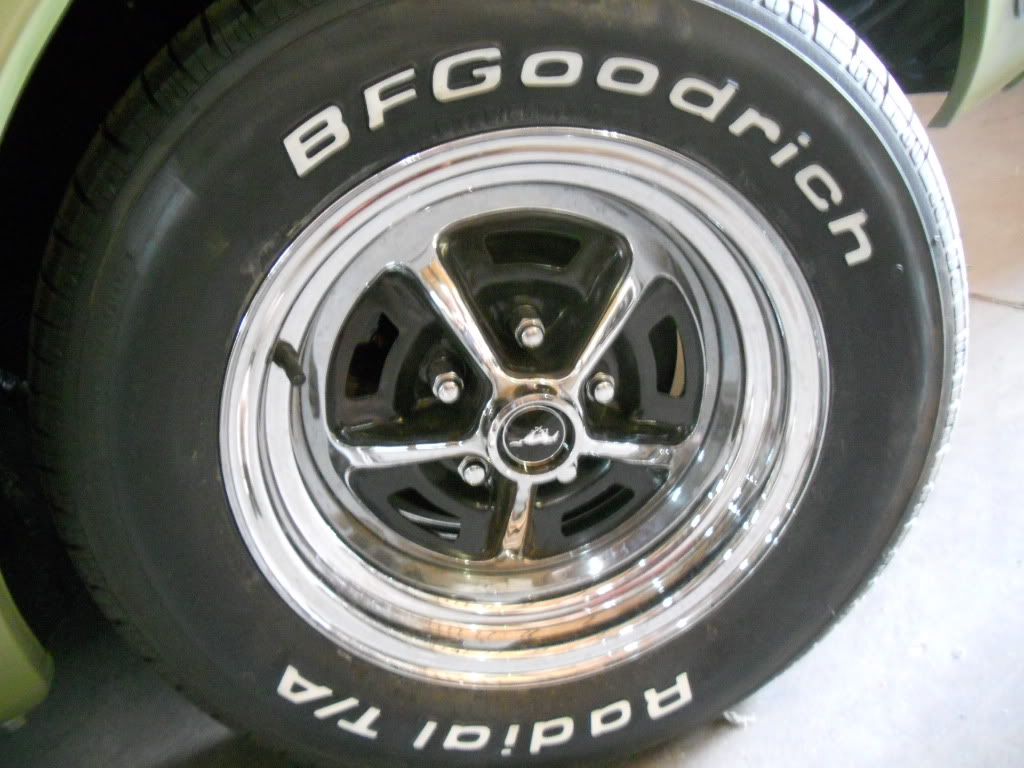
Took Justang’s advice and cleaned all the blue wax off the tyres using carb cleaner. The stuff works a treat. Allthough I started by just cleaning the letters then when I stood back I realized it was over the entire tyre so I had to clean the entire thing then come back to the letters and give them a separate wipe to get a crisp white letter again. When you clean the whole tyre it also spreads black over the lettering….Thanks for the tip Justin
Ran all the new wiring for the turn signals in the hood and chased down some new flanged nuts to bolt the vents down only to find that that ballbag painter didn’t paint the edges properly so I have to unbolt them and respray them.
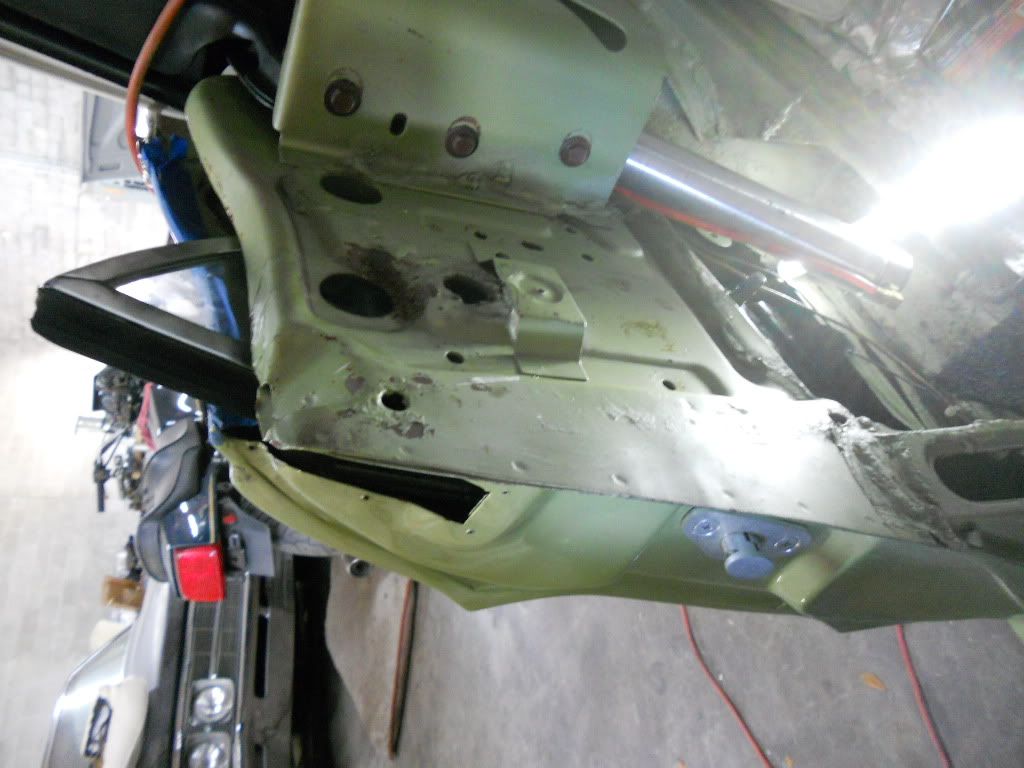
Fitted the 1 piece cross brace from the firewall to the shock towers….god I hate doing them but this one practically fell into place. A little bit of tweaking and had to jack the car from the centre brace to take the weight of the shock towers as normal but over all I managed to do it just under an hour.
Sherm finally dropped off my long awaited GT badge for the fuel cap. Went to put it on thinking it would be a 2 second job only to realize I had to break down the entire cap again (door only) just to fit it. I go to put on the press washers on only to find they don’t even fit….2 second job turns into 30 minutes….Welcome to the world of restoration.
So…it gets better. I get the new badge that goes on the brushed alloy part above the dash. The 3M tape is double sided and you need to peel both sides before you apply it. Fair enough. Bit a dinkin around and finally get the tape on the back of the badge ready to go on. I fit it perfectly and as soon as I sit back and look at it…it clicks to me…..I hadn’t taken the protective plastic of the brushed alloy.
I managed to get the badge off and peel some of the protective plastic off so I could fit the badge. All good now
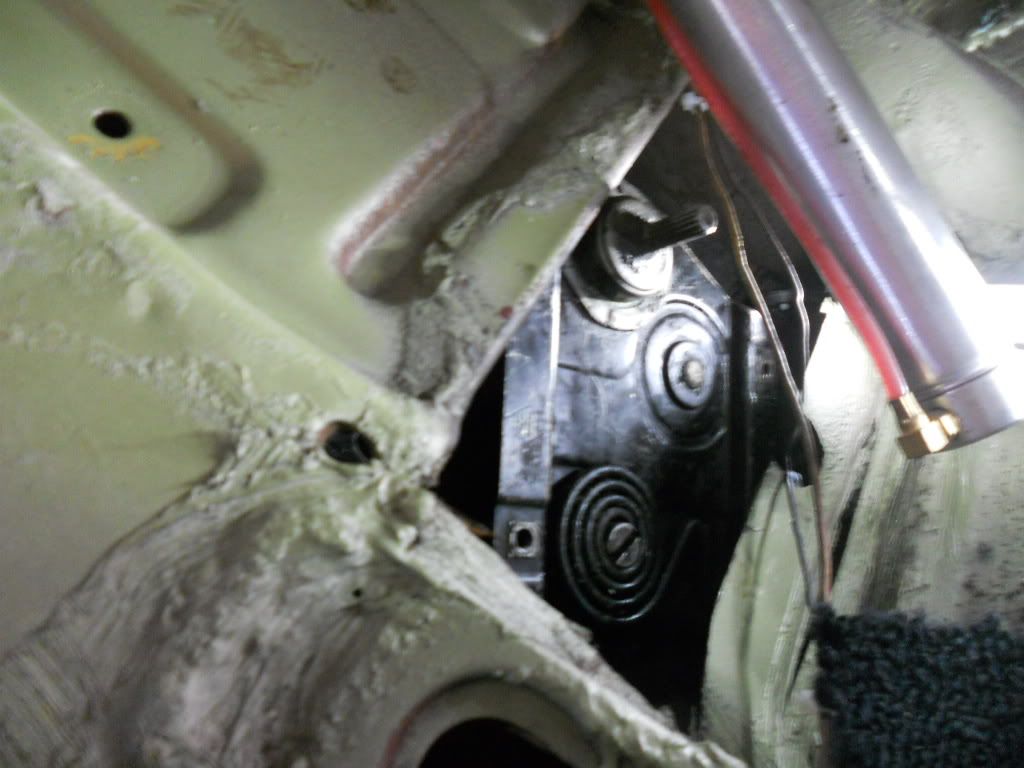
Had been waiting for a power steering bracket that John had ordered on ebay a while back and had been sitting on his shelf for some time, so seeing as I was having no luck with thso FN rear windows and my back wasn’t on its way just yet, I figured I would hook up all the power steering and fit the pump.
Managed to get all the brackets in the right place only to give the pump a quick spin and it was grabbing in some spots….So that shi7 canned that idea. Last thing I want is the power steering giving us grief so I had a chat to Sherm and for a whole $65 I could put a brand new one on. (hope you don’t mind John)
Started on the side badges and didn’t have the measurements handy so I thought I would go on the forum and ask if someone could do the measurements on a GT side badge but as soon as I got to the computer I realized all you buggers were in bed and they’ve now got this thing called “GOOGLEâ€â€¦very handy as I managed to find this site with exactly what I needed. Thought I would throw it up incase anyone else need 65-70 badge measurements but I need this link on Monday anyway as I haven’t done it yet.
http://www.mustangmonthly.com/howto/287 ... ering.html
Sherm at Sunstate is going to give a hand on Monday/Tuesday to get the rear windows sorted and help me with the front window alignment. Once that’s done I could button up the entire interior.