Page 18 of 21
Re: Finally - the Bullitt begins! :-)
Posted: Thu Dec 26, 2019 8:02 pm
by Ausjacko
Some great progress there. Thanks for sharing
Re: Finally - the Bullitt begins! :-)
Posted: Thu Dec 26, 2019 8:06 pm
by mungus
“Should be plenty of room. I do them regularly. Because our rego nazi's want rh mirrors”
Yes they fit easily. Don’t have any 10-24 rivnuts, only metric, so I’ve just ordered a mandrel and some nuts. But yup, there’s plenty of room.
A pain about the ACT regs. It must be an ACT thing as the ADR 14 and its amendments clearly state no RHS mirror is required for any car made before the 1st of January 1972. (the first round of ADR's) So I'll check the RH mirror requirements for VIC sometime.
UPDATE: So I checked the Vic Regs. reg 35 (clause 2) states;
"At least 1 rear vision mirror must be fitted to—
(a) a car; and
(b) a motor trike with 2 front wheels; and
(c) a motor cycle, or motor trike with 1 front wheel, built
before July 1975.
The side mirror requirements are covered thus;
(4) A motor vehicle with a GVM not over 3⋅5 tonnes (except a
motor vehicle mentioned in sub-clause (2) or (3)) must be
fitted with—
(a) at least 1 rear vision mirror on the right side of the
vehicle; and
(b) at least 1 rear vision mirror on the left side of the
vehicle or inside the vehicle.
(BTW theres also a LHD statement swapping LH for RH mirror requirements - makes sense).
The actual VICROADS users type doc has a simpler interpretation:
"Rear Vision Mirror - All motor vehicles must be fitted with a rear vision mirror capable of providing a clear view to the rear of the vehicle from the normal driving position. Any vehicle designed primarily for the carriage of goods or any vehicle subject to internal rear vision obstruction must be fitted with external rear vision mirrors on both sides of the vehicle."
So in my view, that would require a passenger car, not carrying goods etc, to require only ONE rear vision mirror.
I’m hoping I can find a decent RWC tester when I finally get it on the road in VIC. Some garages seem pretty ignorant about the classic car regulations, and often that is accompanied by a know-it-all attitude.
Pre JAN 69’ ADR regs are pretty basic, I checked them for removing the reversing lights holes. (I’m fitting a pair of little weatherproof LED flood lights hidden under the rear valance anyway, coz I like seeing where I’m going...).
Re: Finally - the Bullitt begins! :-)
Posted: Thu Dec 26, 2019 10:03 pm
by Nuts
ACT inspectors have a history of making up their own rules. You should be ok.
Re: Finally - the Bullitt begins! :-)
Posted: Fri Dec 27, 2019 2:28 am
by mungus
Sounds like some CASA inspectors I've known, who envoke the clause; "to the satisfaction of the director". Allows them to make their own interpretations with little accountability. Annoying if you get someone with an agenda. To be fair most are OK...
Re: Finally - the Bullitt begins! :-)
Posted: Sun Dec 29, 2019 4:14 am
by mungus
Ausjacko wrote:Some great progress there. Thanks for sharing[/quote
Thanks Jacko, hopefully one day it will look as good as yours. Always liked red...
Re: Finally - the Bullitt begins! :-)
Posted: Mon Dec 30, 2019 9:13 am
by mungus
Well it was 40C in the barn today, so too hot to paint so I decided to swap out all the trim brackets in the back. I bought a Dynacorn interior bracket kit a few years back but only used a couple of them for the fold down deck etc. But as is probably usual, all the internal trim brackets were drilled in funny places, or bent, so I’ve replaced them all. Some had never even had all their holes drilled by the factory in 68’. All sorted now.
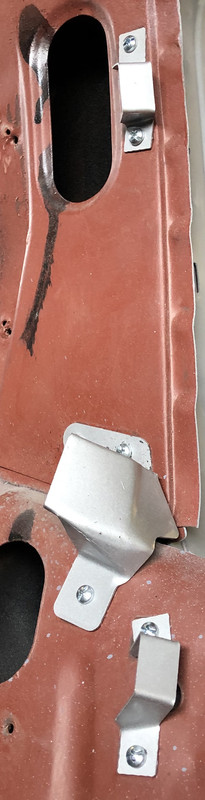
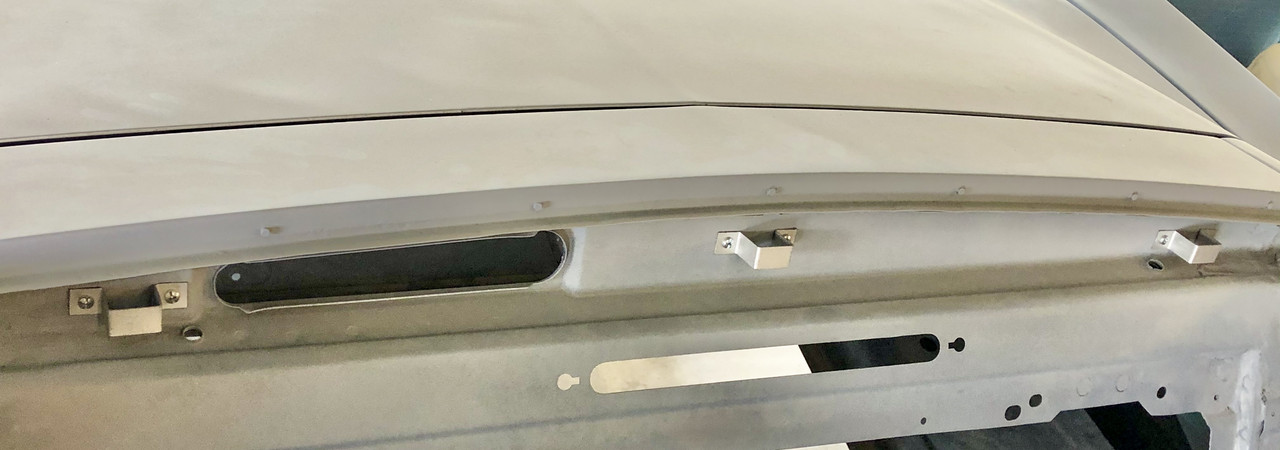
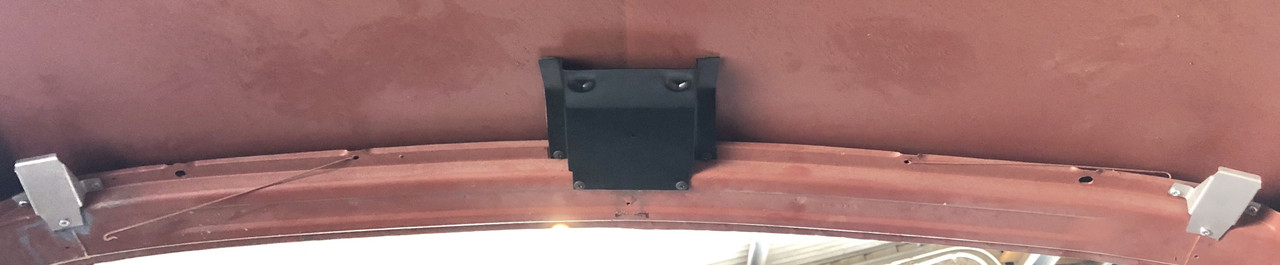
The other thing I did was fit the brackets for my new overhead console.
While I had that on the bench I thought I’d apply the wood insert (sticker).
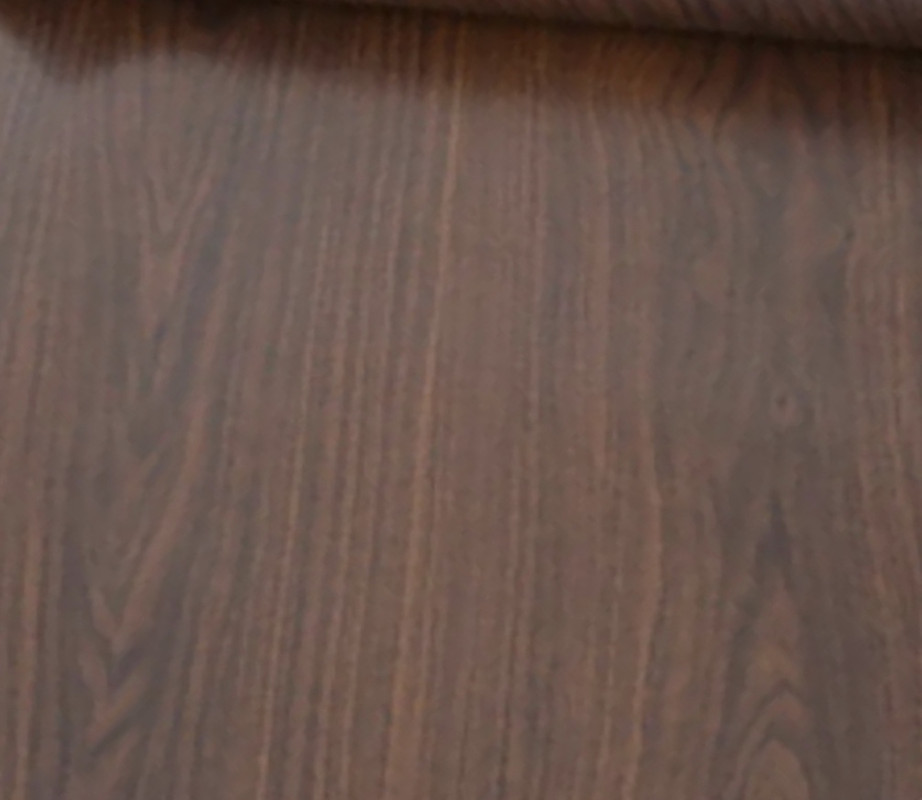
WTF? The damn sticker had shrunk! It was about 6mm too short (and the same amount shorter than the backing paper. GRRR. The local price or even the price ex eBay USA is nuts, (cheapest was CJ's @ $25 USD + postage, some as high as $90 AUD delivered...) so I had a thought. Using the shrunken decal's backing paper as a stencil, I can use some woodgrain PVC wallpaper (and I've checked from the backing paper's details, and that’s all the OEM repro stuff is). There is one commonly called brown oak (below) that looks similar, so I’ll get some and report back.
Here’s the SCOTT DRAKE sticker;

Here’s some off the PVC wallpaper:
Re: Finally - the Bullitt begins! :-)
Posted: Mon Dec 30, 2019 11:37 am
by hybrid
Looks good to me... have at it, I say.
Re: Finally - the Bullitt begins! :-)
Posted: Mon Dec 30, 2019 7:08 pm
by Nuts
No one but you will know it's not a genuine Scott Fake item

!!
Re: Finally - the Bullitt begins! :-)
Posted: Mon Dec 30, 2019 10:16 pm
by mungus
Nuts wrote:No one but you will know it's not a genuine Scott Fake item
!!
Indeed!

Anyway it’s been ordered. $14 inc postage for a 2m roll that’s 60 cm wide. So enough for 10 attempts. (OEM is 724 x 115mm at the wide end). I’ll post up a photo of the 2 pieces side by side and the finished console when done.
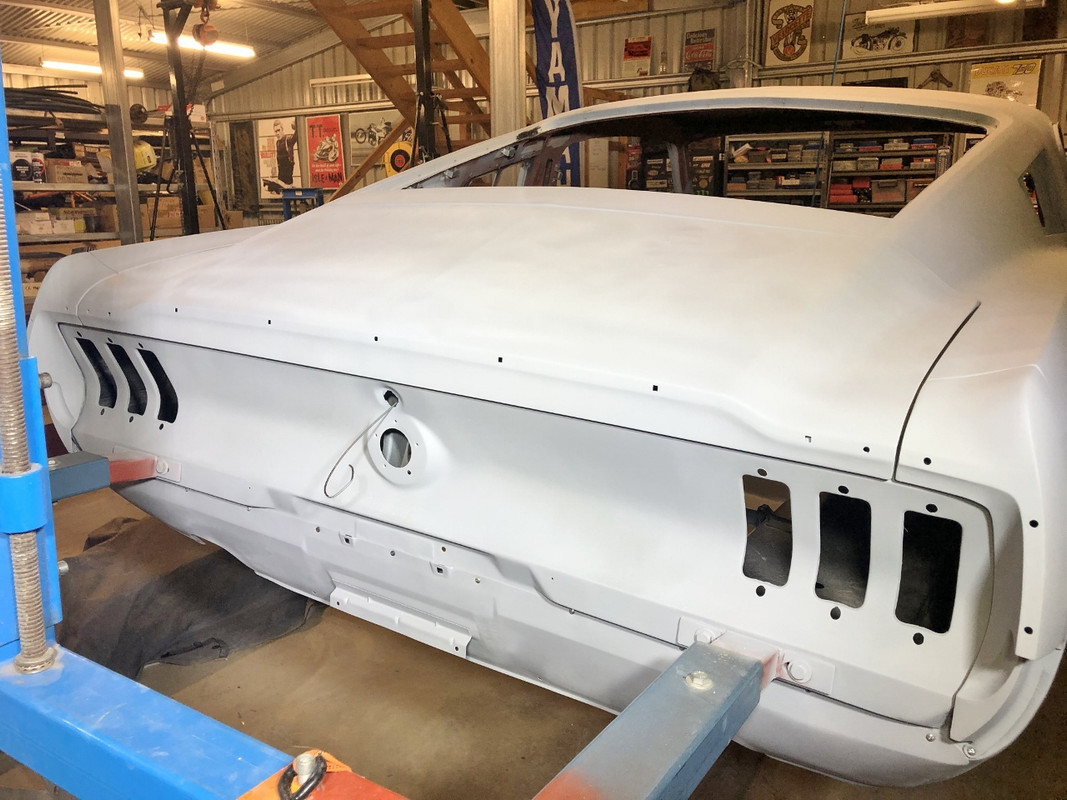
Next thing is filling in all the M U S T A N G badge holes on the trunk lid.
Re: Finally - the Bullitt begins! :-)
Posted: Tue Dec 31, 2019 12:23 am
by ozbilt
mungus wrote:
Next thing is filling in all the M U S T A N G badge holes on the trunk lid.
Solder the holes using a pointed soldering iron. Don't weld them.
Countersink the holes slightly, tin the holes, solder them up, file off the raised solder and paint.
Re: Finally - the Bullitt begins! :-)
Posted: Tue Dec 31, 2019 12:33 am
by mungus
Thanks Kerry, indeed thats the plan.
I didn’t fancy MIGing them in case someone wants to de-Bullitt it one day. As it seems numbers correct 68’ GT390 fastbacks are becoming desirable...
Re: Finally - the Bullitt begins! :-)
Posted: Tue Dec 31, 2019 1:55 am
by ozbilt
mungus wrote:Thanks Kerry, indeed thats the plan.
I didn’t fancy MIGing them in case someone wants to de-Bullitt it one day. As it seems numbers correct 68’ GT390 fastbacks seem to be becoming desirable...

Re: Finally - the Bullitt begins! :-)
Posted: Tue Dec 31, 2019 6:19 am
by mungus
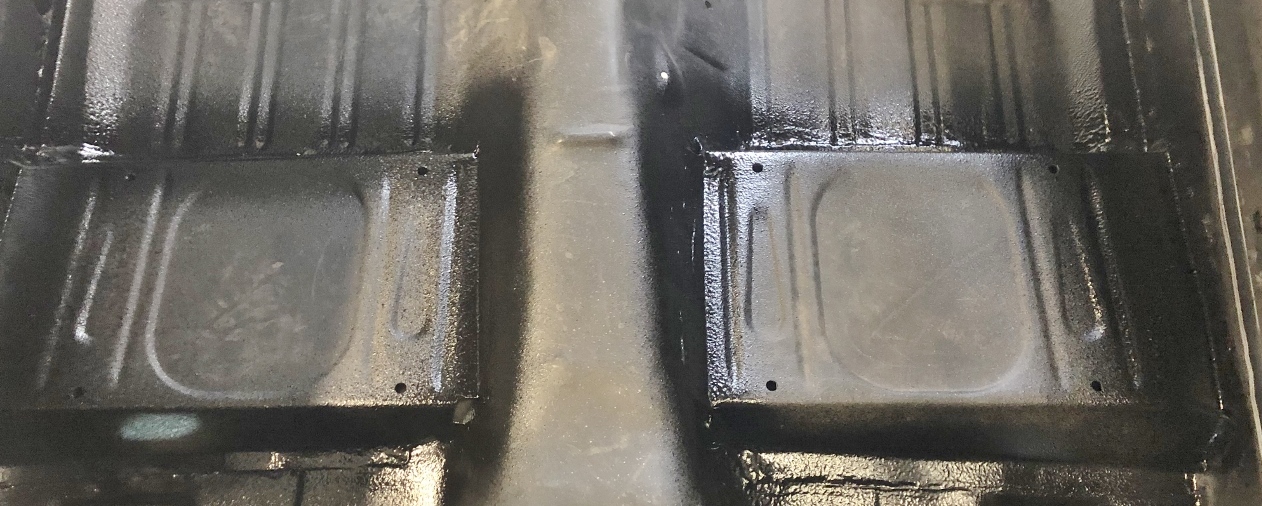
Done! One less thing. Had to wait until about 19:30 as once again it was too hot to paint etc.
Re: Finally - the Bullitt begins! :-)
Posted: Wed Jan 01, 2020 5:27 am
by mungus
Re: Finally - the Bullitt begins! :-)
Posted: Tue Jan 07, 2020 4:18 am
by mungus
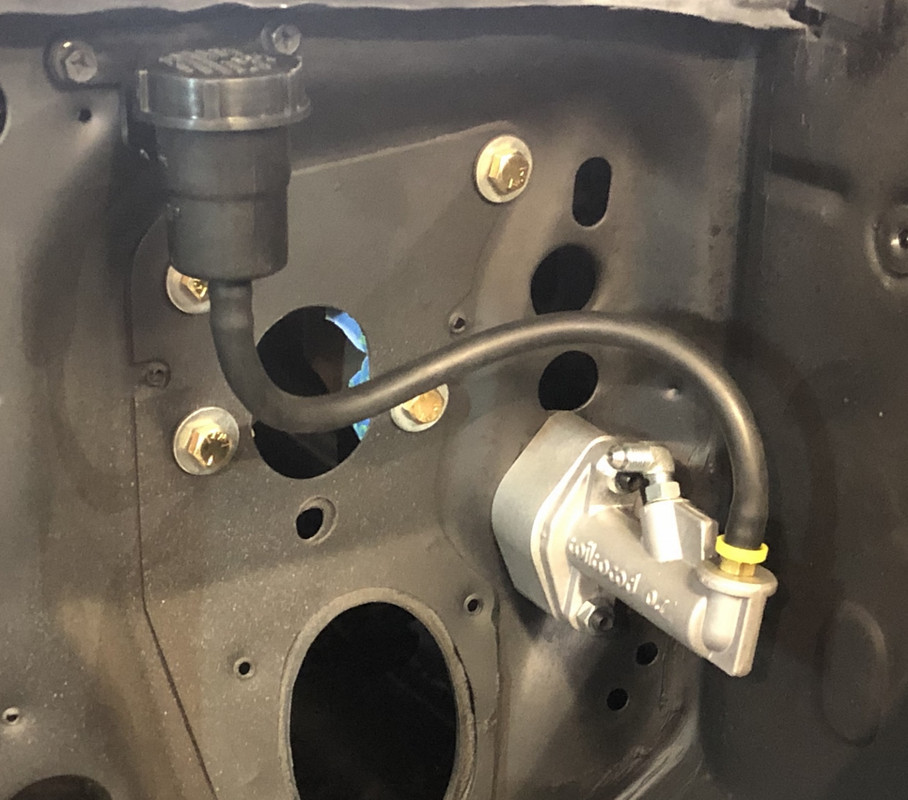
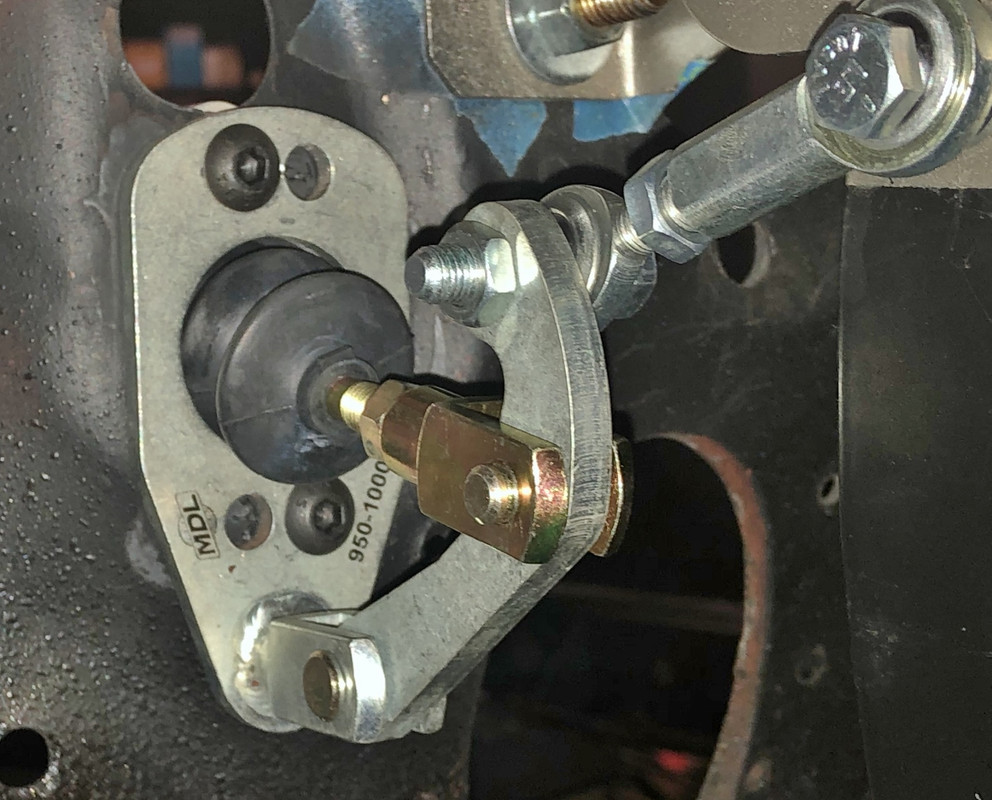
I'm approaching the spray out of the engine bay with 2K satin black and the cabin interior / underside with intergard 2K red oxide, so its time to start trial fitting some systems. Today as part of fitting my MDL TKO 600 kit, it was the turn of the MDL Hydraulic Clutch master cylinder, pedal and linkage. As this requires the drilling of 4 holes etc.
Perhaps someone used a manual in my C6 car before? As the clutch lever depression in the firewall had been punched out and was a little ragged looking. Anyway no matter, its all installed, checked working fine and removed again. The Wilwood MC seems nice, as do the MDL linkages. Overall not a bad kit.
The photo angle makes it look like the reservoir fluid line fouls the brake booster, but its fine. The reservoir itself isn't very flash looking, but then I guess that helps hide the resto mods a bit.

Not many spots to mount the reservoir. One installation I've seen uses a spacer / stand off bracket to bolt a polished Rings brothers reservoir in about the same locale as mine, but I’ve also seen an “Eleanor” with its one mounted on the LHS inner apron, between the bonnet hinge And the shock tower. Perhaps that’s better access wise. So I may look at that option too. Anyone here have experience fitting a hydraulic clutch to a 67/68’ who can comment on reservoir location?
Off overseas tomorrow for 10 days so wont be any progress for a wee while.
Hope everyone in Mustang Tech land is safe fire wise.
We've had 17mm over the last 2 days, which was great to see, but our litttle farm still looks very dry...