Page 4 of 8
Re: my 65 re-paint!!
Posted: Wed Aug 27, 2014 10:54 pm
by ozbilt
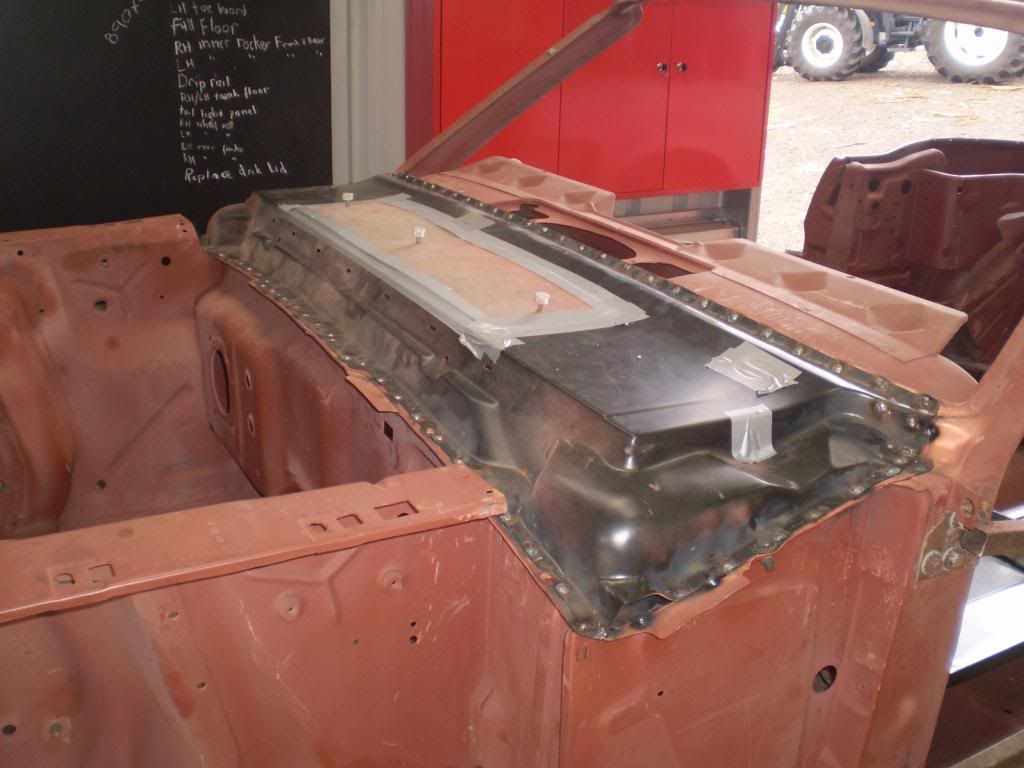
I would put a scope up there & have a look. I bet there is more than you can see at the moment. Would not surprise me to see some pin holes in the lower panel of the plenum.
If only a few, then I would oxy/acet weld them up with a small tip. Then some POR15 in there.
Re: my 65 re-paint!!
Posted: Wed Aug 27, 2014 10:56 pm
by ozbilt
If it looks bad in there, then sections will be needed. So a bit of surgery. From memory, mert's project had that done.
Re: my 65 re-paint!!
Posted: Wed Aug 27, 2014 11:02 pm
by Shaunp
Re: my 65 re-paint!!
Posted: Wed Aug 27, 2014 11:44 pm
by ozbilt
Shaunp wrote: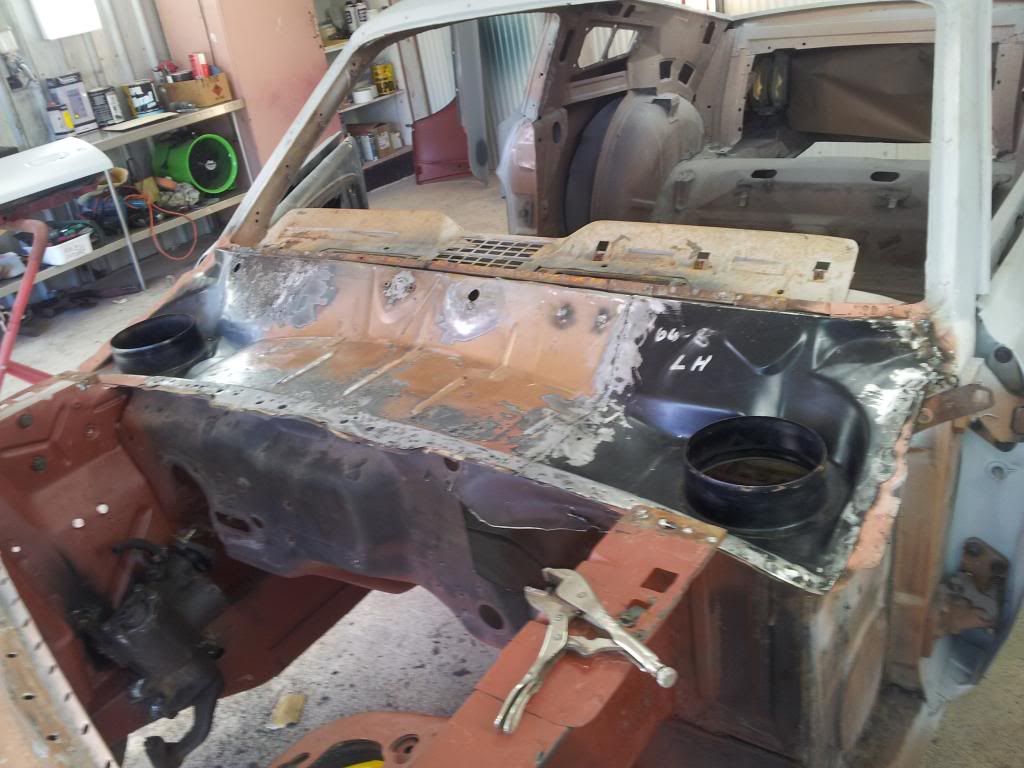
Alright, close enough as it is a Queenslander ......

Re: my 65 re-paint!!
Posted: Wed Aug 27, 2014 11:45 pm
by mjb0015
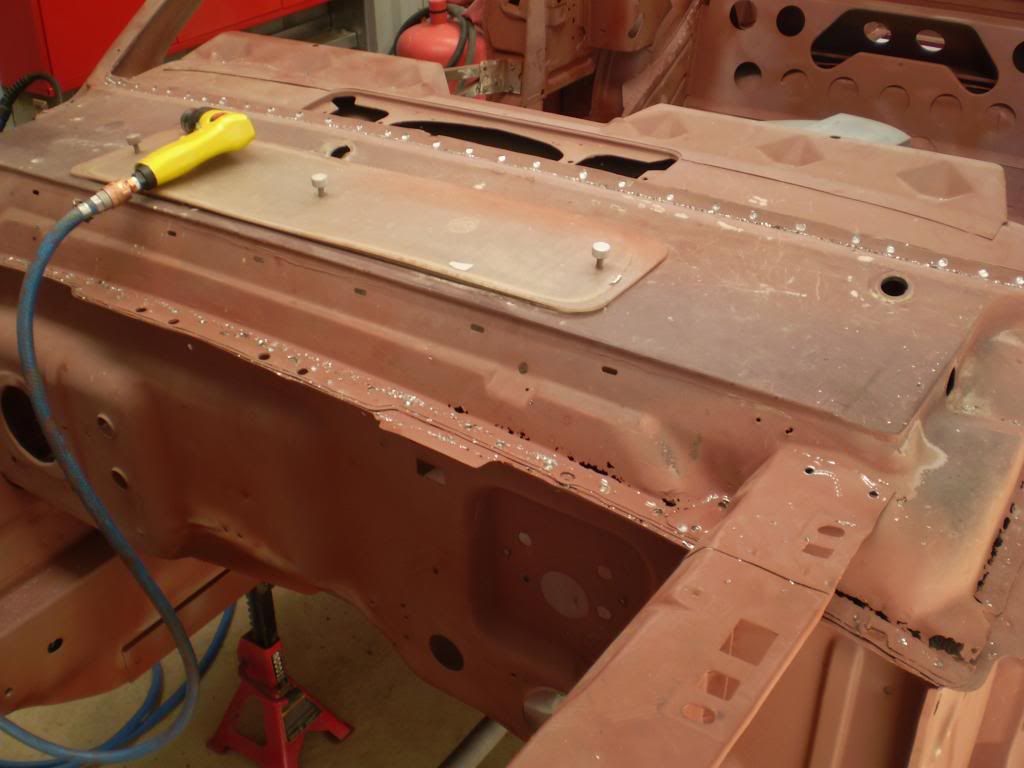
Kerry and Shaunp how do I go about removing the grill top? looks like its welded??
Re: my 65 re-paint!!
Posted: Wed Aug 27, 2014 11:47 pm
by ozbilt
mjb0015 wrote:Kerry and Shaunp how do I go about removing the grill top? looks like its welded??
Go buy a spot weld drill & a few hours later ......
Actually not a bad panel to do. The repo stuff fits & you have little issue lining stuff up. Also not too bad to weld up, that is no buckling ......

Re: my 65 re-paint!!
Posted: Thu Aug 28, 2014 12:08 am
by mjb0015
Cheers mate
Re: my 65 re-paint!!
Posted: Thu Aug 28, 2014 9:16 am
by hybrid
Have fun.... hope your pics are less blurry than mine.
Re: my 65 re-paint!!
Posted: Thu Aug 28, 2014 9:50 am
by xpconnor
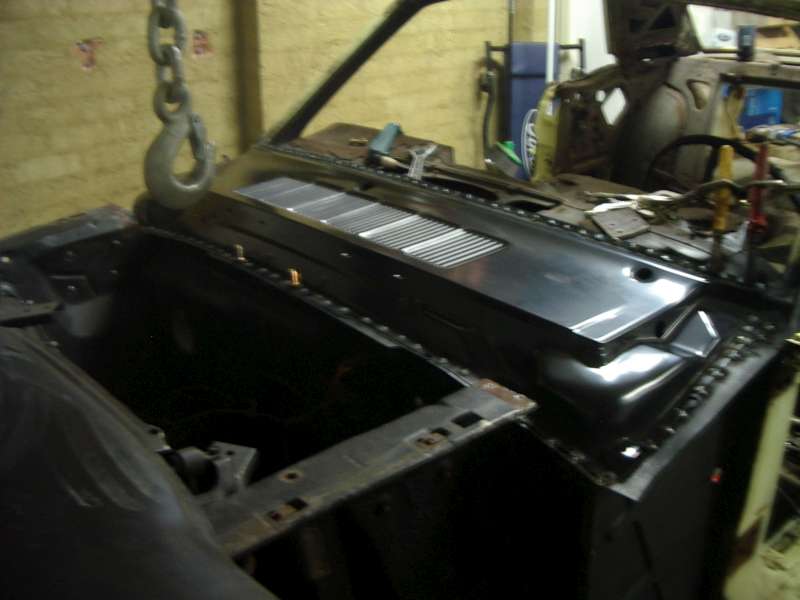
I think nearly every project thread on here has a section about replacing the cowl.
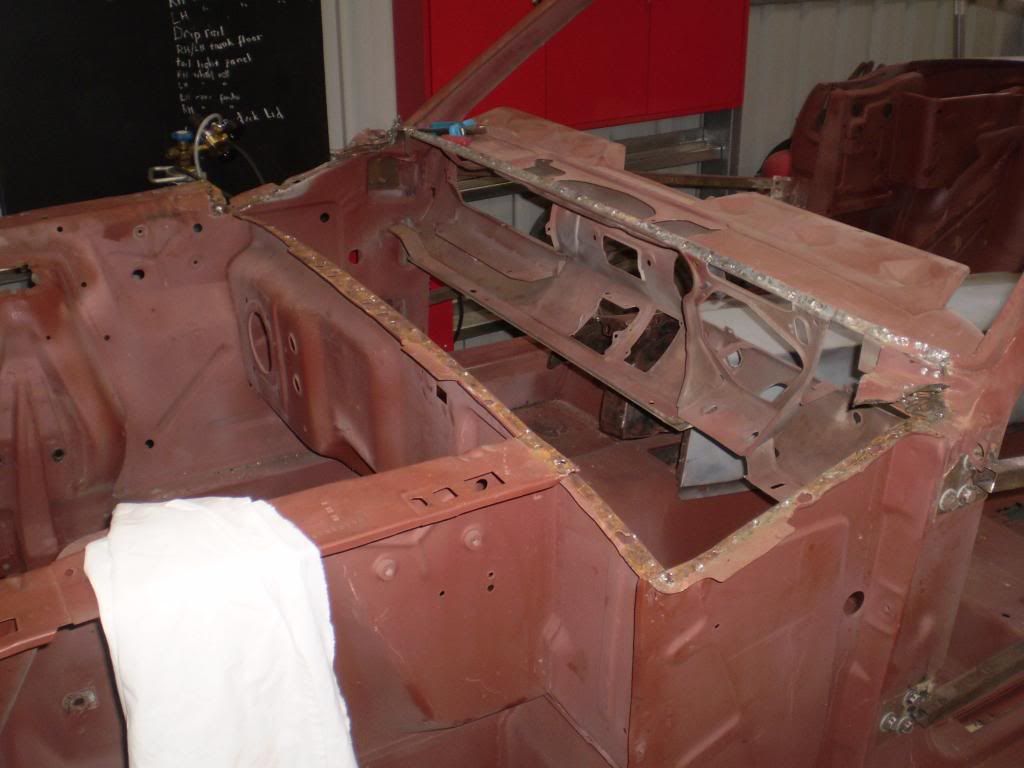
Depends how bad the underside is as to whether you do a repair like Shaun or replace the entire thing like Hybrid and myself did.
Re: my 65 re-paint!!
Posted: Thu Aug 28, 2014 3:55 pm
by Astro
Mine will too - replacing top & bottom.
Rear end is a problem tho...
Cheers
J
Re: my 65 re-paint!!
Posted: Thu Aug 28, 2014 9:05 pm
by 67fastysm
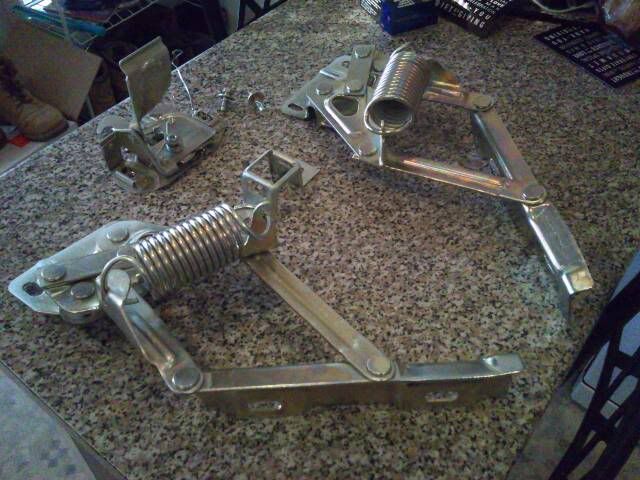
hi mark this is what i did with my hinges , took them to the local chrome plater and he dipped them and got them clean then blue cadium plated them came up a treat and mine were much worse than yours and we didnt need to pull them apart . Also looking at that top mounting hole for the hinge on the inner fender may need to fix that could cause a fitment issue
cheers shane
Re: my 65 re-paint!!
Posted: Thu Aug 28, 2014 9:09 pm
by xpconnor
If there is any play in the hinges I would just replace them. Not that expensive and makes sure the bonnet doesn't move and chip the new paint.
Re: my 65 re-paint!!
Posted: Thu Aug 28, 2014 9:58 pm
by Shaunp
Yeah if they are worn out the bonnet will sit at the rear when you close it you can push it down
Re: my 65 re-paint!!
Posted: Thu Aug 28, 2014 10:16 pm
by nassi
Shaunp wrote:Yeah if they are worn out the bonnet will sit at the rear when you close it you can push it down
On 65/66 and probably later ones you can actually rotate the hinge to overcome the "high at the back syndrome". With the hood on, loosen two bolts and push the front of the hood up, this forces the back of the hinge down and raises the front of the hinge. As you can guess its easier with two people.
i have lost count of the hoods I have fitted to these cars and only found one hinge where this dosnt work. It also works on early Falcons, in fact thats where I learnt it.
Re: my 65 re-paint!!
Posted: Thu Aug 28, 2014 10:31 pm
by ozbilt
nassi wrote:Shaunp wrote:Yeah if they are worn out the bonnet will sit at the rear when you close it you can push it down
On 65/66 and probably later ones you can actually rotate the hinge to overcome the "high at the back syndrome". With the hood on, loosen two bolts and push the front of the hood up, this forces the back of the hinge down and raises the front of the hinge. As you can guess its easier with two people.
i have lost count of the hoods I have fitted to these cars and only found one hinge where this dosnt work. It also works on early Falcons, in fact thats where I learnt it.
& if you run out of adjustment with that trick, you then move to the British idea of a shim between the hinge & hood on the front bolt location ......


