Page 7 of 9
Re: 70 Mach 1 - Slowly
Posted: Tue Sep 17, 2019 6:42 am
by Chux
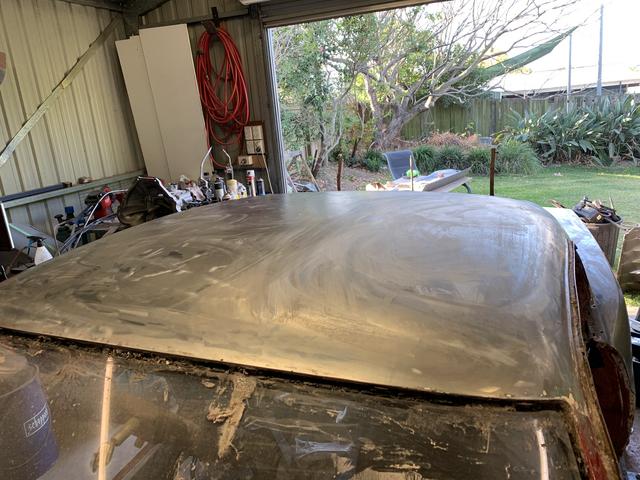
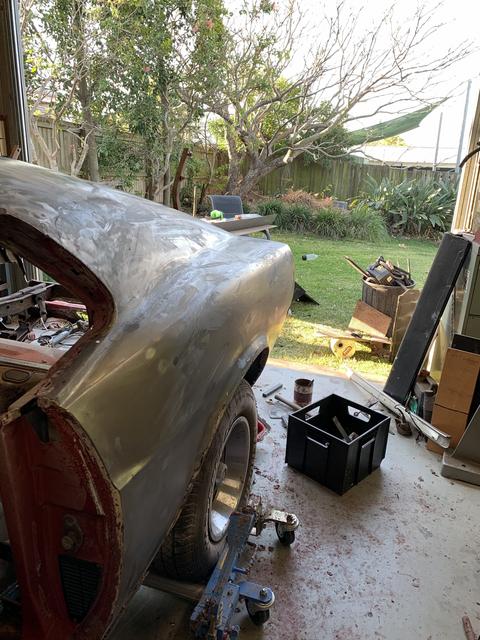
Ahhh the beauty of 50 year old steel. Only a couple of small dents in the quarters and one in the roof. Shame about the cancer in the quarter - I want to preserve as much of the original sheet metal as possible....not sure why but I do, so will try to rebuild the wheel arch of DS - its also a bit cheaper than @$700 for a full quarter - no one seems to stock the quarter skin which would be the cheaper option.
Re: 70 Mach 1 - Slowly
Posted: Sun Sep 22, 2019 5:41 am
by Chux
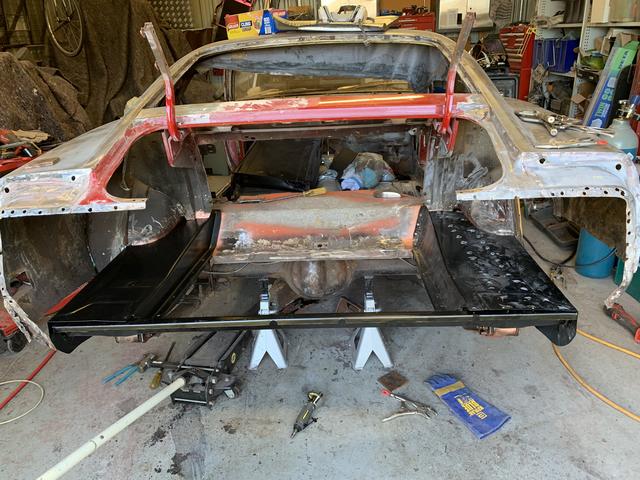
A part step forward.
Finally bought one of those 3” air cut off tools and an air chisel. Damn that makes light work of spot welds although you don’t preserve anything.
Trunk brace and drop offs a mocked up and ready to go in.
Pondering whether I should replace the spring hangers while everything is out. At least can get a decent sack at things at the moment - and I have new ones on the shelf ready to go.
Re: 70 Mach 1 - Slowly
Posted: Sun Sep 22, 2019 7:59 am
by ozbilt
Put the jack stands under the rockers so you take the weight off the springs.
Then use the jack to hold up the diff, then disconnect the rear shackles and lower the diff a bit.
Finish the bodywork and, only then, put the new shackles in and refit the springs.
At the moment, those springs are stressing the rear rails when the panels are not fitted.
Re: 70 Mach 1 - Slowly
Posted: Sun Sep 22, 2019 8:50 pm
by Dwayne
I better go undo my springs too then
Re: 70 Mach 1 - Slowly
Posted: Sun Sep 22, 2019 10:18 pm
by ozbilt
Dwayne wrote:I better go undo my springs too then


Re: 70 Mach 1 - Slowly
Posted: Mon Sep 23, 2019 12:02 am
by Chux
ozbilt wrote:Put the jack stands under the rockers so you take the weight off the springs.
Then use the jack to hold up the diff, then disconnect the rear shackles and lower the diff a bit.
Finish the bodywork and, only then, put the new shackles in and refit the springs.
At the moment, those springs are stressing the rear rails when the panels are not fitted.
Thanks Kerry was not far off putting it up on all 4 jack stands. Just the usual - in a hurry to get into it!
Re: 70 Mach 1 - Slowly
Posted: Sun Oct 13, 2019 8:25 am
by Chux
Chux wrote:ozbilt wrote:Put the jack stands under the rockers so you take the weight off the springs.
Then use the jack to hold up the diff, then disconnect the rear shackles and lower the diff a bit.
Finish the bodywork and, only then, put the new shackles in and refit the springs.
At the moment, those springs are stressing the rear rails when the panels are not fitted.
Thanks Kerry was not far off putting it up on all 4 jack stands. Just the usual - in a hurry to get into it!
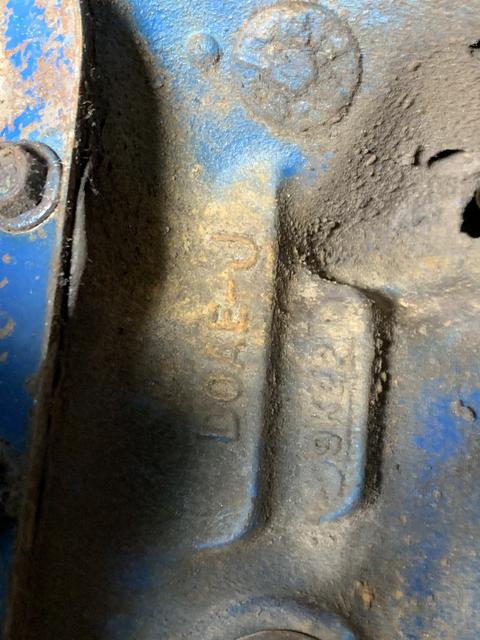
Now the things you find and have never seen before and must say this is the oddest looking Welch plug ever. Was dropping auto out - it will be easier to pull engine without the box attached as my work area is fairly compressed - and pulled exhaust and finally got a decent look from underneath and saw this weird Welch plug arrangement. Initially when I saw it I thought it was some engine rebuild plate but once it was cleaned up saw the writing.

Re: 70 Mach 1 - Slowly
Posted: Sun Oct 13, 2019 8:29 am
by Chux
And it appears to be what I thought - original block...Oct 22 69 casting in an early dec 69 build M code. Some say the DOAE J has thicker castings than the L blocks. Doesn’t really matter - I’m not aiming for a super high horsepower build.
Re: 70 Mach 1 - Slowly
Posted: Sun Oct 13, 2019 7:41 pm
by Nuts
Never seen one of those before. Never knew they existed. Think of all the engines I pulled to change welsh plugs.....
Re: 70 Mach 1 - Slowly
Posted: Sun Oct 20, 2019 8:20 pm
by jbb
Chux wrote:A part step forward.
Finally bought one of those 3” air cut off tools and an air chisel. Damn that makes light work of spot welds although you don’t preserve anything.
spot weld drill and special chisel..... ( from Melomotive" )
barely any damage separating panels,
unless you are tossing the panel anyway then who cares.
jbb
Re: 70 Mach 1 - Slowly
Posted: Tue Oct 22, 2019 12:13 am
by Shaunp
Nuts wrote:Never seen one of those before. Never knew they existed. Think of all the engines I pulled to change welsh plugs.....
You can buy them, they are for temp repair
Re: 70 Mach 1 - Slowly
Posted: Thu Nov 07, 2019 8:37 am
by Chux
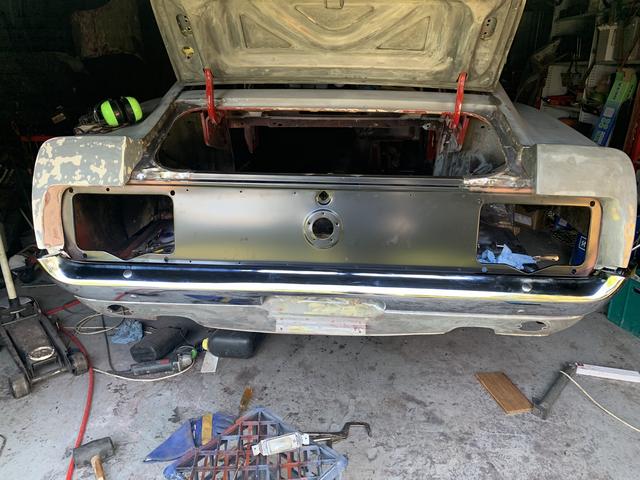
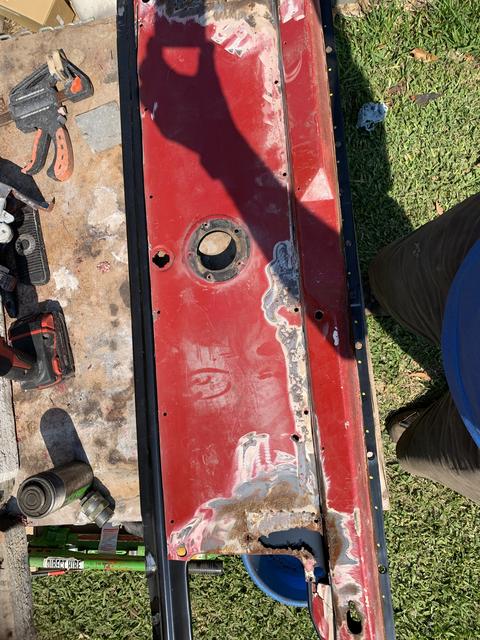
What do they say - never throw anything out? Yep - used the old tail light panel to mark out the holes for the Mach 1 honeycomb panel trim.
Not sure if I’m a cheap ass or just prefer to keep original metal. Anyway fairly happy with the reconstruction of the lower section of the quarter extension. It had a few folds in it - I credit Trevs Blogs on U Tube for inspiration.
Still to replace the lower rear quarters so the quarter sections are unfinished.
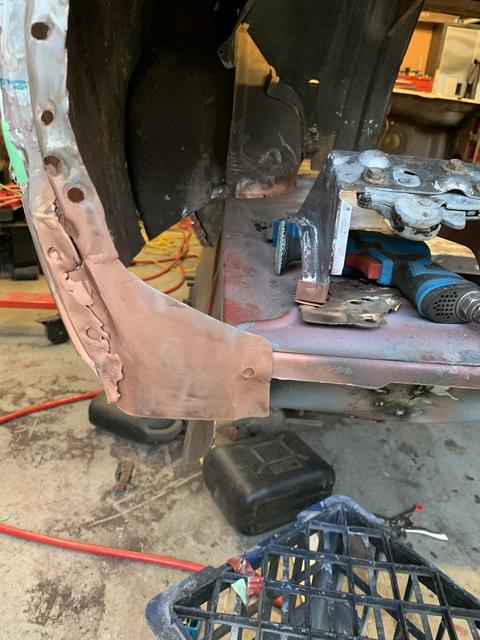
Sadly the PS was just too much like Swiss cheese so bought the replacement part. Trimmed it down to keep the factory corner section.
I ended up welding in the tail light panel. I just felt I was not ready to try glue - no experience at all with it. I must say its really nice to see some exterior metal going back on!
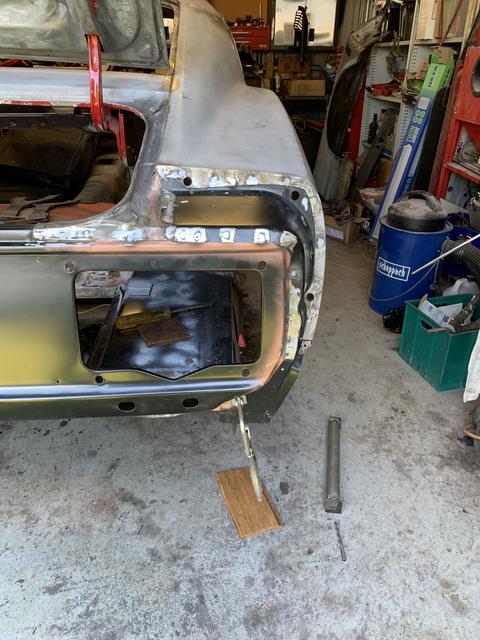
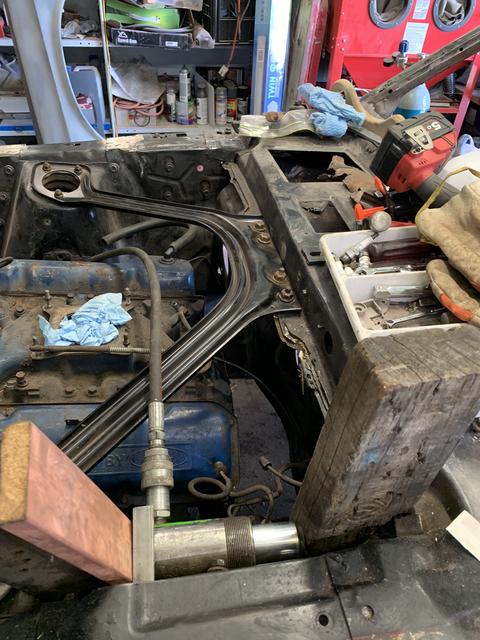
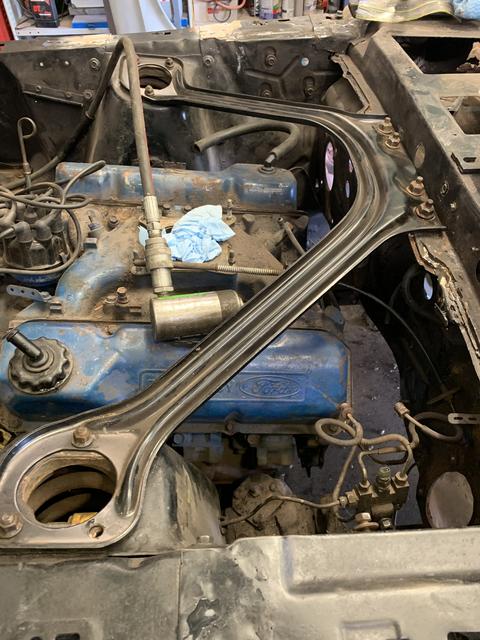
I couldn’t get the Shelby brace installed...the DS was out by a bit. I used the brace as the squaring tool.
Nothing like being a bit feral. A few old bits or oregon and hardwood worked for the porta power to push against and nothing is deformed.
Mainly needed to push forward about 10mm. With the brace in and some semblance of being squared up I feel a bit happier about replace it the PS torque box now.
Re: 70 Mach 1 - Slowly
Posted: Thu Nov 07, 2019 6:04 pm
by Dwayne
Great progress
Re: 70 Mach 1 - Slowly
Posted: Sat Nov 09, 2019 5:53 am
by ozbilt
Getting there Craig & good to see someone else using blocks of wood (I keep a box full of assorted sizes .....

).
Re: 70 Mach 1 - Slowly
Posted: Sat Nov 09, 2019 7:36 am
by Chux
Thanks guys.
Bloody hot day today but shouldn’t complain - lots of folks suffering from the fires, but grabbed a new rear bumper and spooned a few dents out of the lower valance before I set it up. Seems to fit quite well.
I did put in an tail light just to have a look as well....very much inspiration to keep going when you see some shiny stuff on the car.