Page 7 of 8
Re: Ozbilt's last build for a client
Posted: Mon Aug 03, 2020 5:16 am
by ozbilt
Apologies for not loading much at the moment. NBN has crapped itself down our way. Download speeds of 5.2 on a good day & upload 1.7
You can see that last night there was a 70minute time difference to upload 6 photos.
It appears the overseas workers that were bought in to lay the cable, stuffed it up & a new one has to be pulled in. I guess we had no one in Australia that was capable of laying cable .......

Re: Ozbilt's last build for a client
Posted: Tue Aug 04, 2020 5:34 am
by ozbilt
Re: Ozbilt's last build for a client
Posted: Tue Aug 04, 2020 5:53 am
by ozbilt
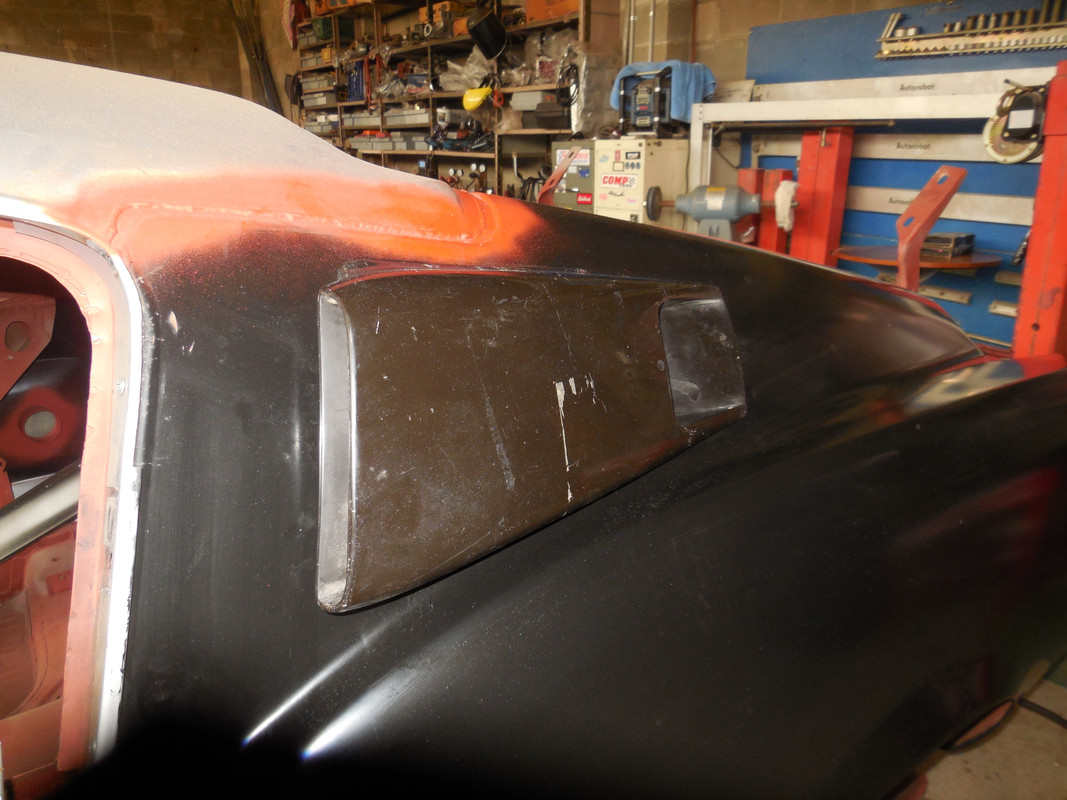
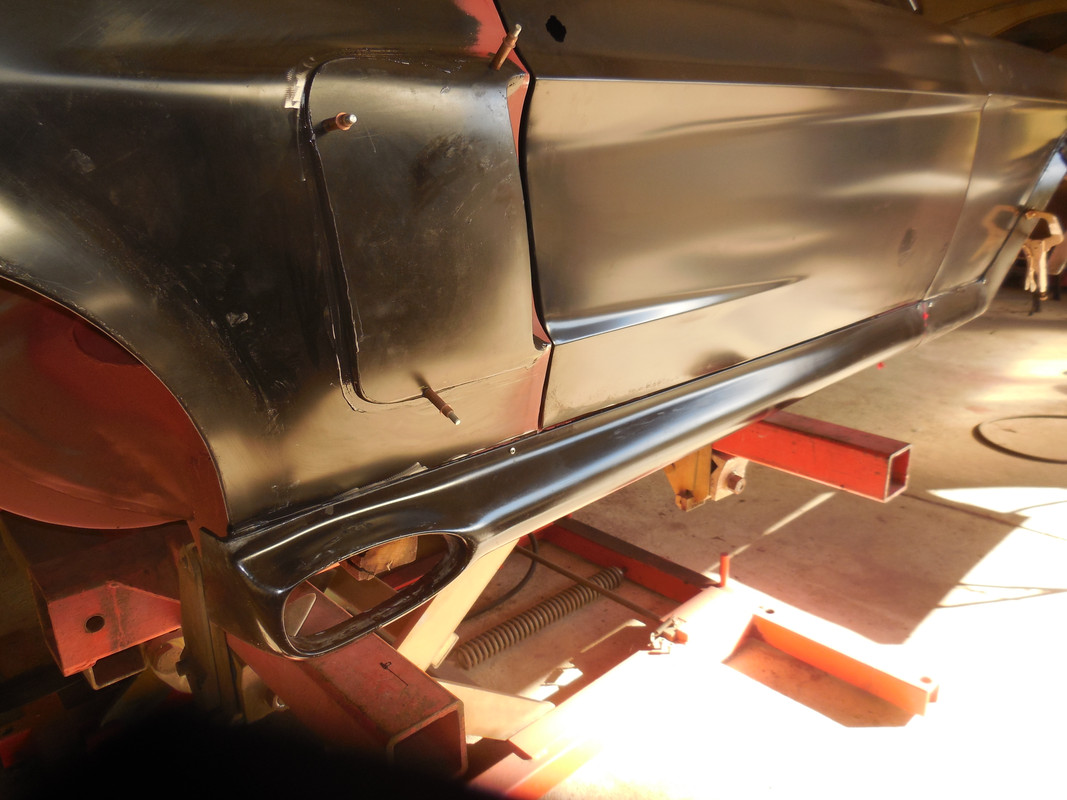
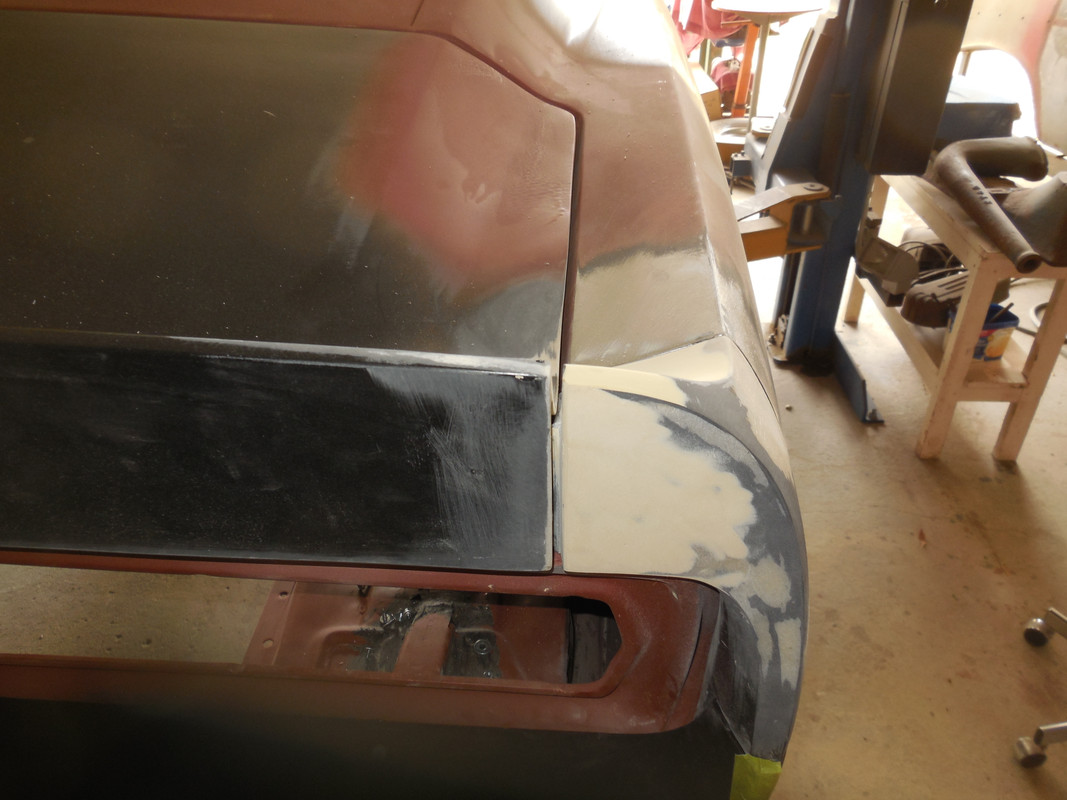
Next was to get the trunk lid to fit. That meant adding fiberglass to the outer edges to bring them up to the quarter panel height & then remove the extra thickness from the underside so it would still close. You can also see the welding mods to the quarter to make the gaps even .......
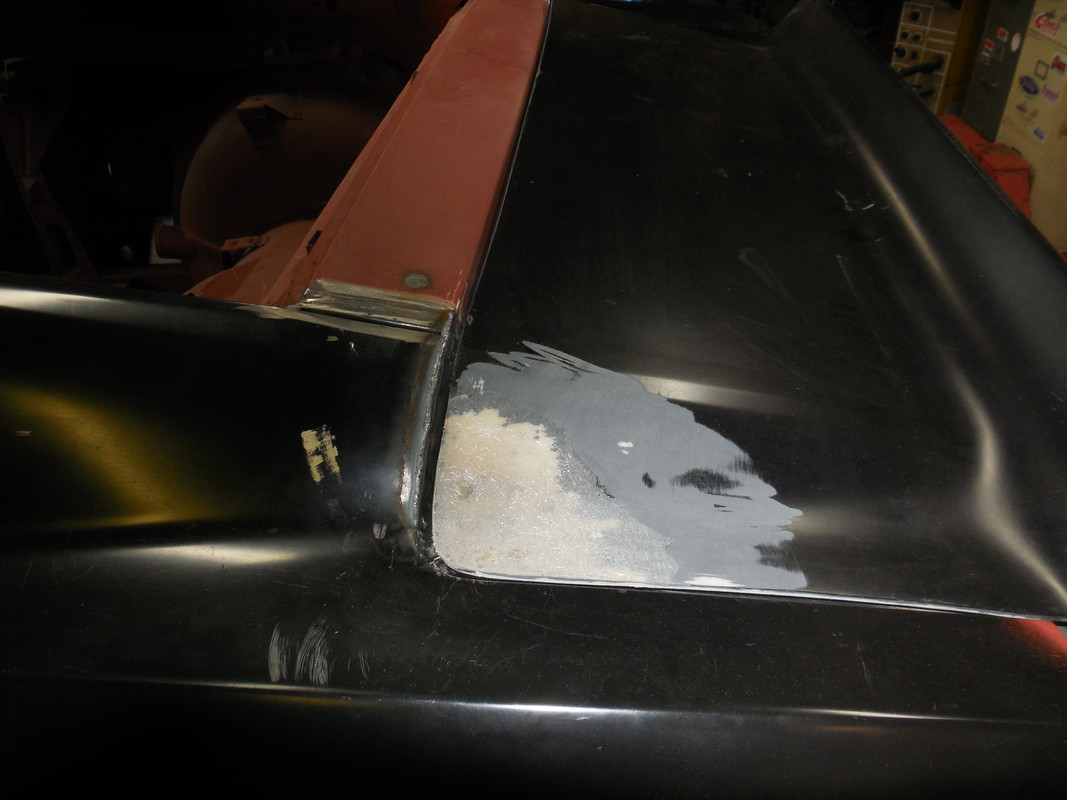
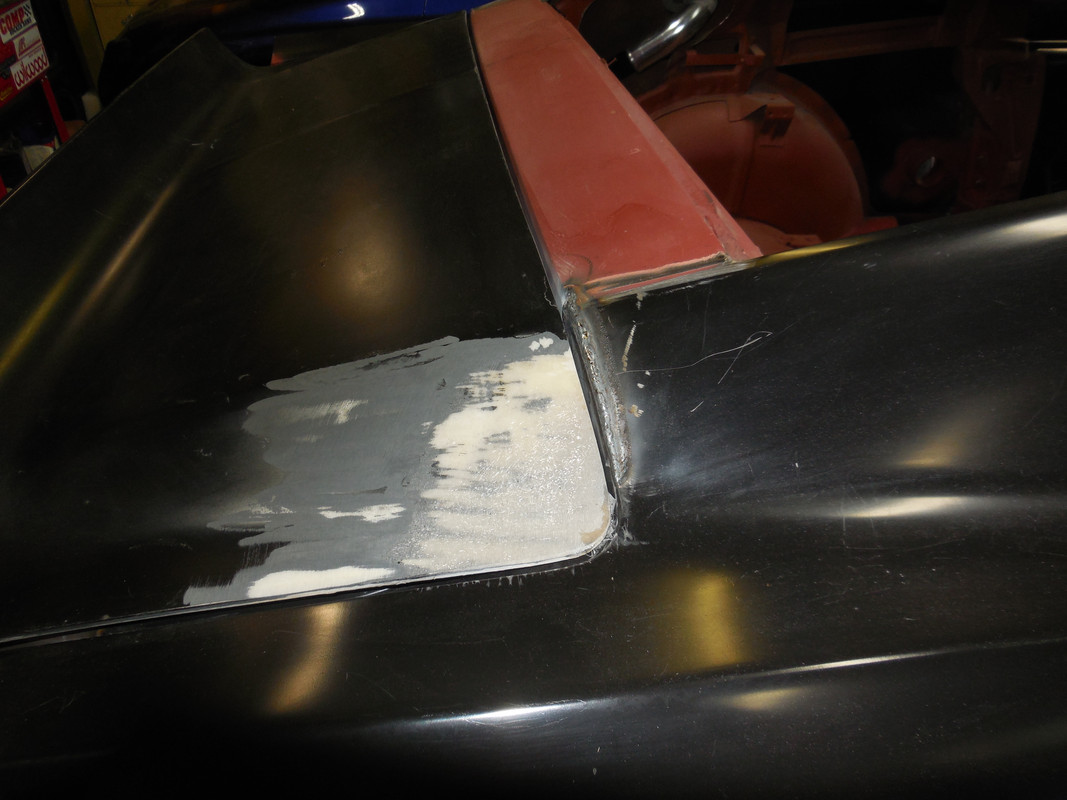
A trick to use when fitting fiberglass panels is to use the standard Ford adjustable rubber hood bump stops. You can see them here in the corner area of the trunk opening......
Re: Ozbilt's last build for a client
Posted: Tue Aug 04, 2020 7:33 am
by ozbilt
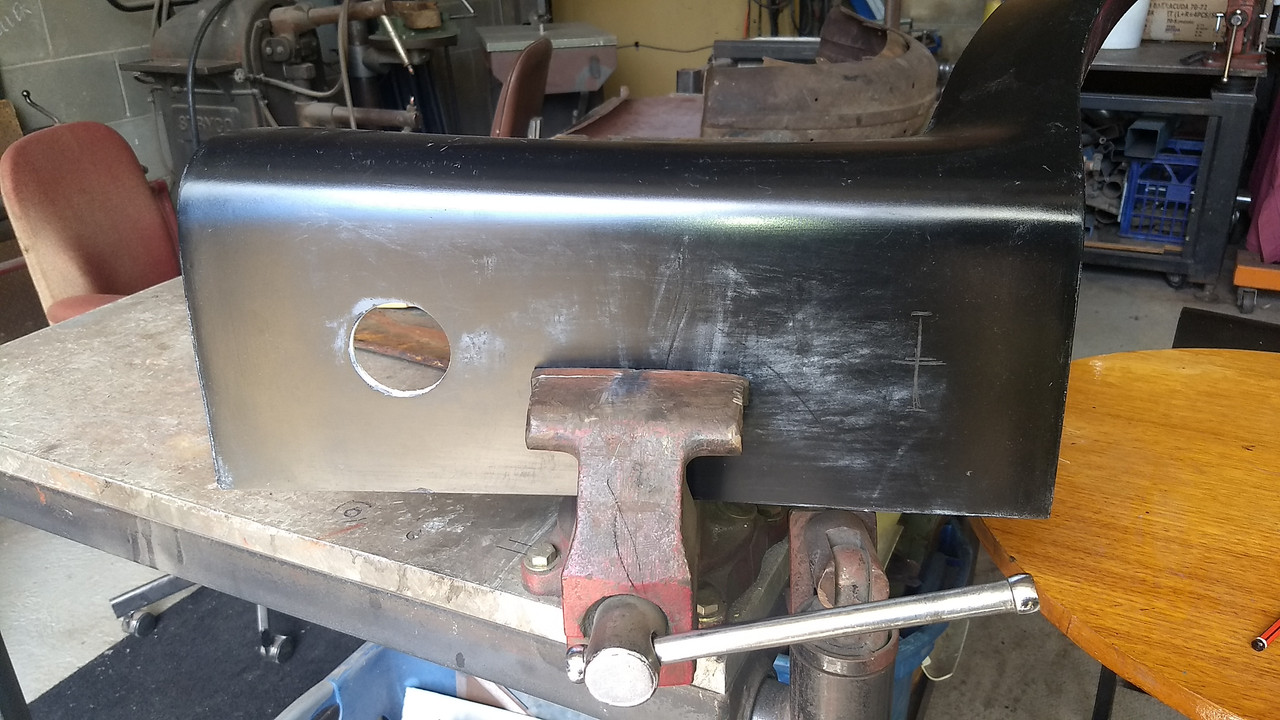
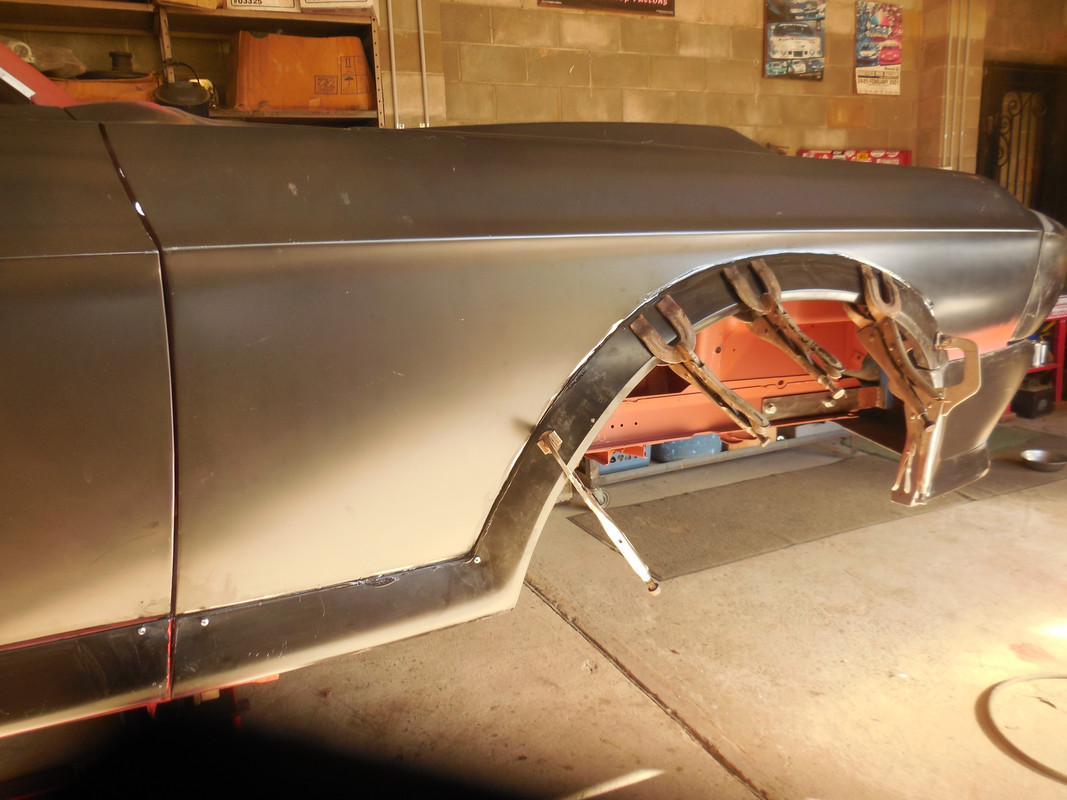
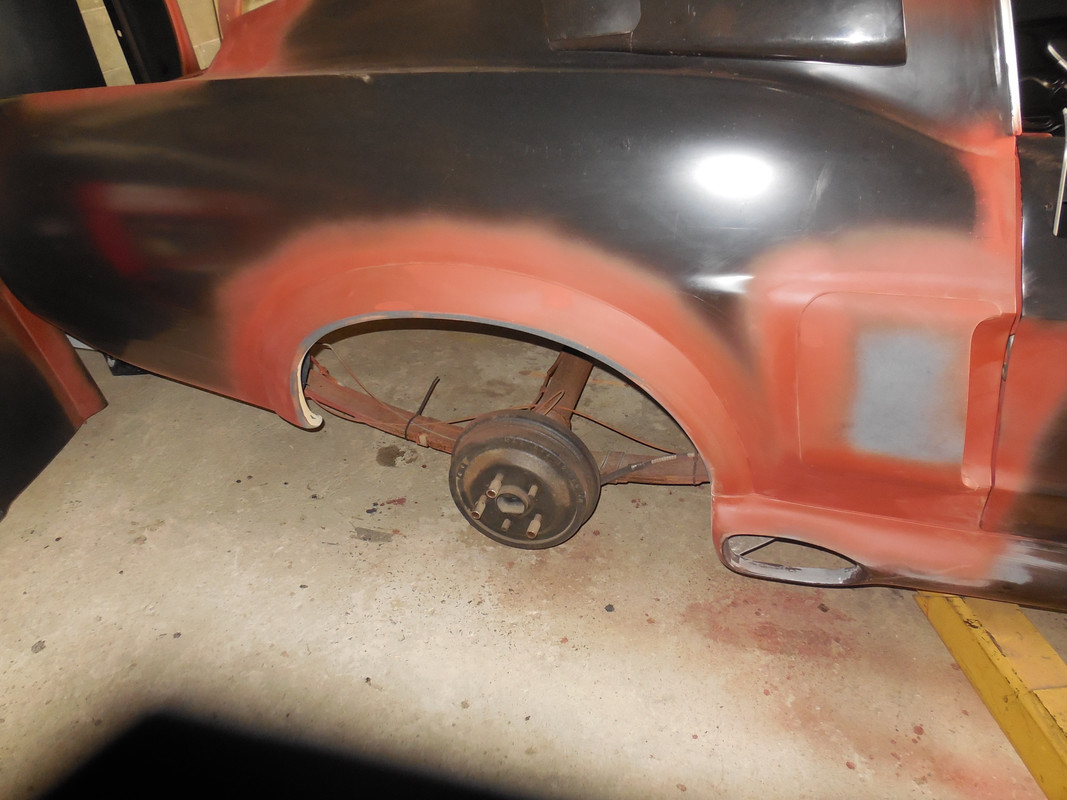
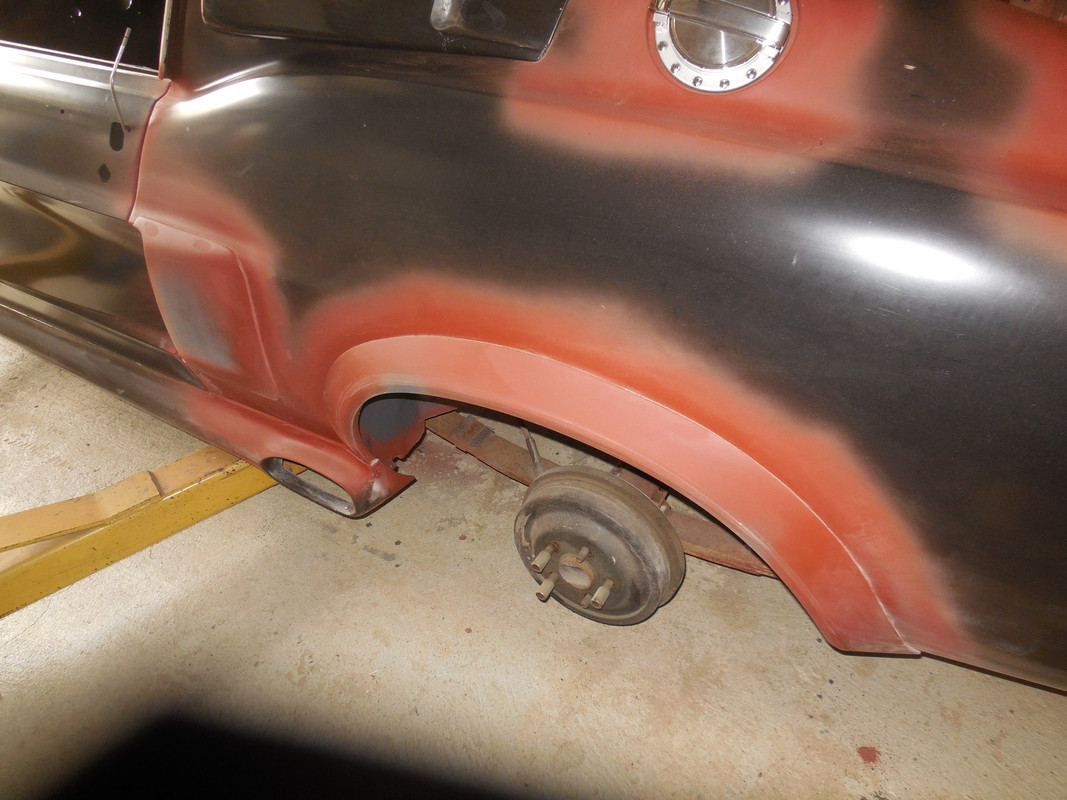
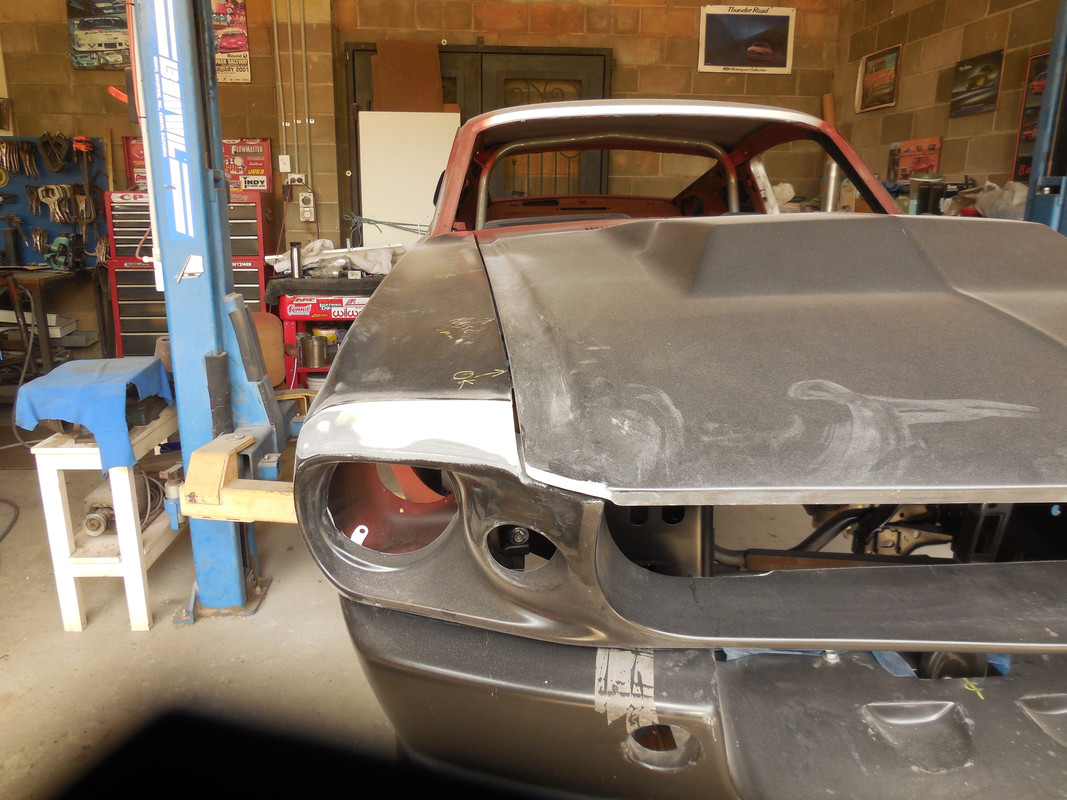
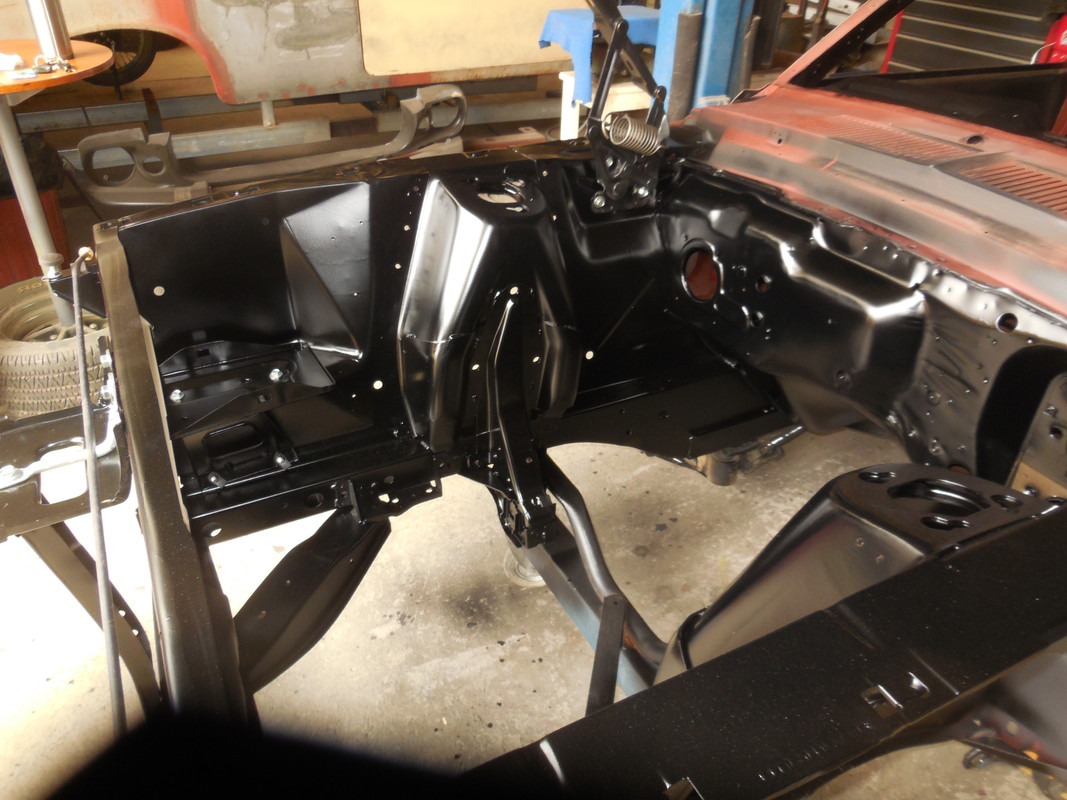
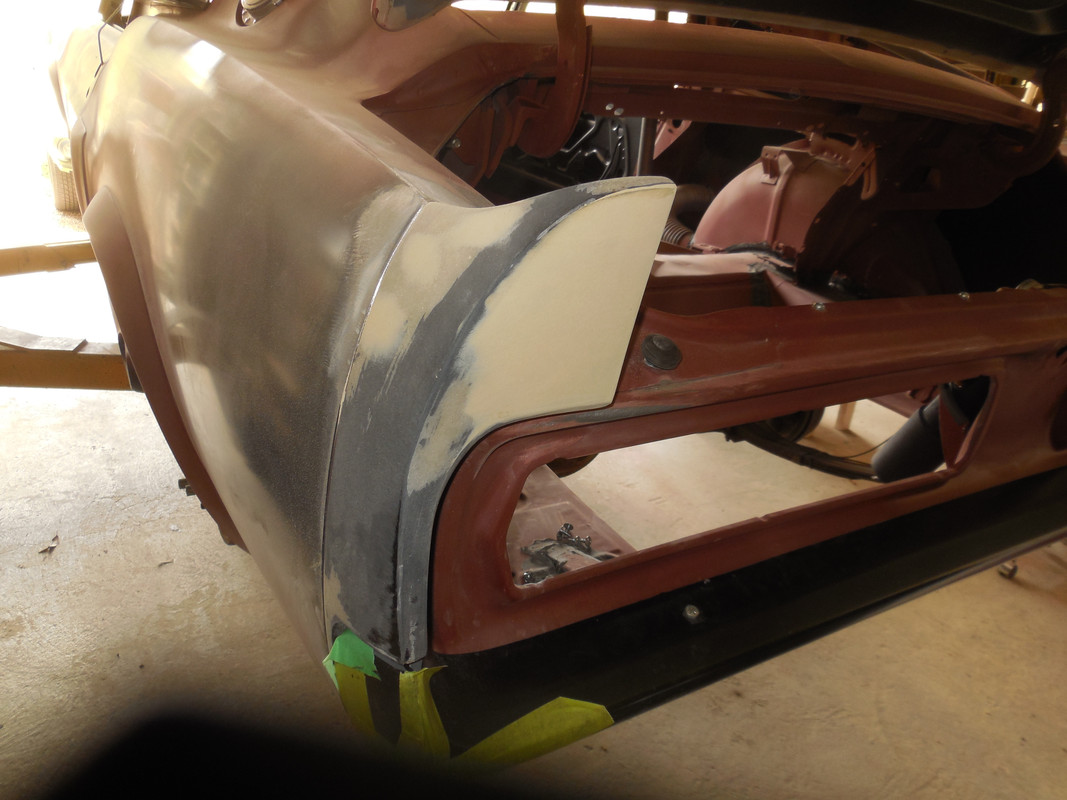
In getting ready to add the rest of the E kit, first I had to modify the front fenders. The wheel arch lip was modified (similar to the Boss 302 arch mod) by trimming the lip & then folding it up closer to the outside edge ......

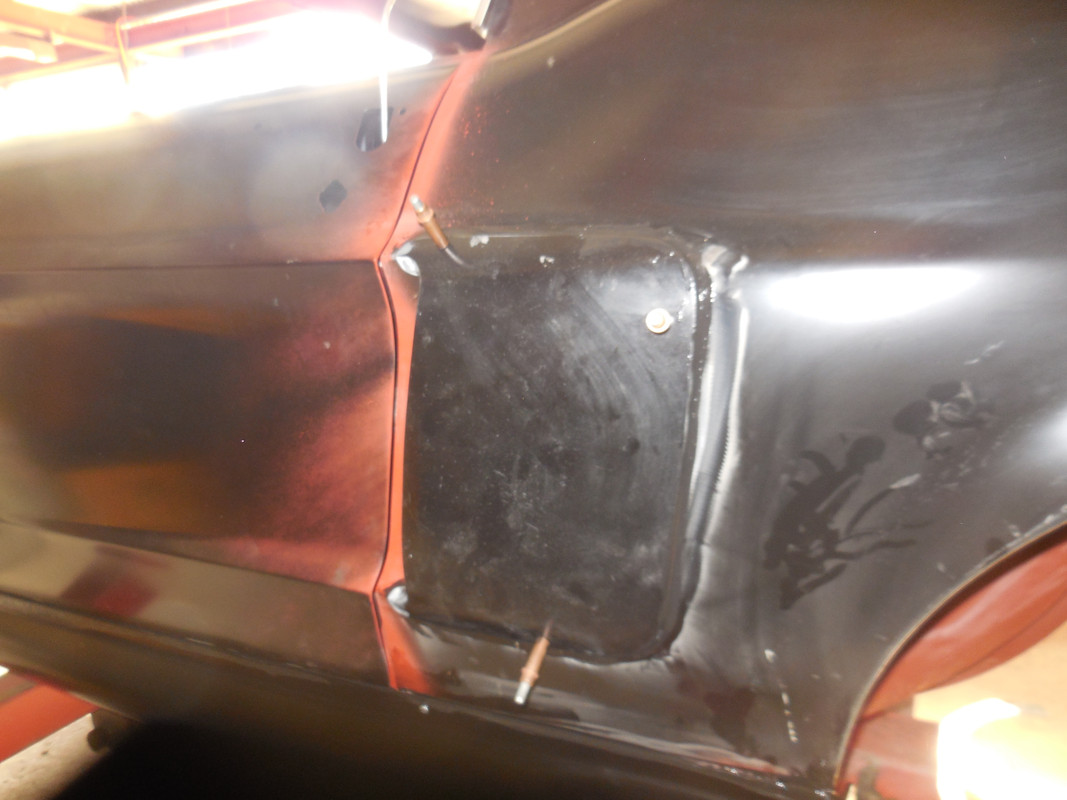
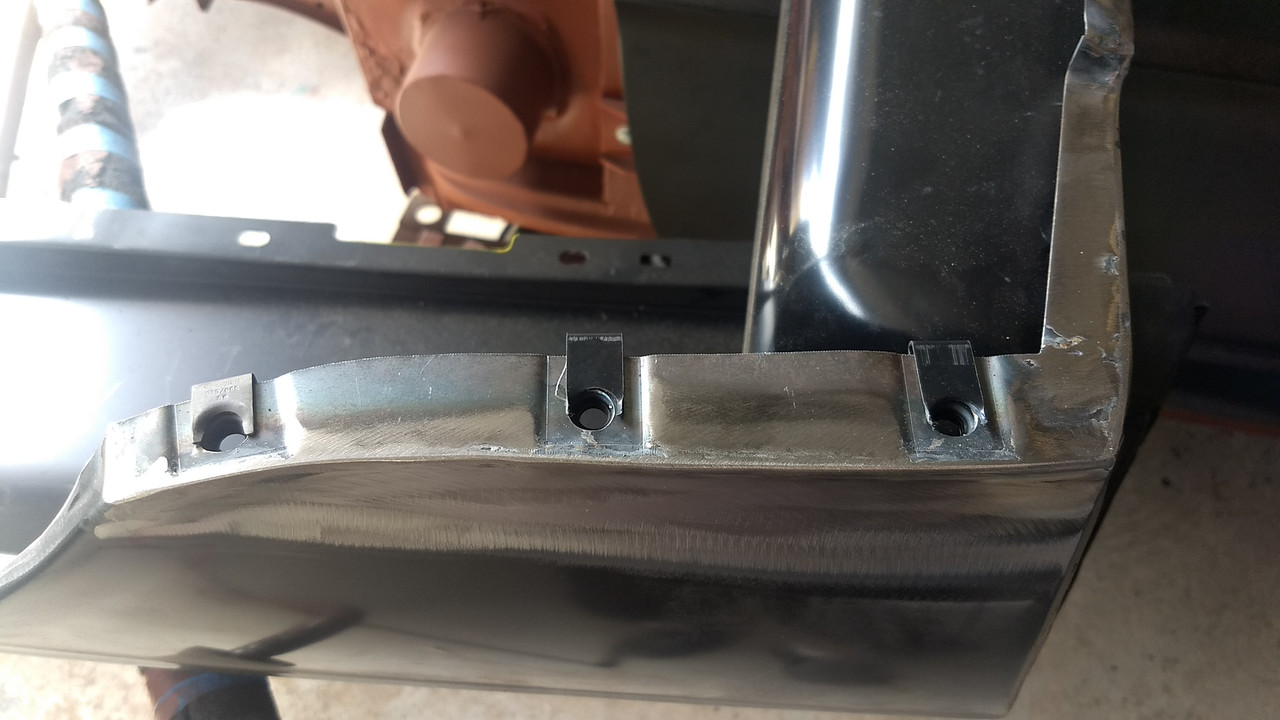
The rear edges of the repo panels usually need work & this picture shows a mod that gives extra strength & increased clearance to the plenum chamber (eliminating a potential squeak)
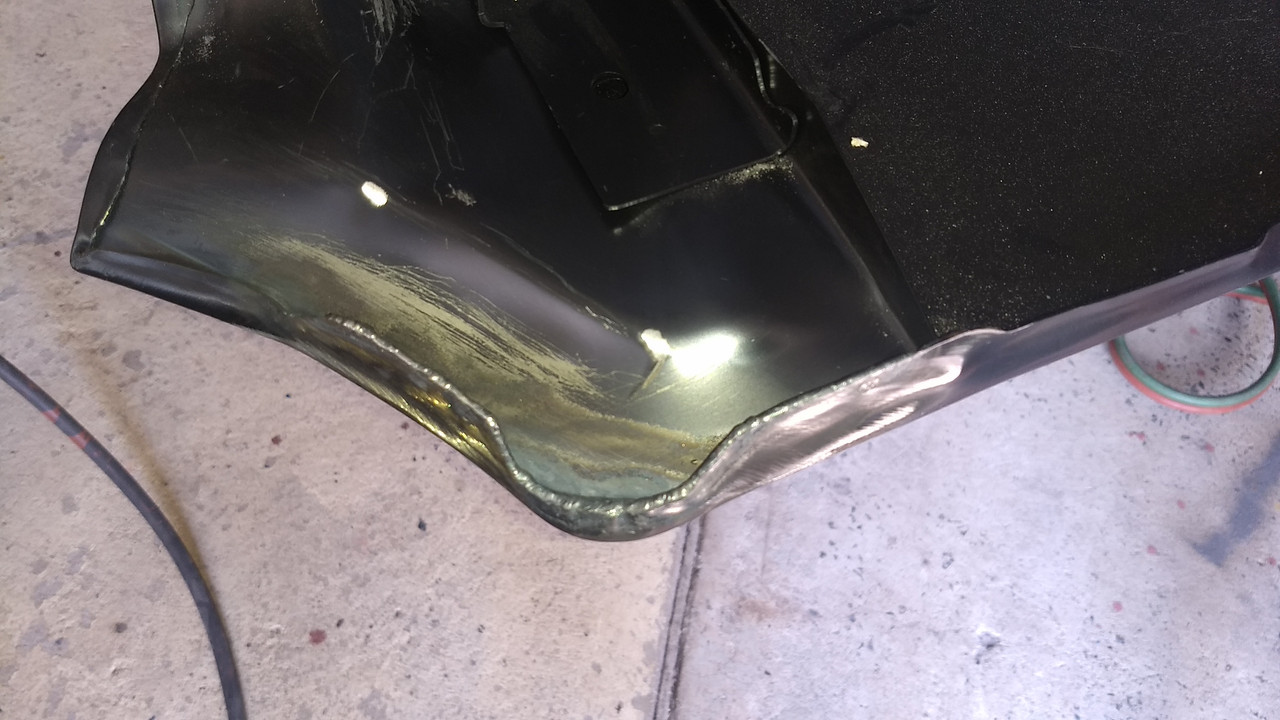
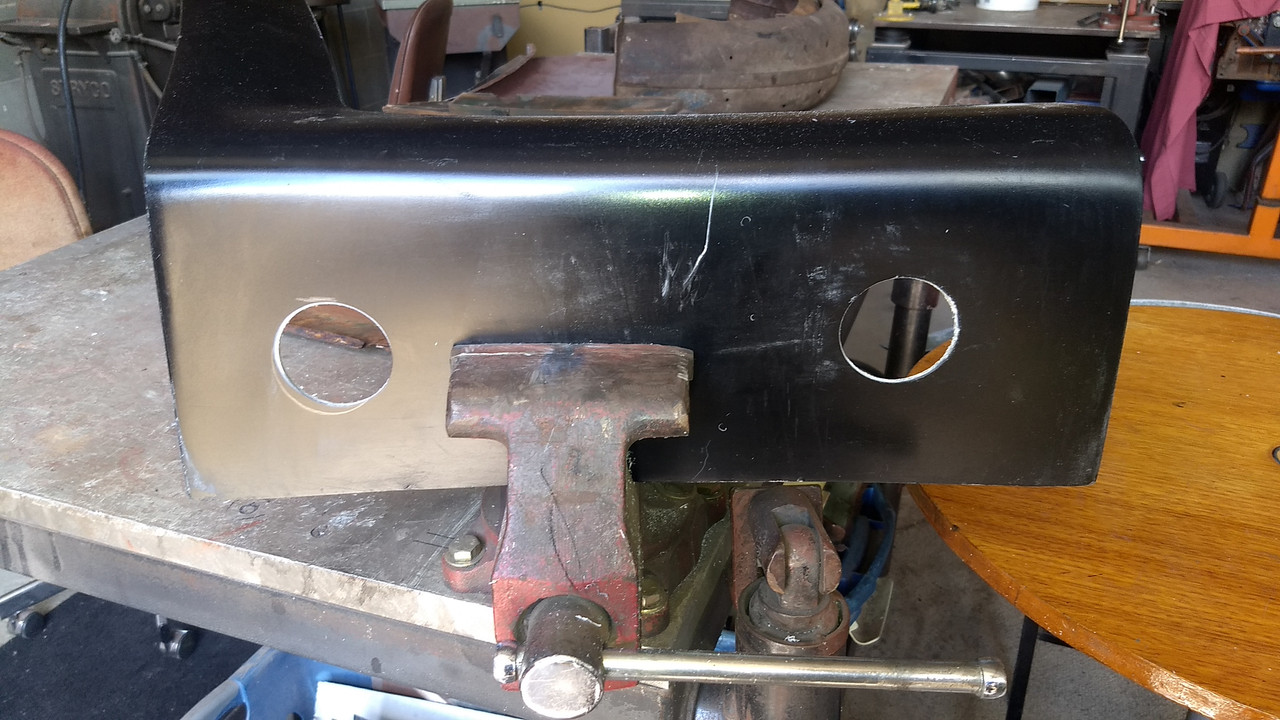
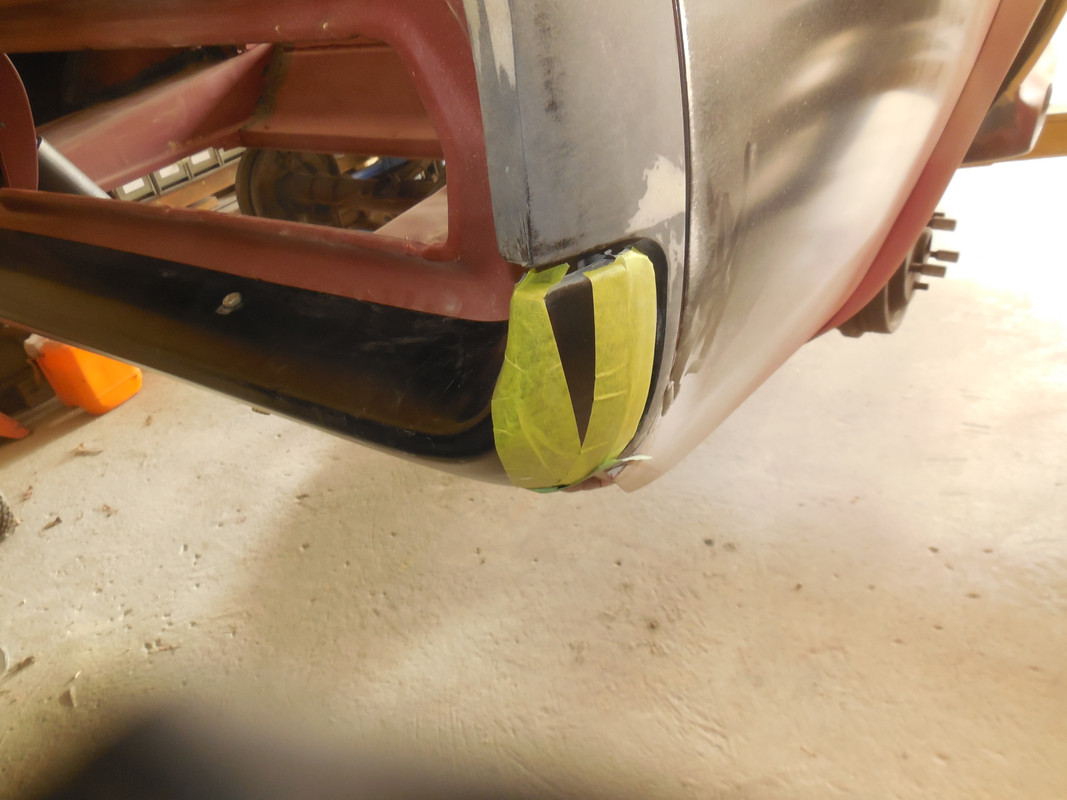
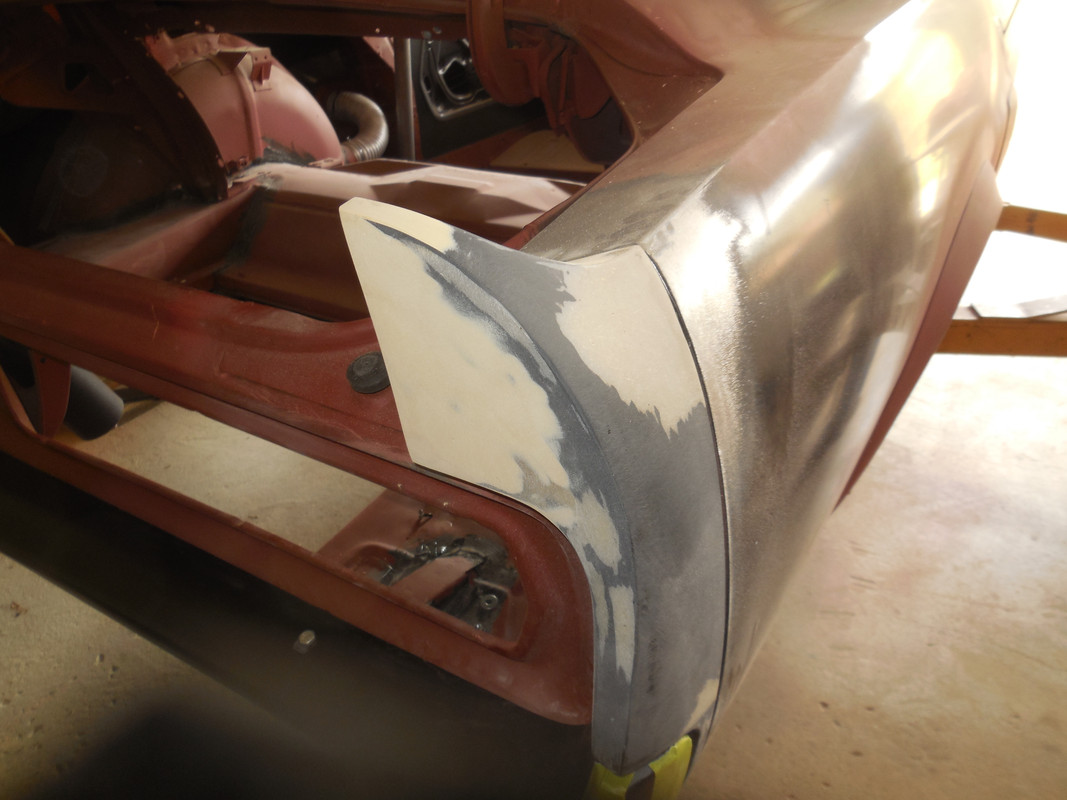
A further mod required when fitting this kit is cutting the lower nose off the fenders. The way this kit was made, allowed me to create a lip so the lower nose panel can be bolted on. These pictures show the lip, note the fenders are upside down in these pictures .....
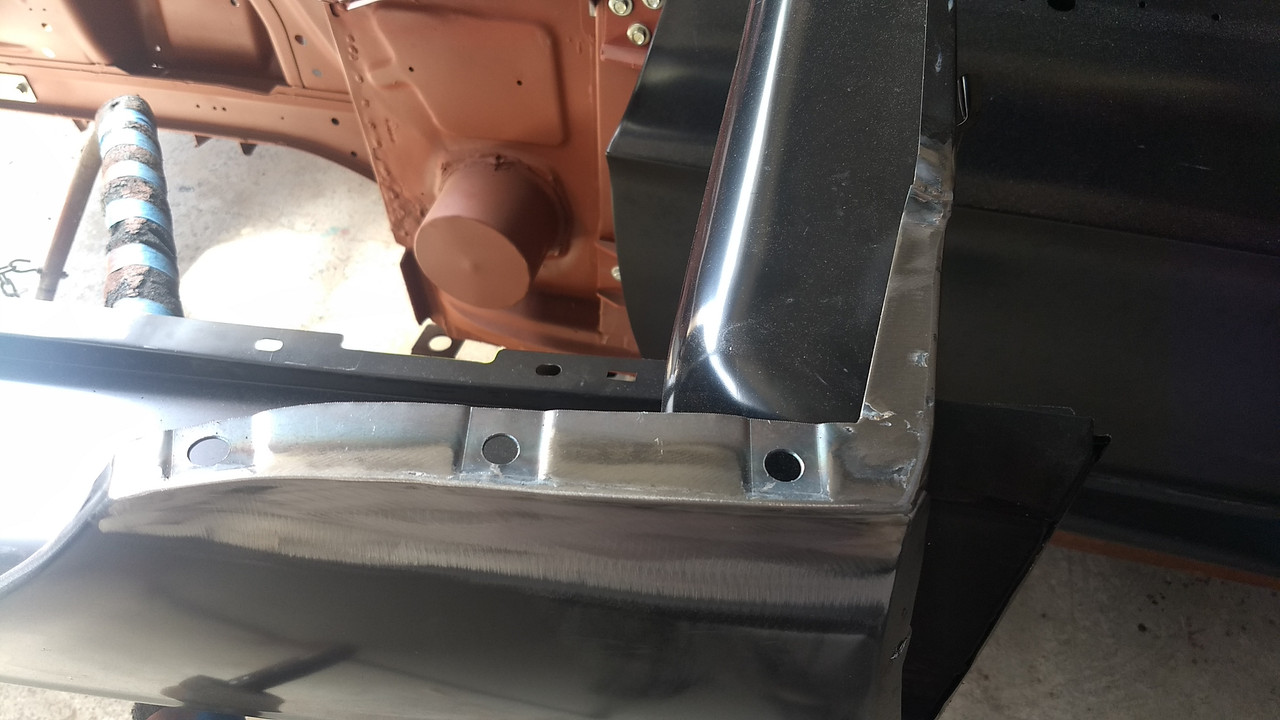
Another mod while the fenders are still off the car, is to give access for changing a headlamp bulb if ever one blows. In the kits I have seen, you have to remove the nose to replace the bulb. Quite stupid IMO. The fix is to cut a big hole in the panel .....
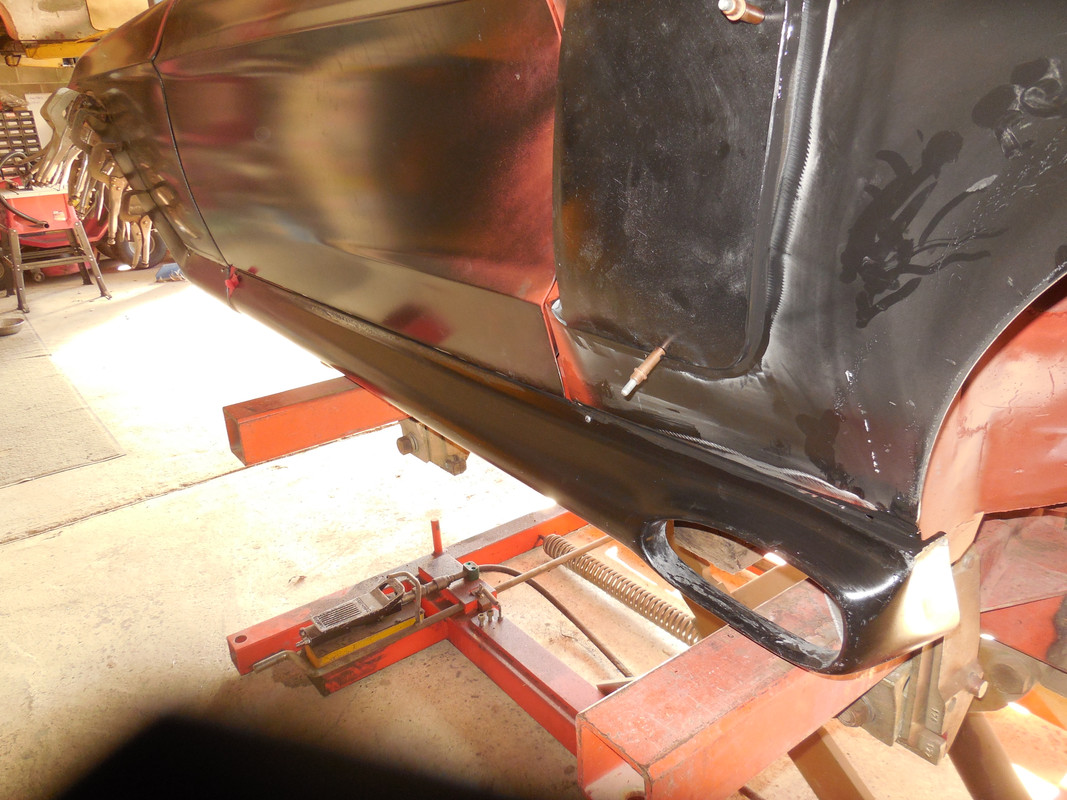
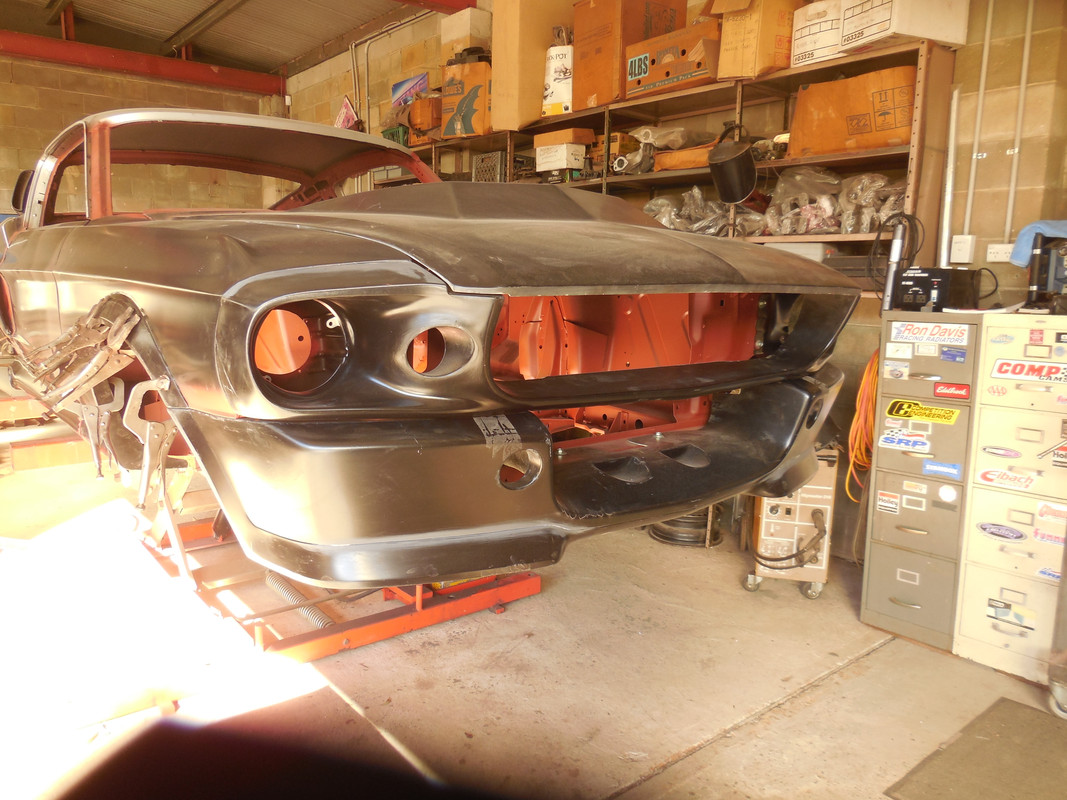
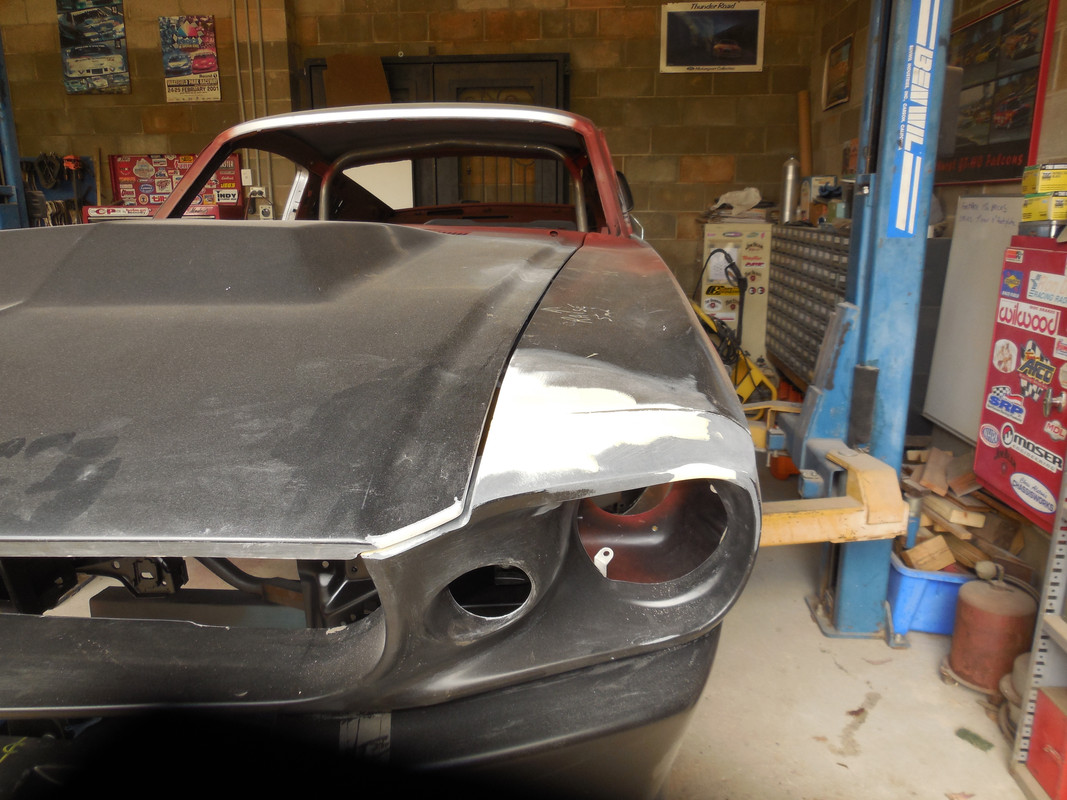
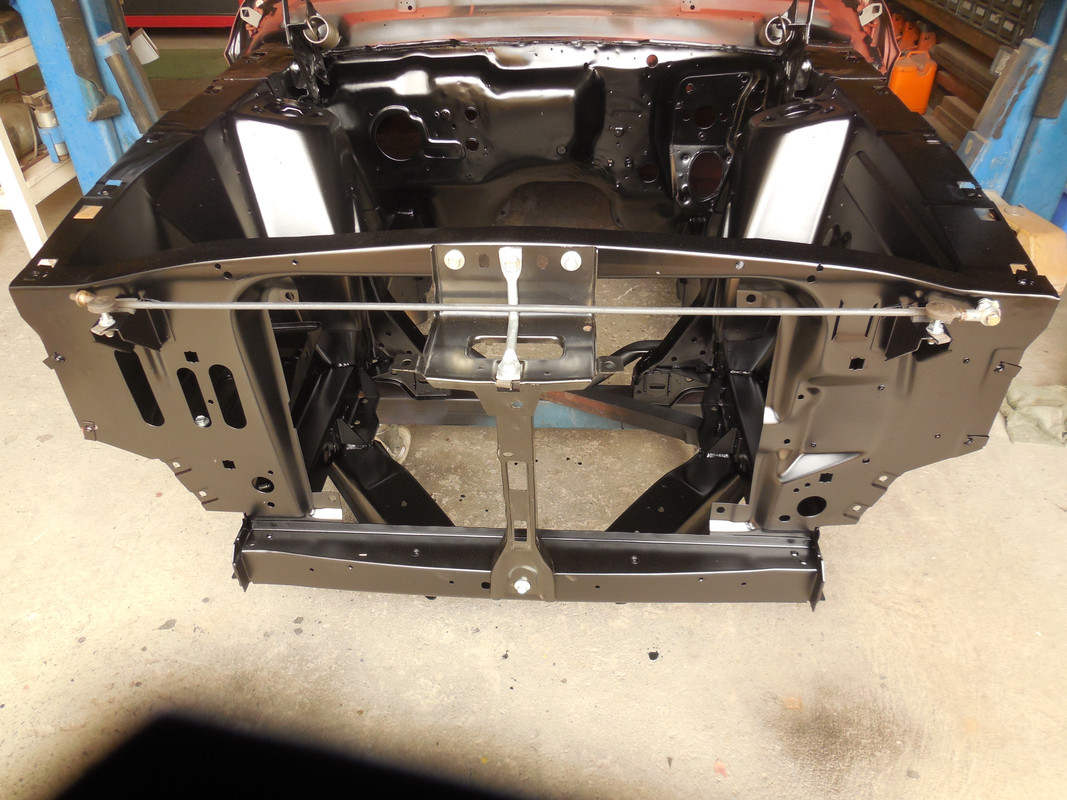
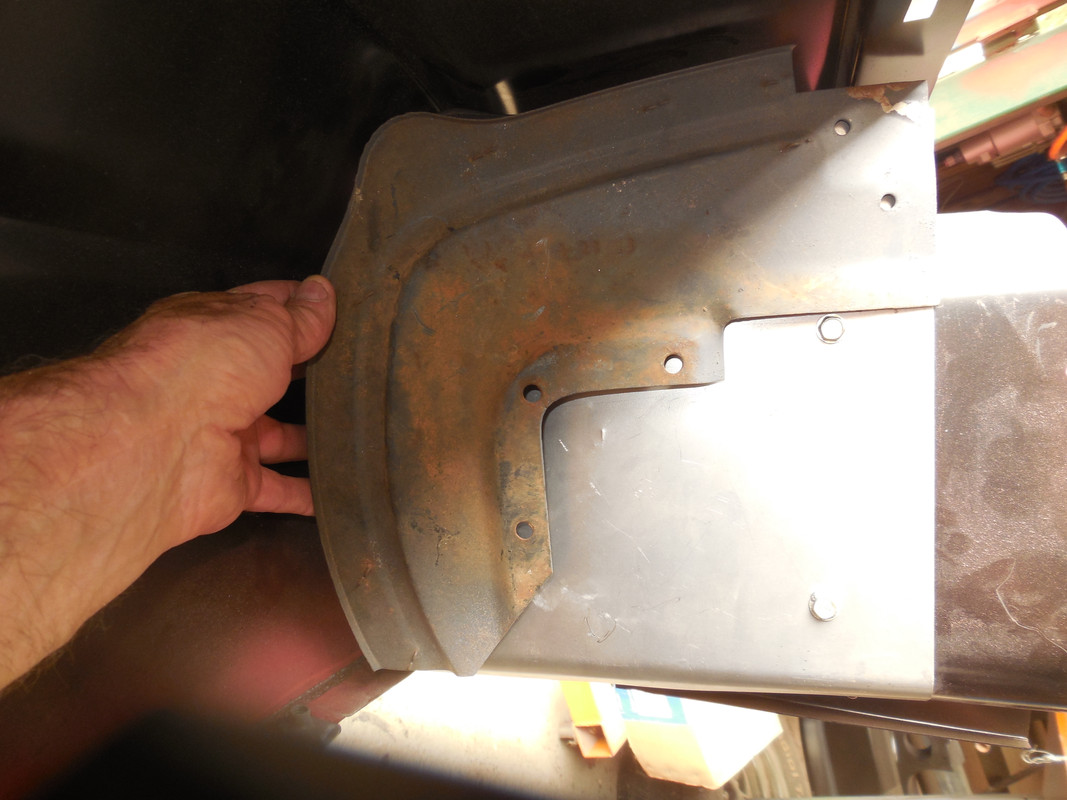
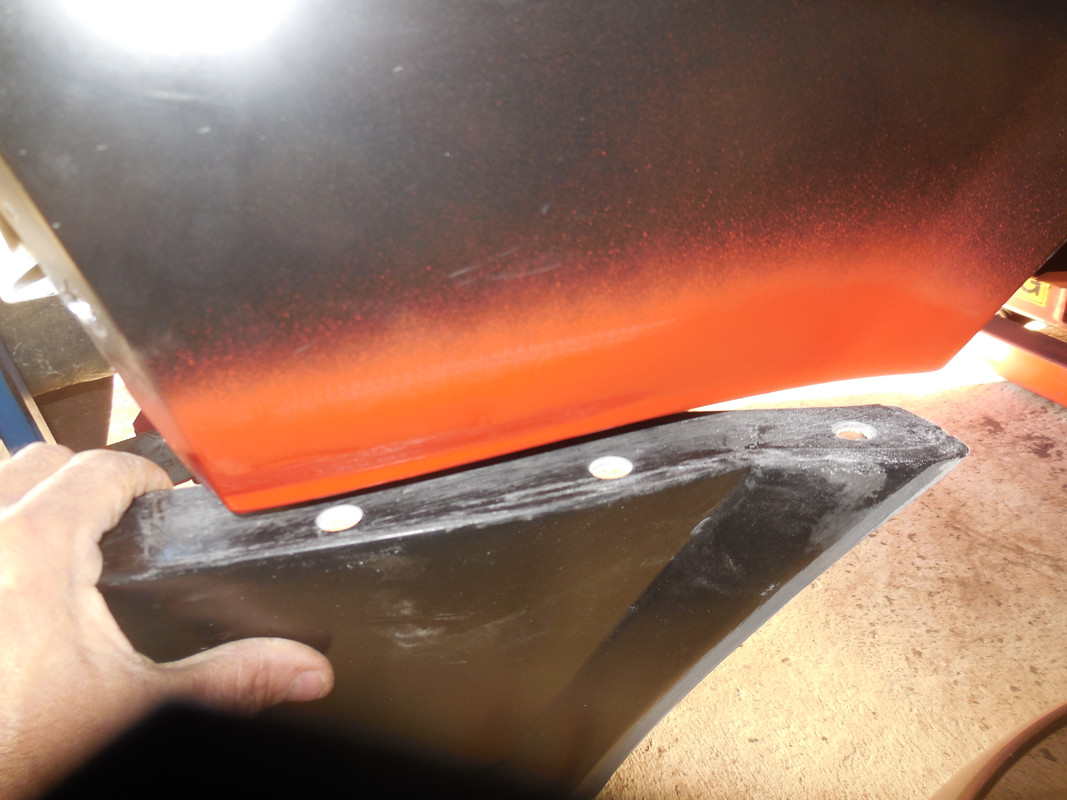
That meant new front splash panels needed to be made. First pic is comparing the old & new, second pic is the new .......
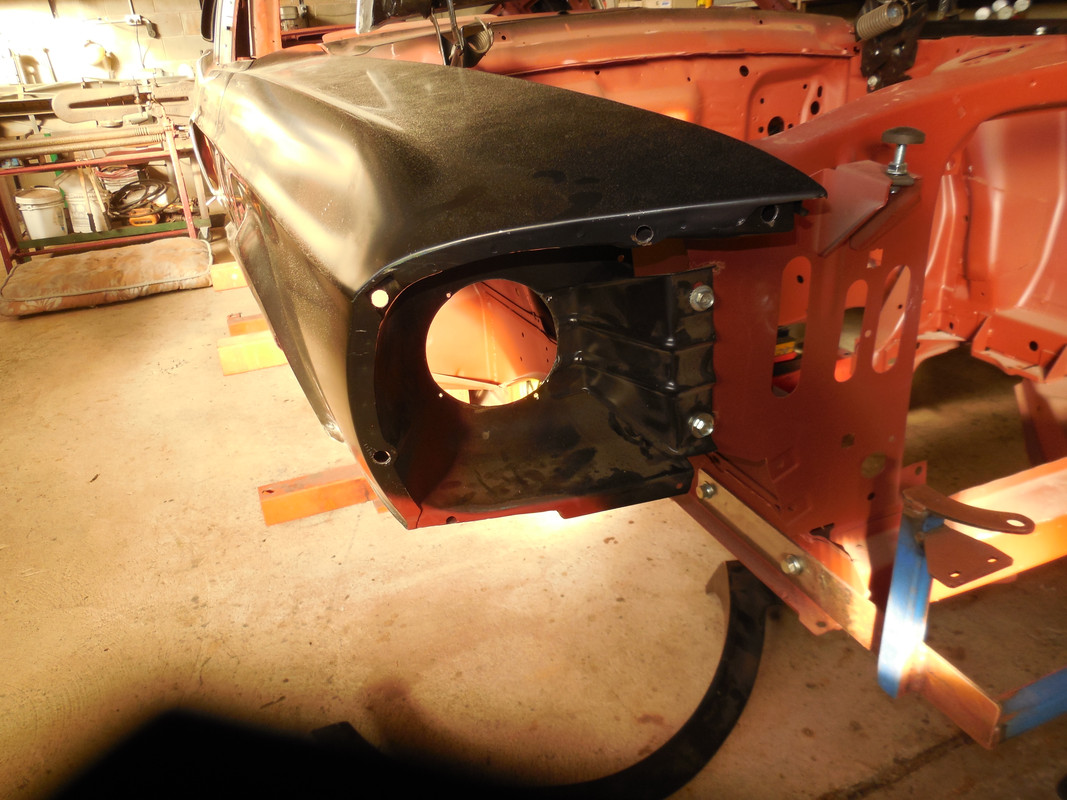
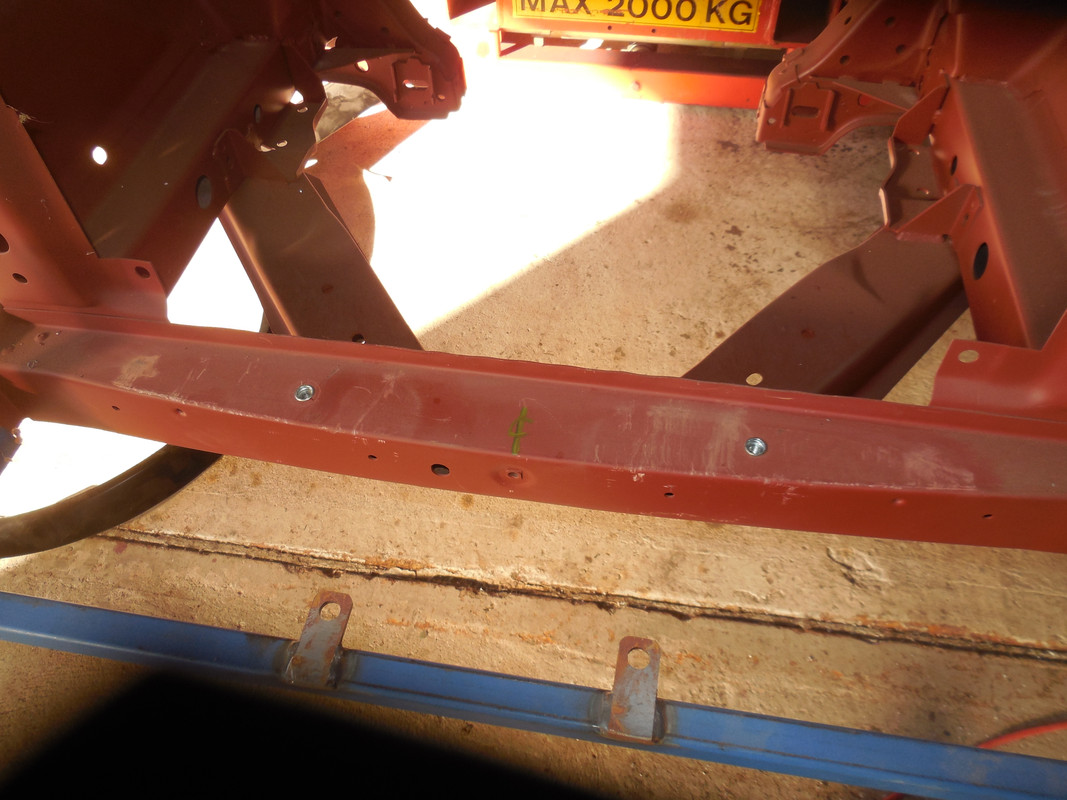
Before test fitting the nose panels, a couple of Riv Nut fasteners needed to be fitted to the front tie rail. This allowed the lower nose panel to be fastened in place ....

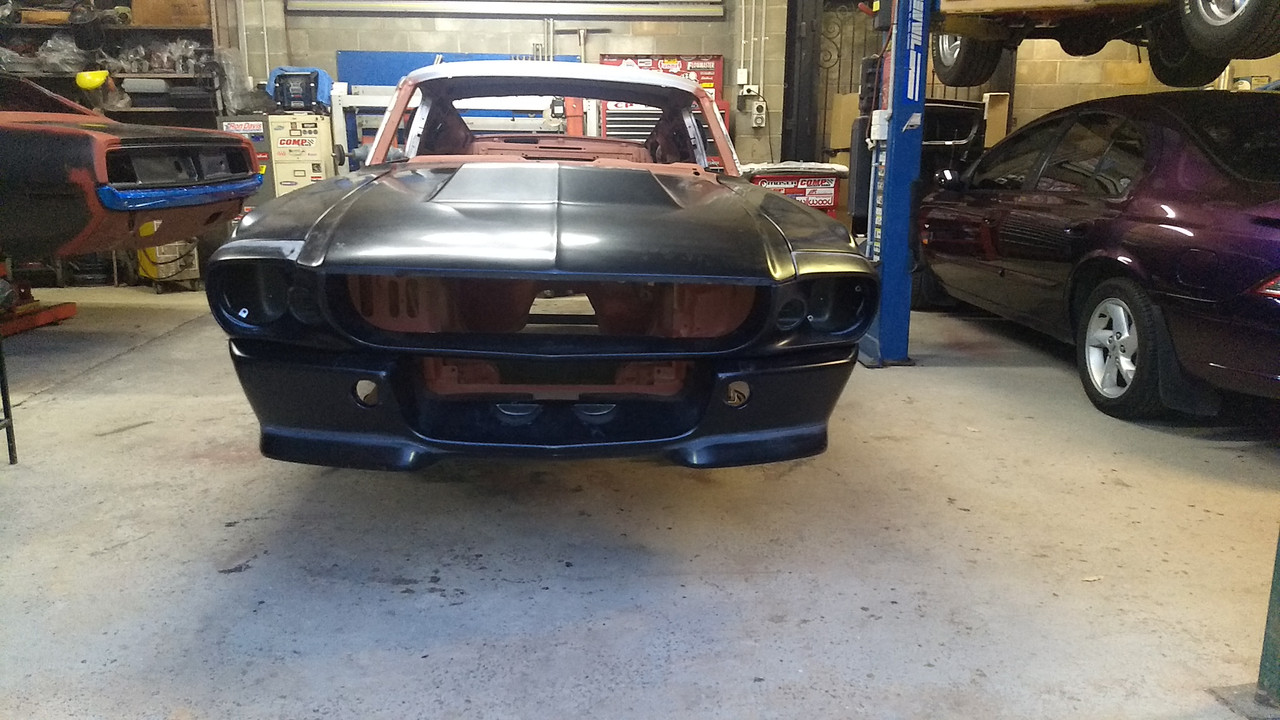
Nose panels test fitted .....
Re: Ozbilt's last build for a client
Posted: Mon Aug 10, 2020 3:47 am
by ozbilt
I have halfway decent speed out of the NBN today, so here goes.
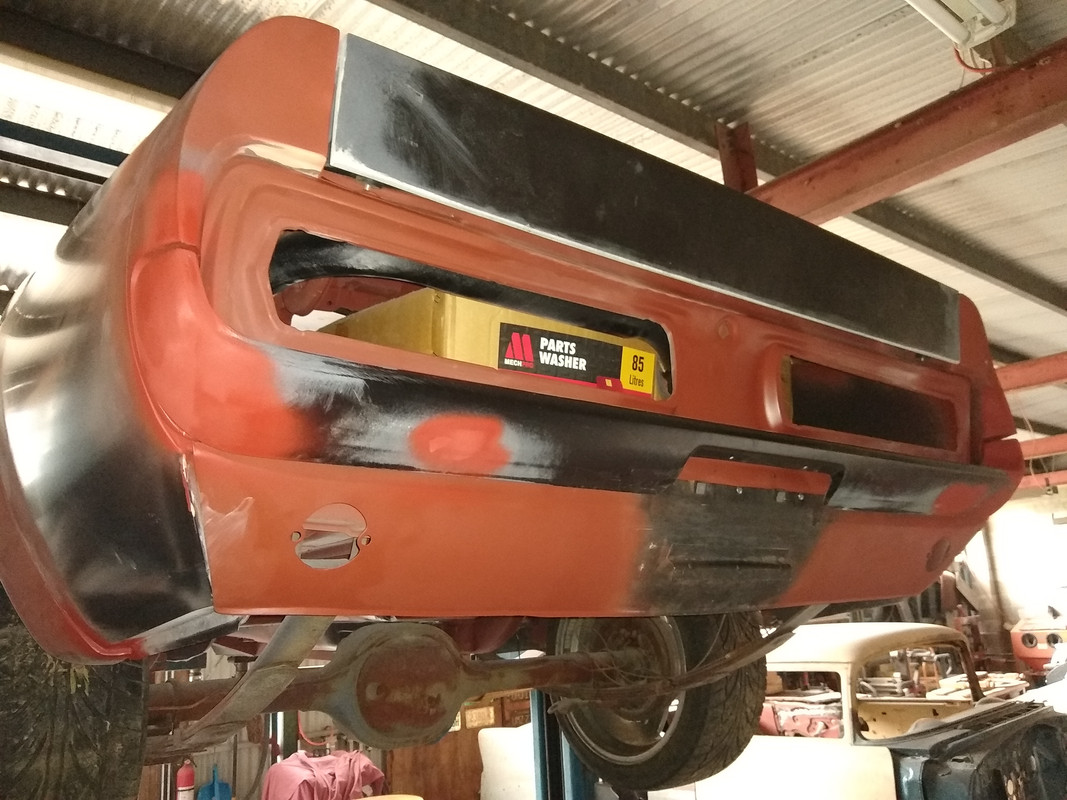
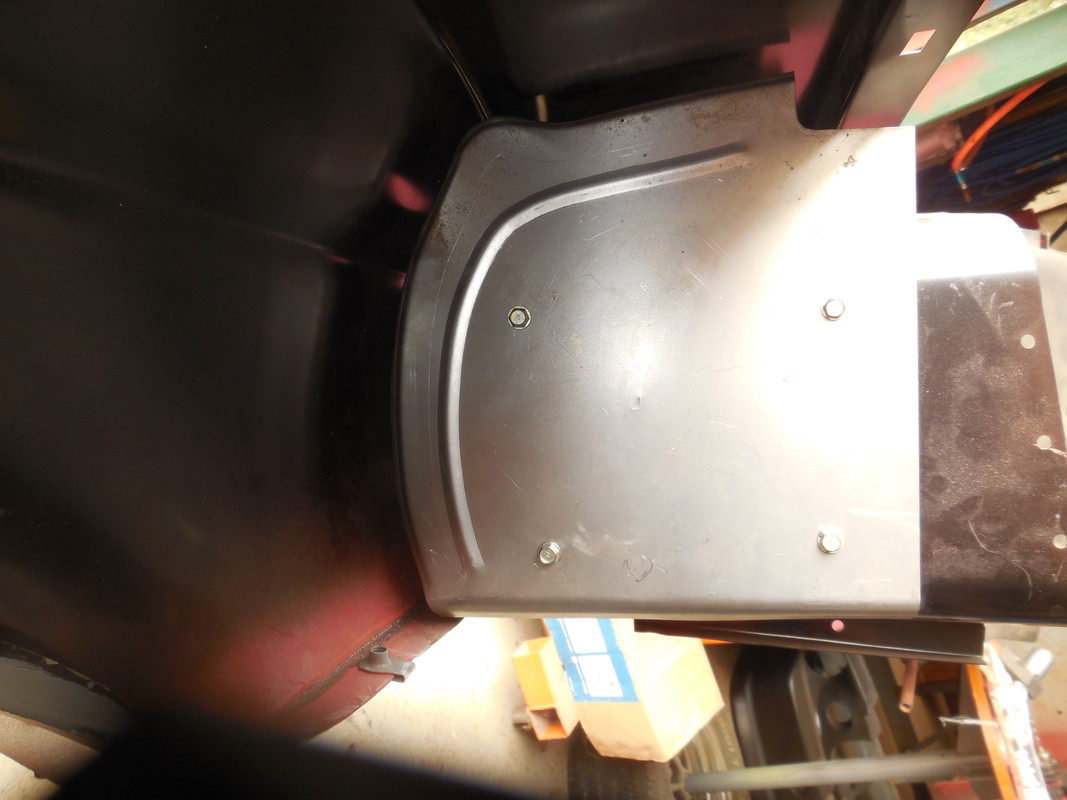
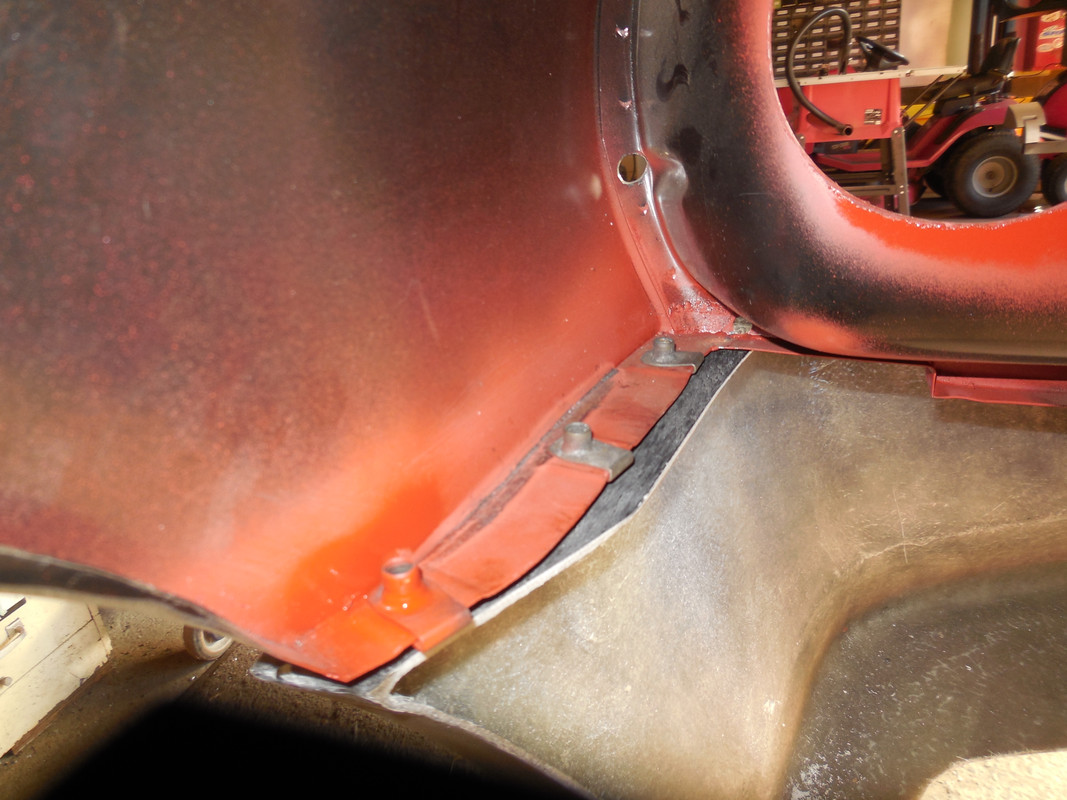
These 2 pictures show how the lower front valance bolted up to the modified fenders ......
Re: Ozbilt's last build for a client
Posted: Mon Aug 10, 2020 4:08 am
by ozbilt
Re: Ozbilt's last build for a client
Posted: Mon Aug 10, 2020 4:48 am
by ozbilt
Re: Ozbilt's last build for a client
Posted: Mon Aug 10, 2020 8:02 pm
by Nuts
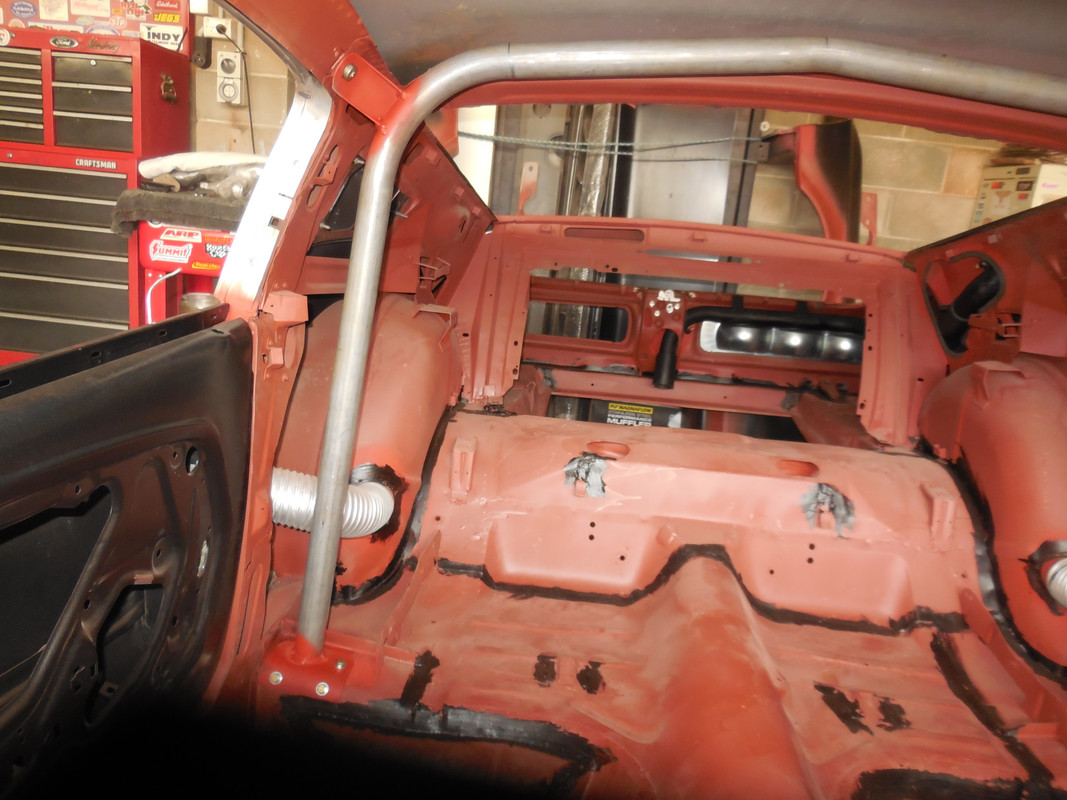
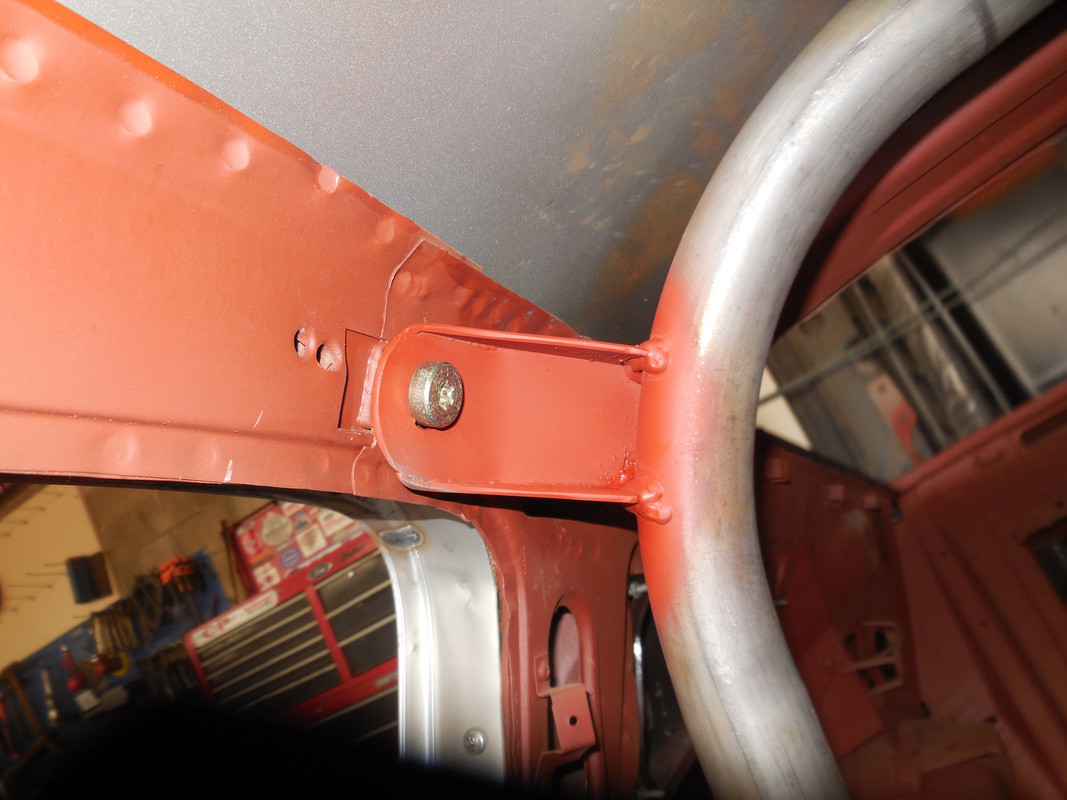
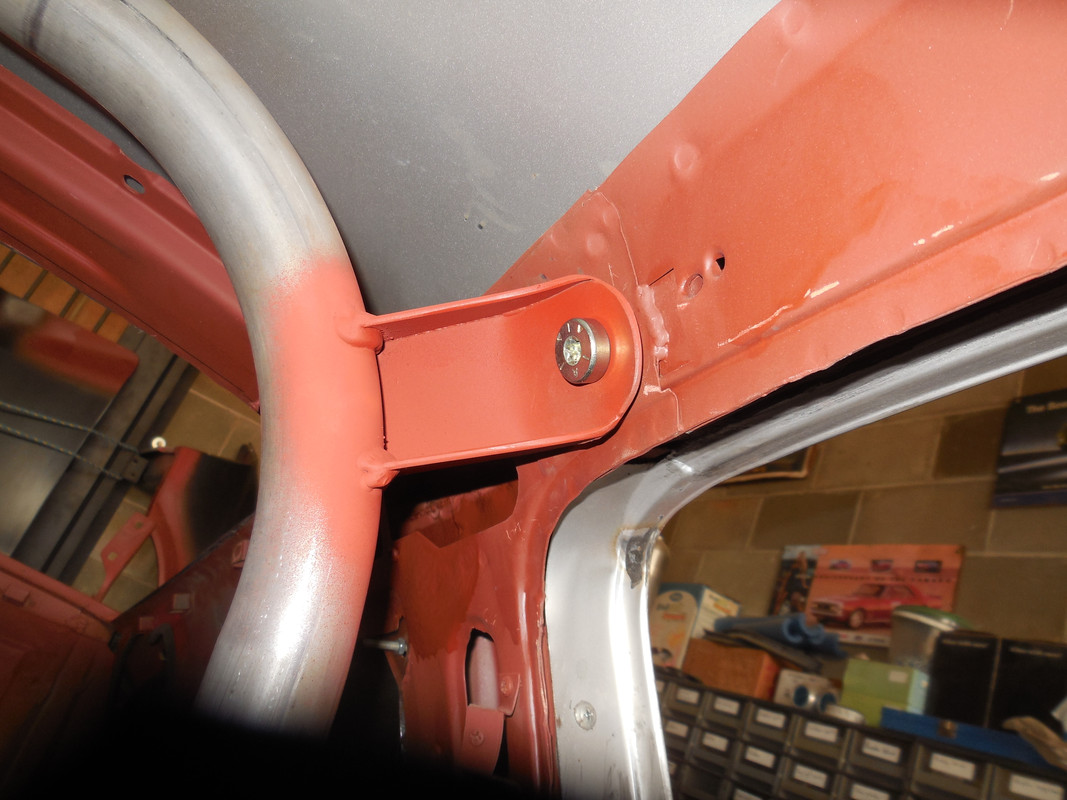
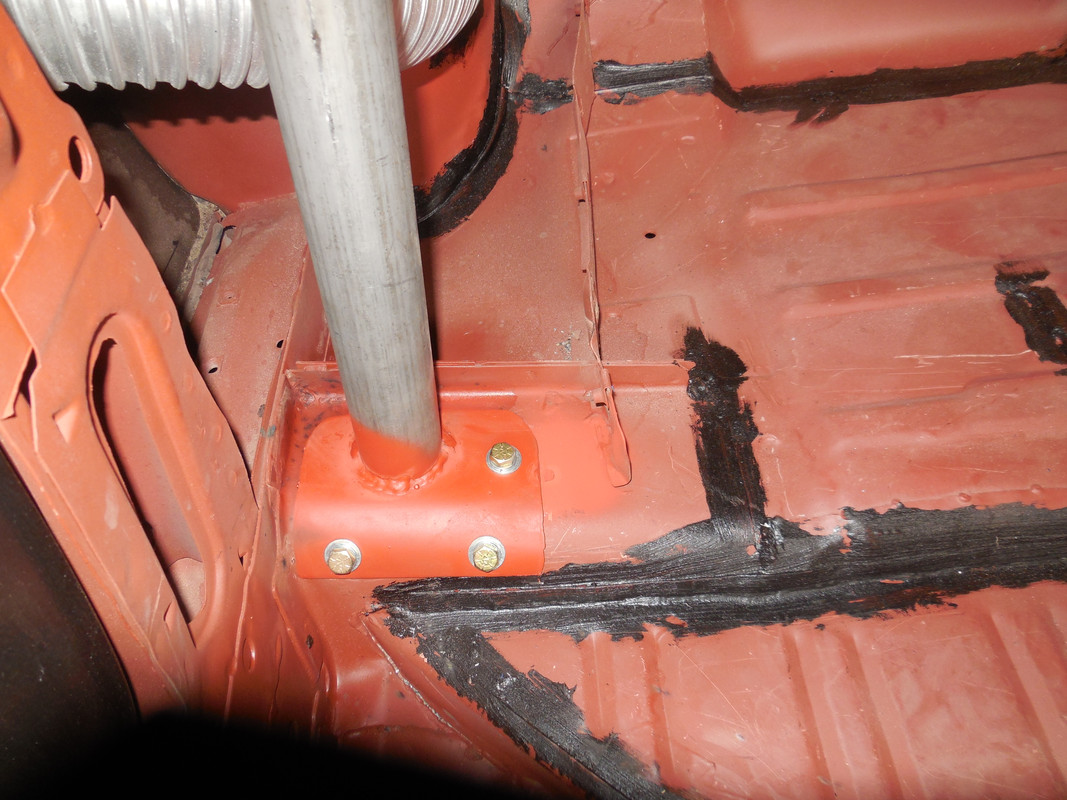
You making a Shelby Roll Bar?
Re: Ozbilt's last build for a client
Posted: Mon Aug 10, 2020 8:42 pm
by ozbilt
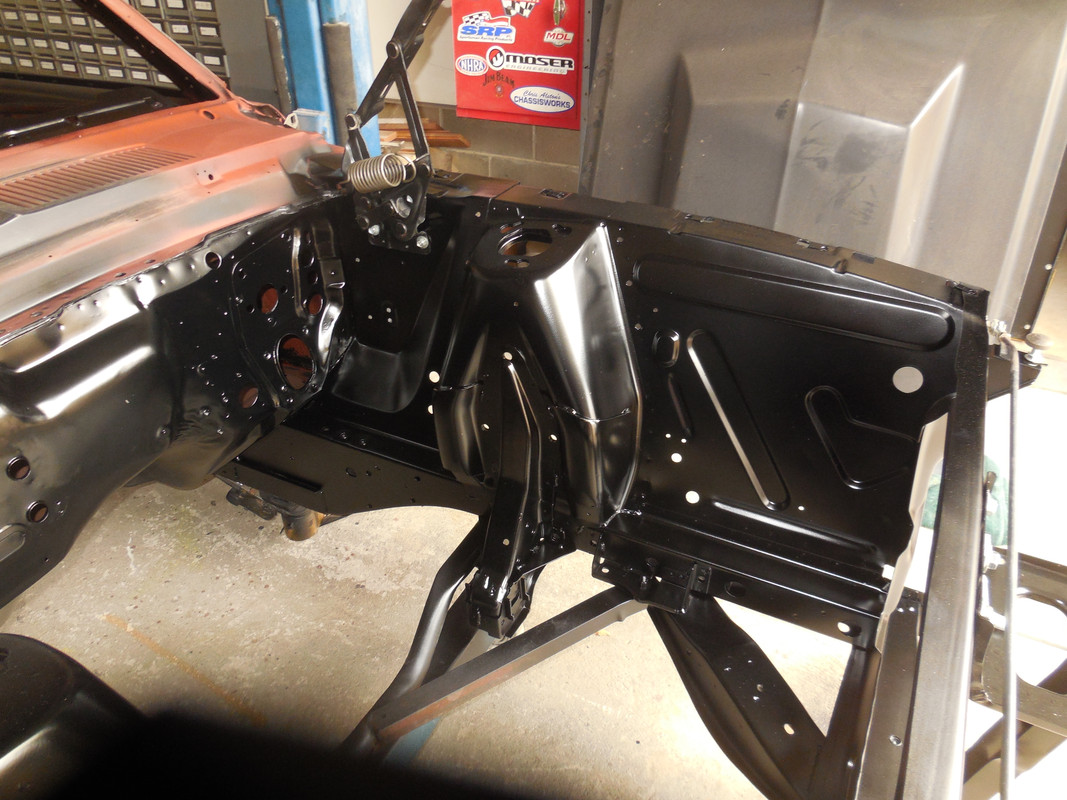
Nuts wrote:You making a Shelby Roll Bar?
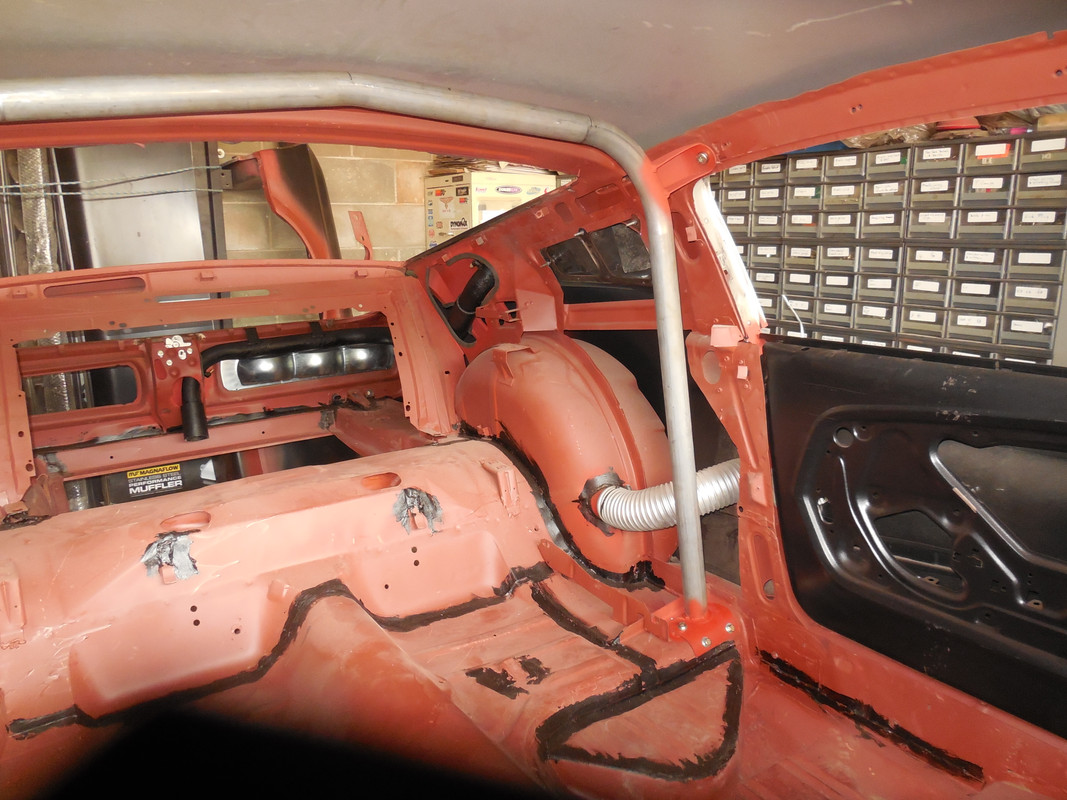
Past tense, yes I had Bond Roll Bars bend one to my spec. The rest was a direct copy off a genuine one.
Re: Ozbilt's last build for a client
Posted: Tue Aug 11, 2020 12:08 am
by ozbilt
Re: Ozbilt's last build for a client
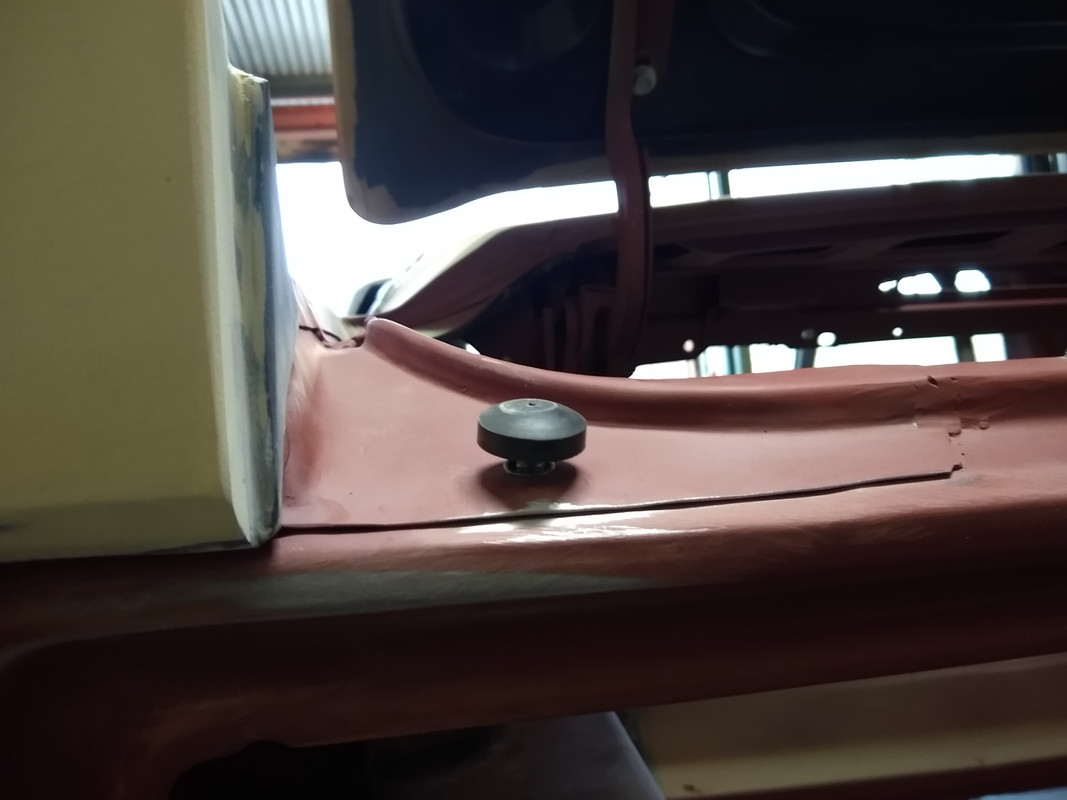
Posted: Tue Aug 11, 2020 12:56 am
by ozbilt
I found a better picture of the hood bump stop that I relocated for the trunk adjustment. I inserted a RivNut & the locking nut is on the underside .......
Re: Ozbilt's last build for a client
Posted: Tue Aug 11, 2020 1:50 am
by ozbilt
Re: Ozbilt's last build for a client
Posted: Tue Aug 11, 2020 5:35 am
by Pinto-Pete
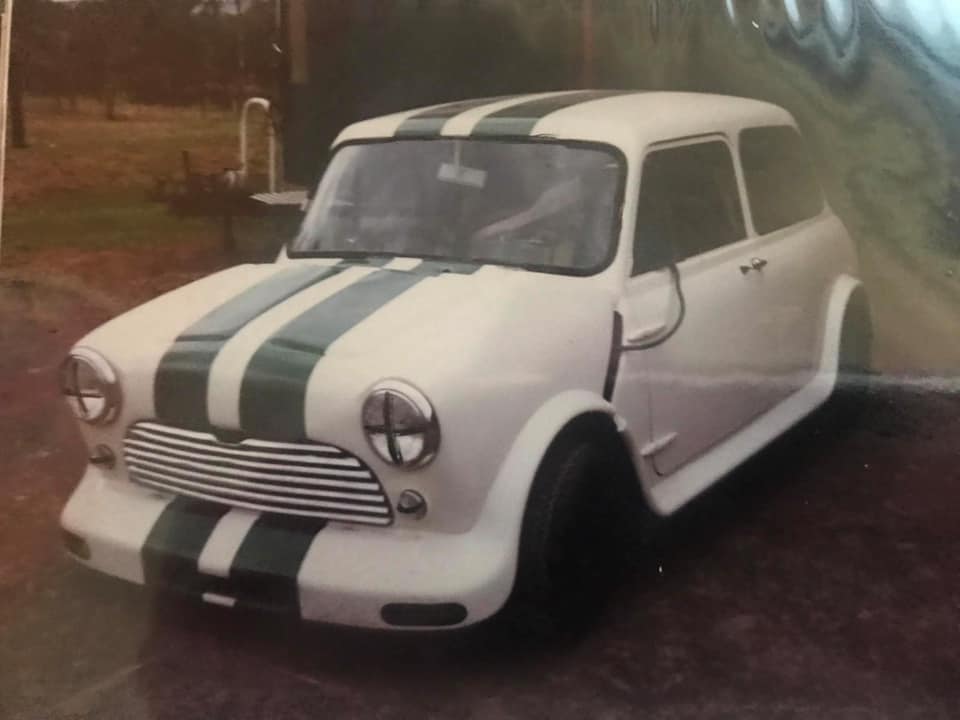
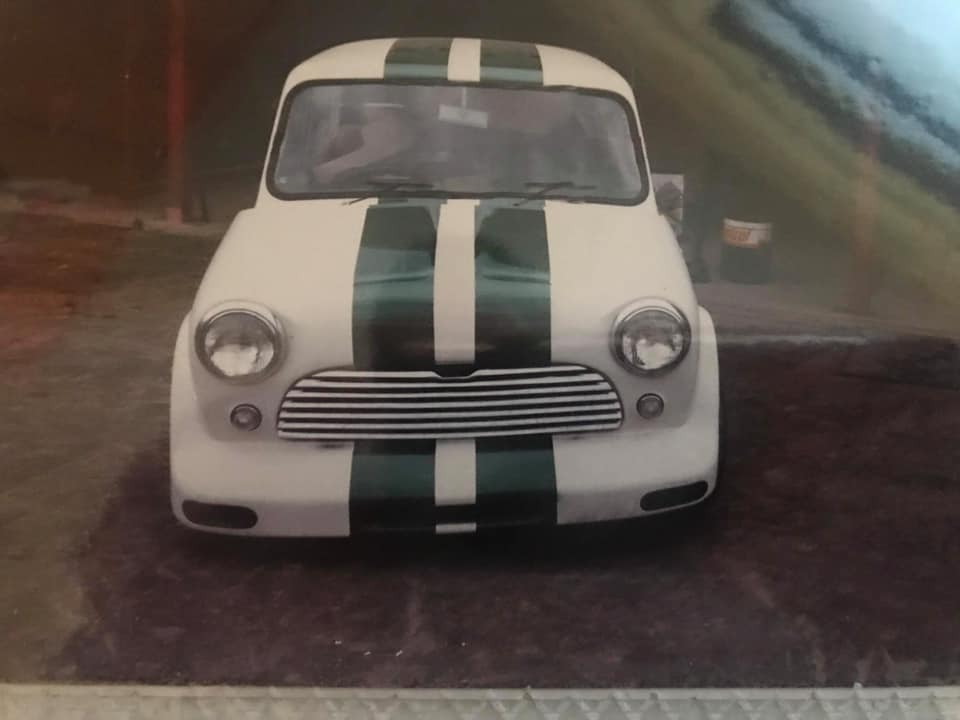
A seam welded brick with a glass flip front,.... noice..
Re: Ozbilt's last build for a client
Posted: Tue Aug 11, 2020 6:09 am
by gbx78
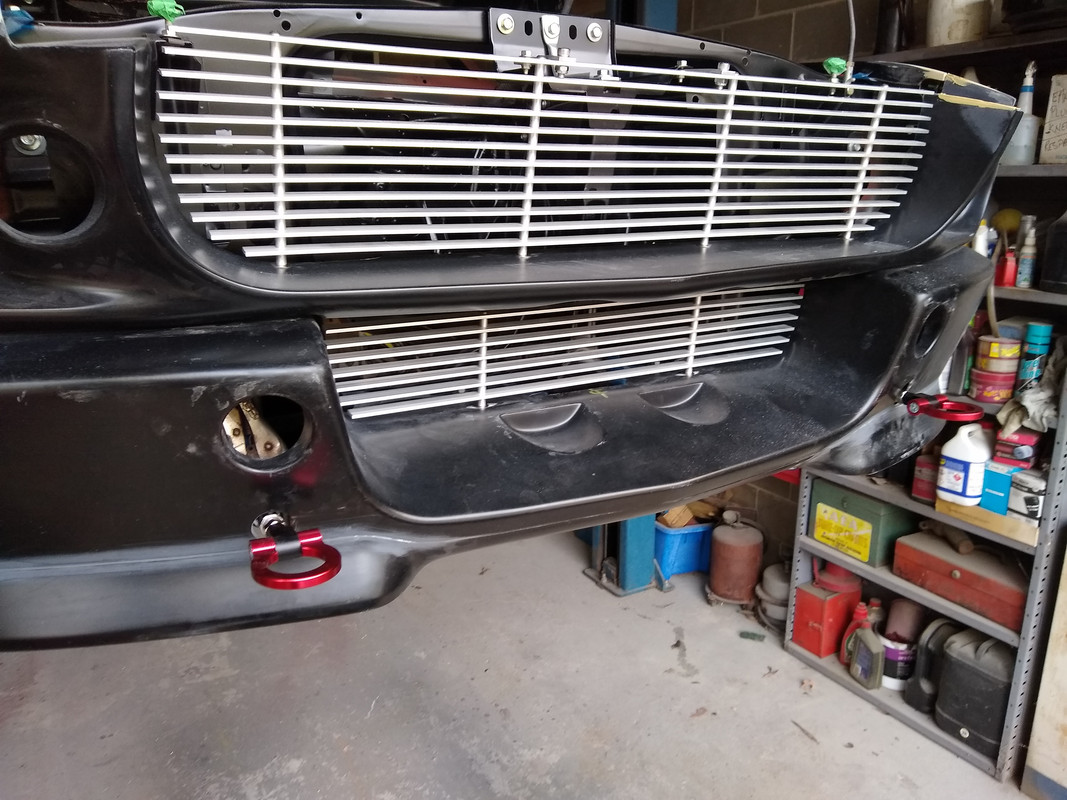
geeez youve been busy!! looks great mate. funny i was about to msg and check in to see how you and the pup are doing?
..yes i have to work out which box those tow hooks are in!! they look great installed!! donkey dick looks good too.. err that came out wrong! was there a mini tub on this one? thats my next venture i think. crazy times at the moment but depending on the day may be able to swing past for a bit. I wanna see the new pup

.
Re: Ozbilt's last build for a client
Posted: Tue Aug 11, 2020 7:05 am
by ozbilt
Pinto-Pete wrote:A seam welded brick with a glass flip front,.... noice..
All steel, but the future maybe fiberglass. I built it with my class of pre-apprentice students back then.