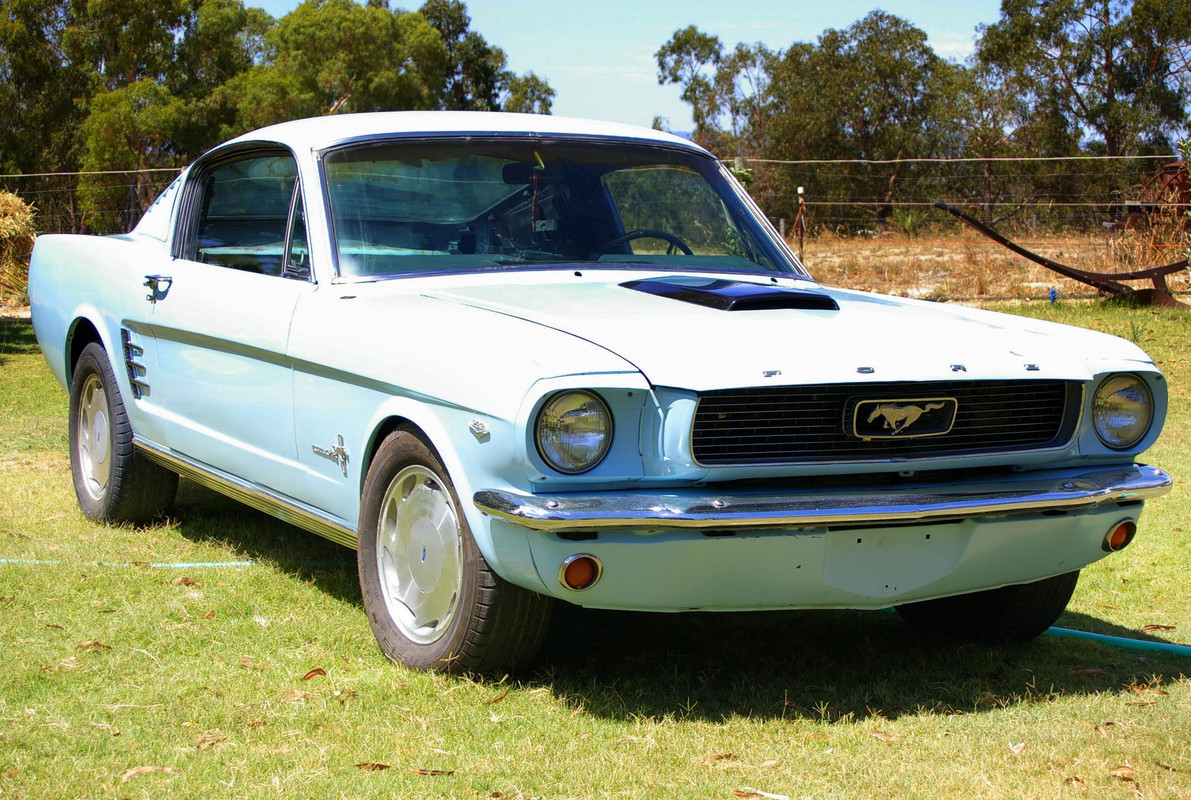
I got it already landed in WA off Ken back in Oct 08 no motor or gbox fitted, shabby blue interior and 2-3 yo babyblue paint job. Well the colour almost turned me away immediately, i new it was going to have the blue interior and even though some might like these colours it just wasn�t me.
Ken was great, honest and friendly. He told me what he new about the car, how old the paint was and gave me a lead light to thoroughly inspect the body inside and out.
As i was disappointed about the interior, he rang his contact in the US and got a estimate price on a full interior kit and said whatever i wanted he would bring in for me on the next container free of charge.
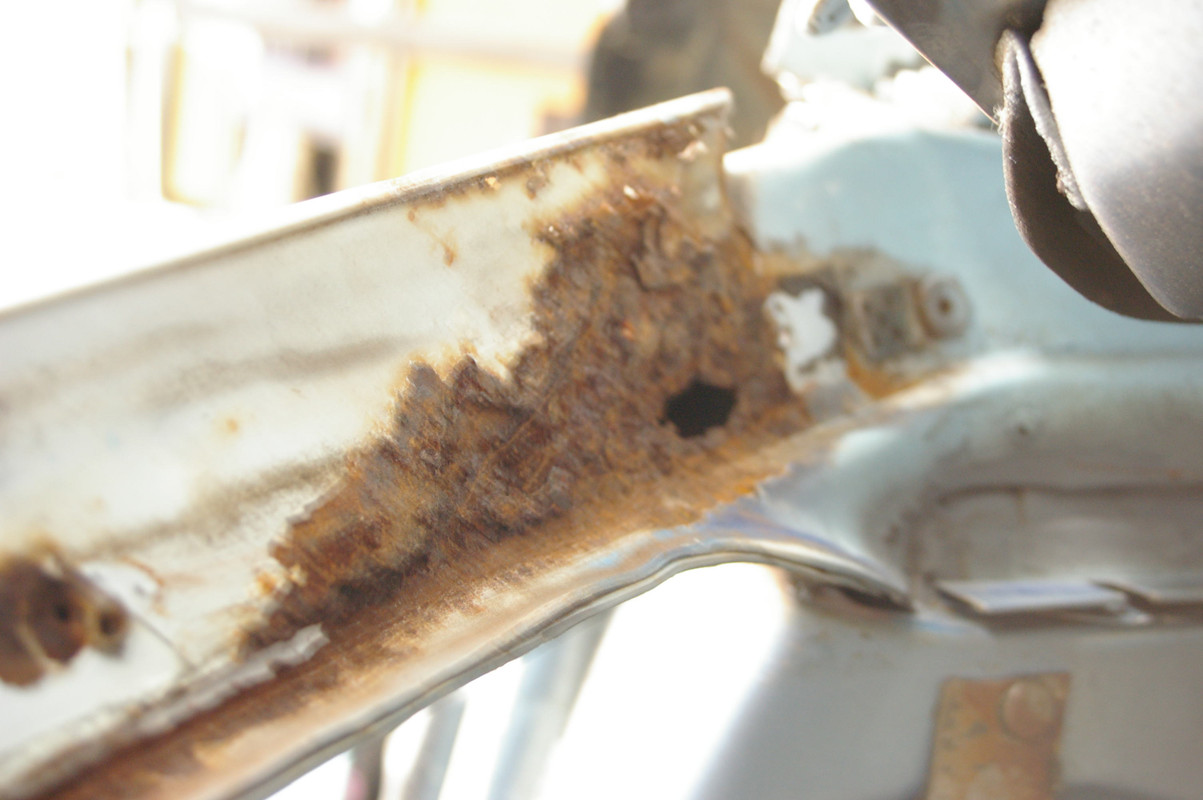
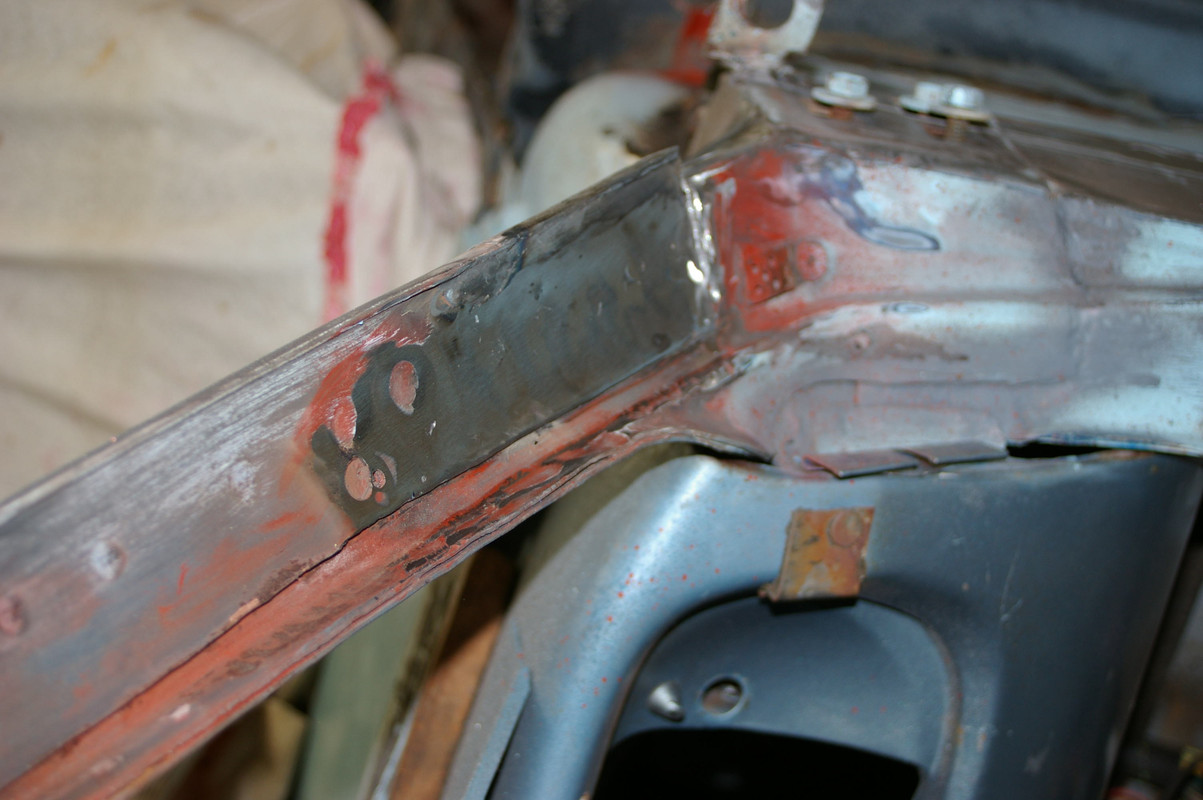
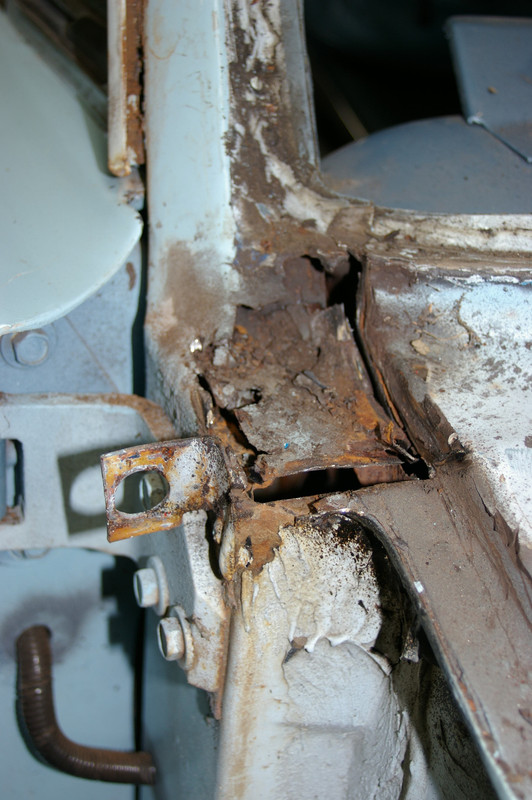
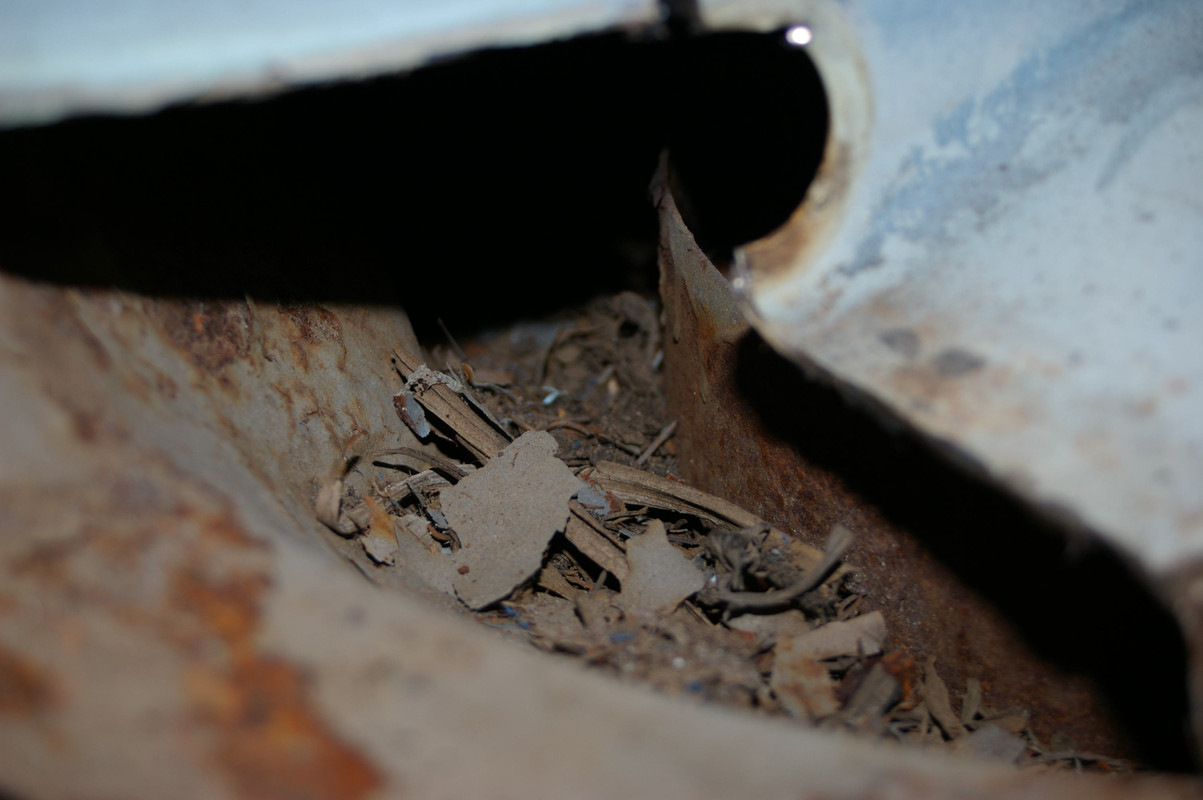
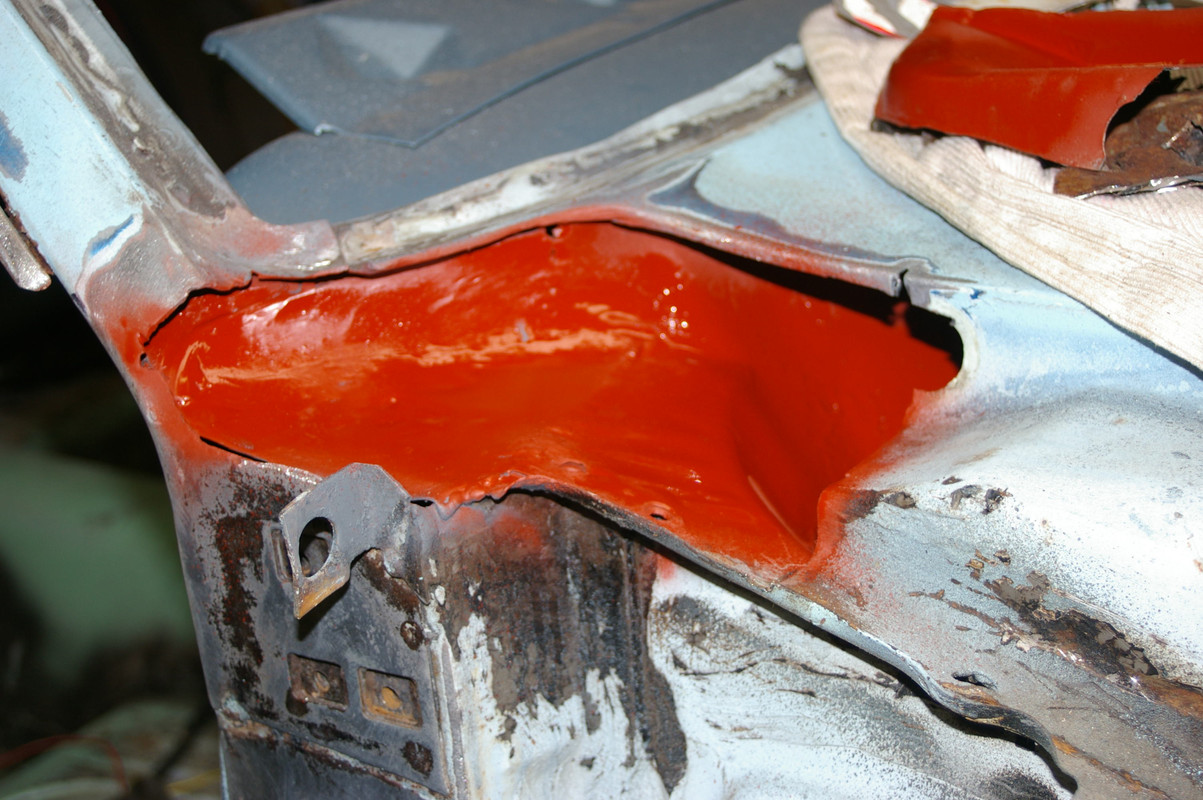
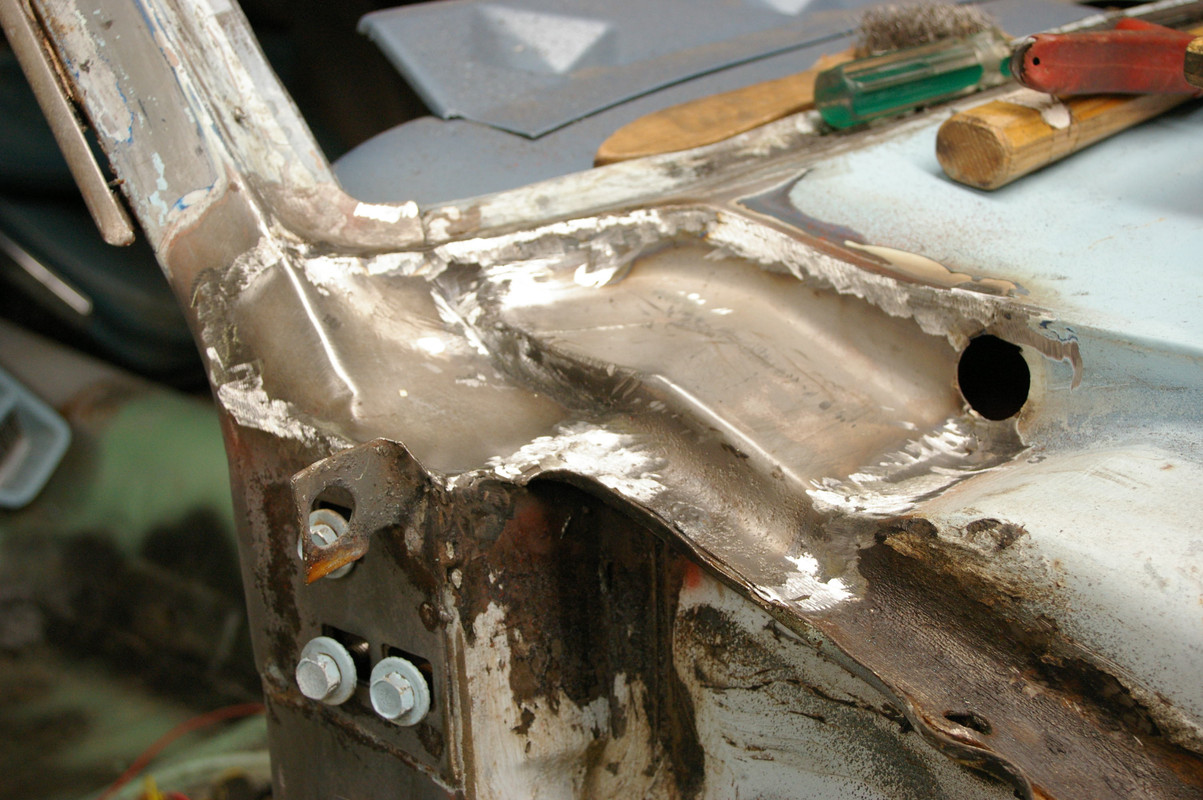
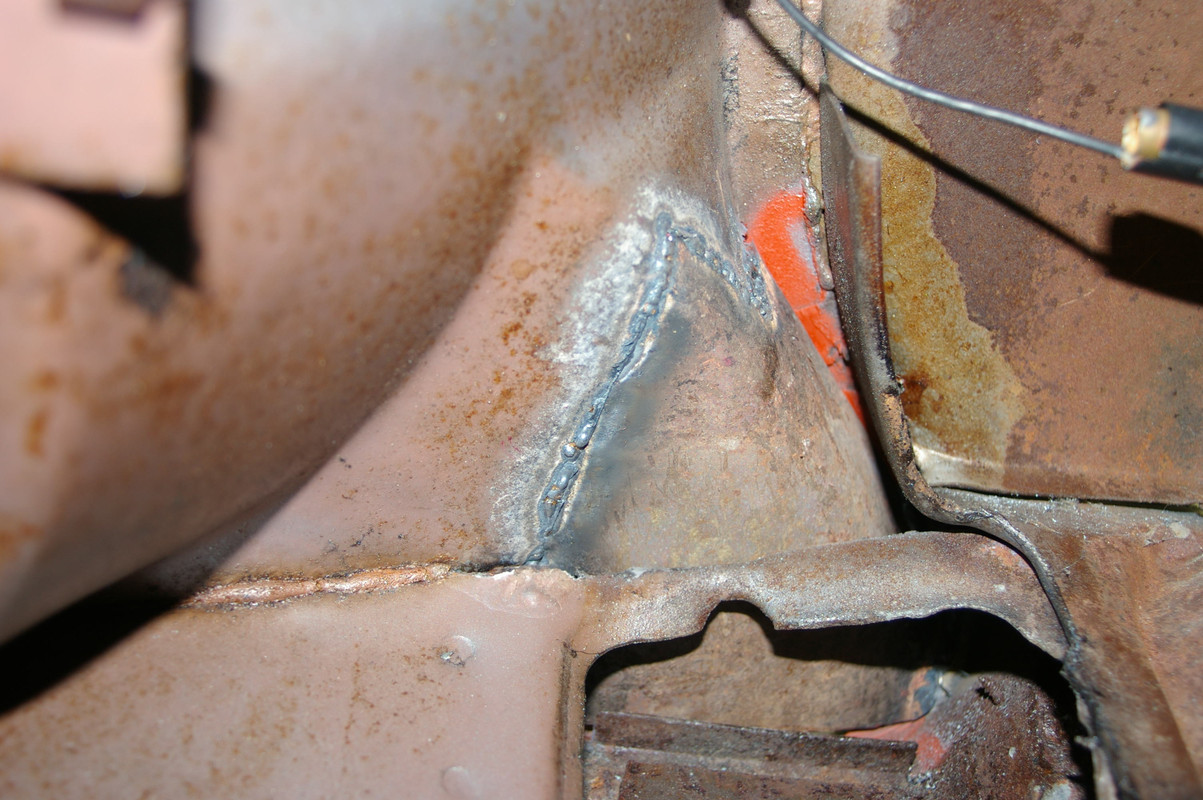
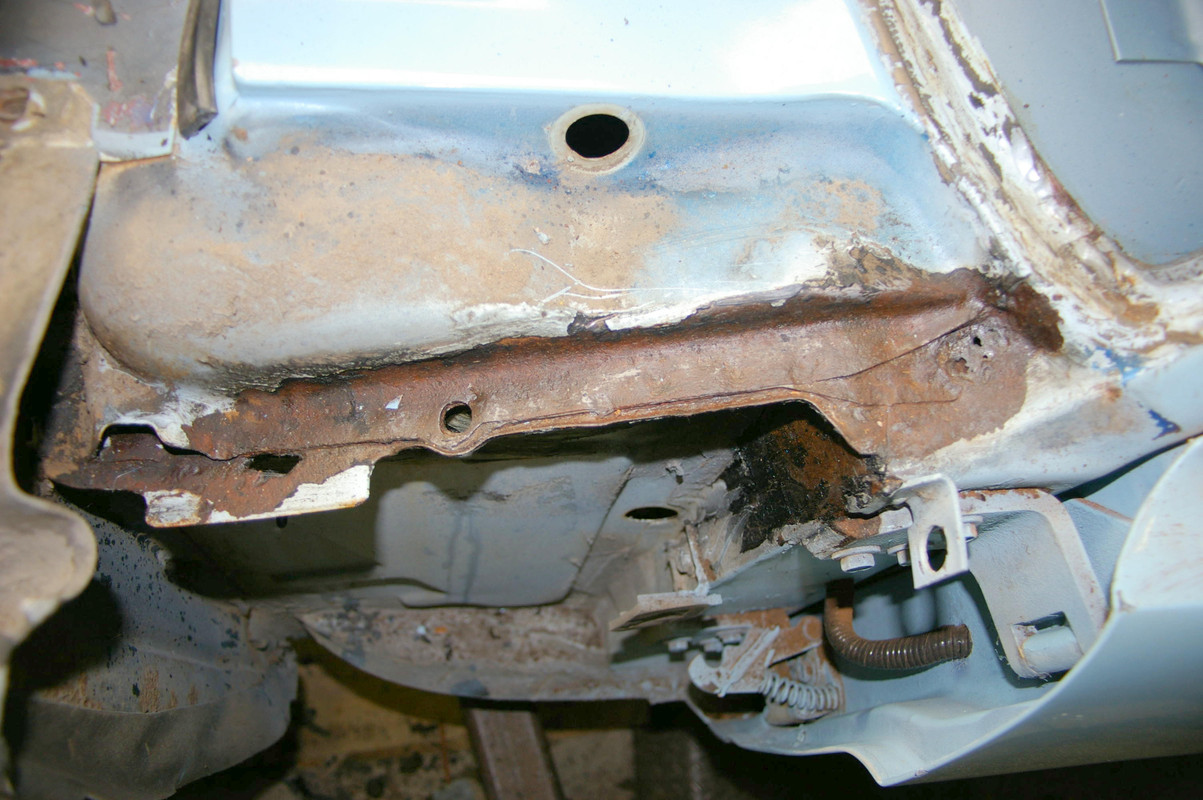
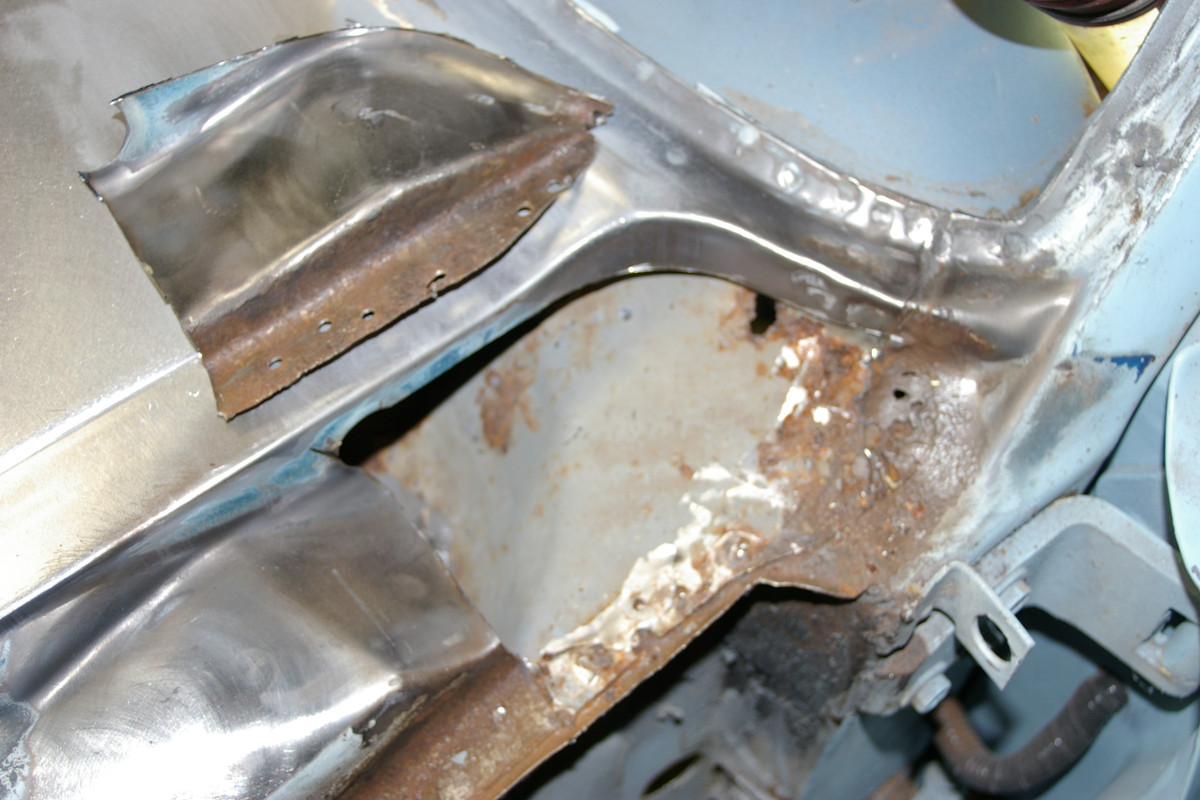
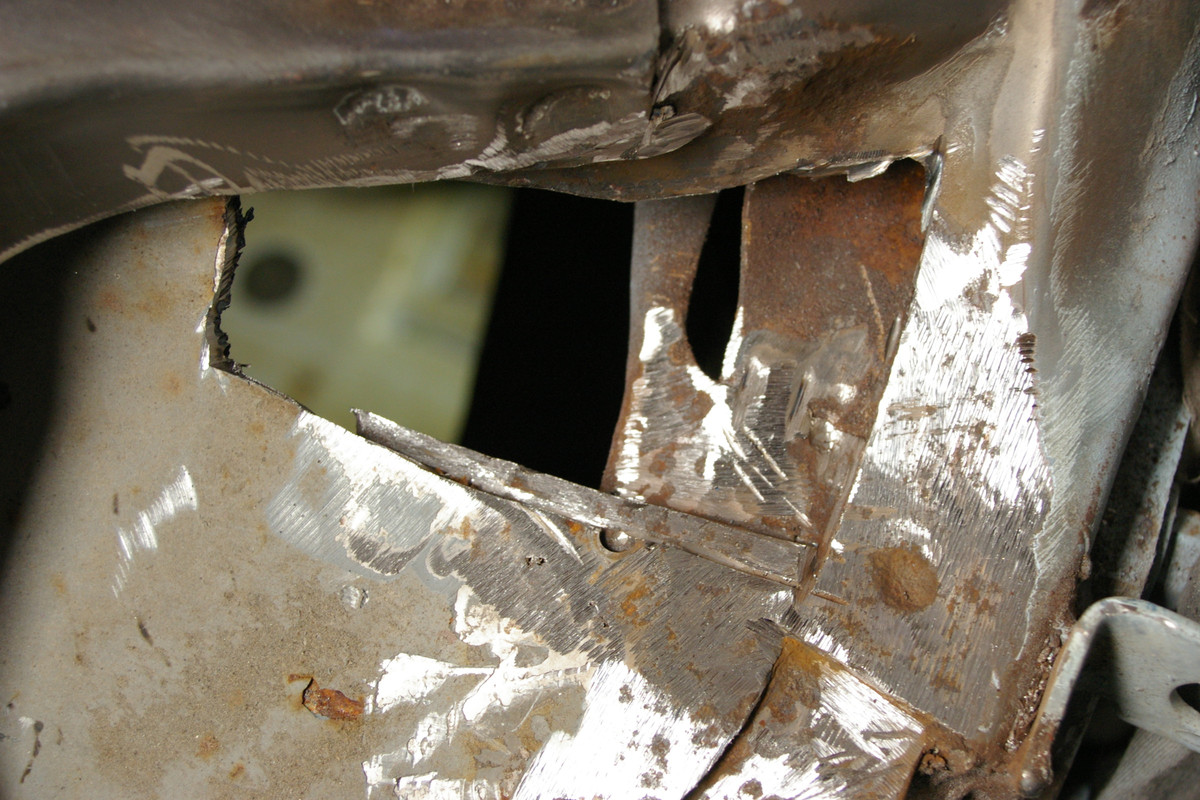
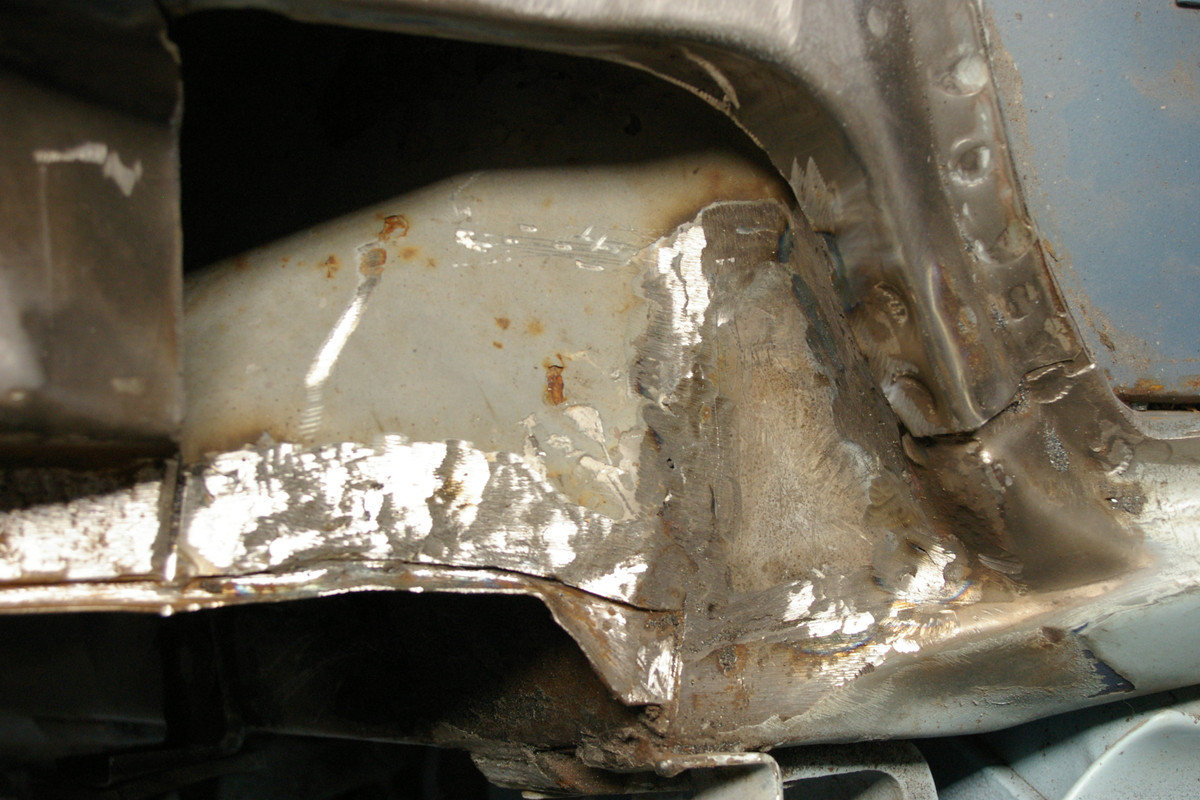
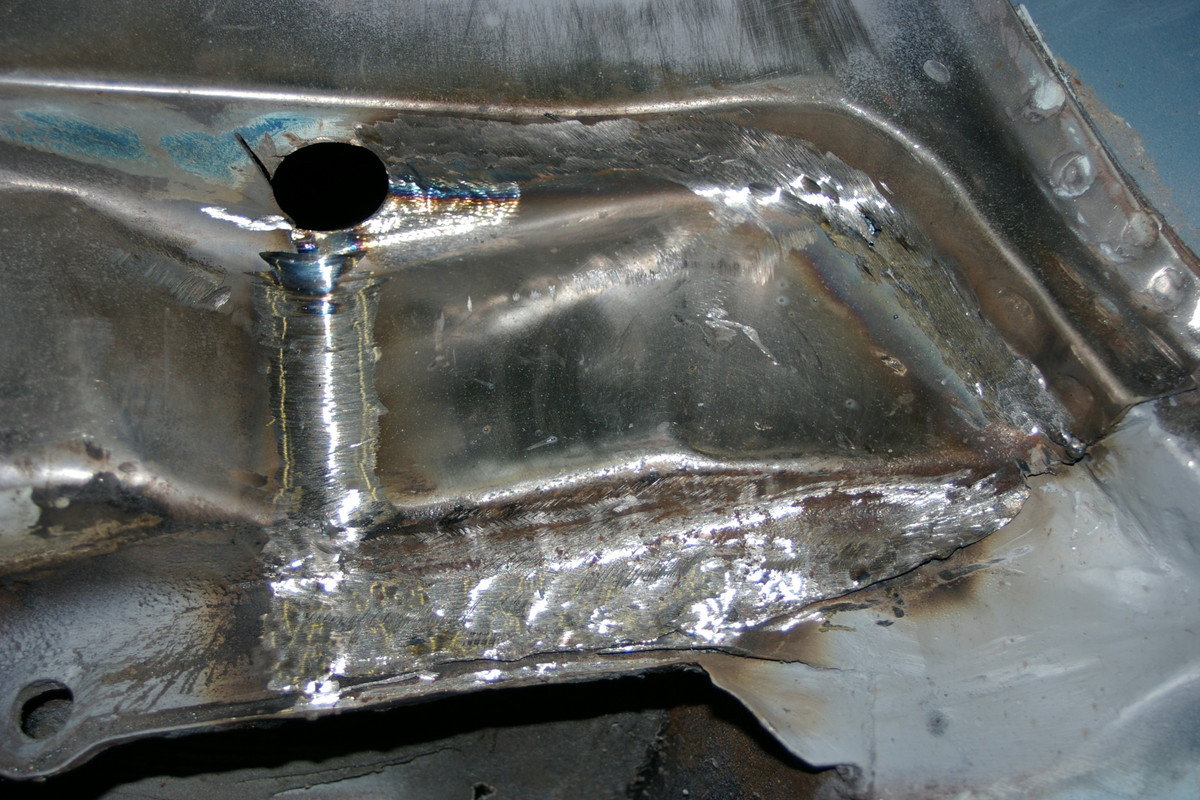
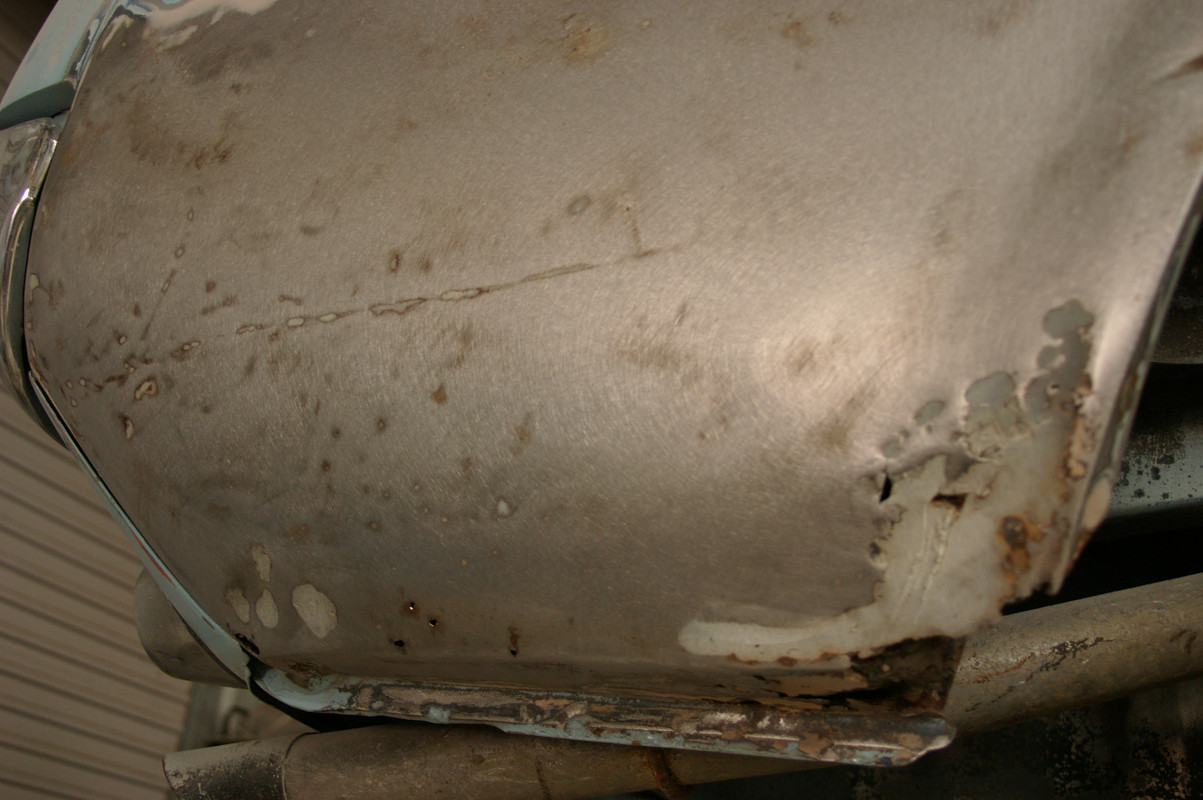
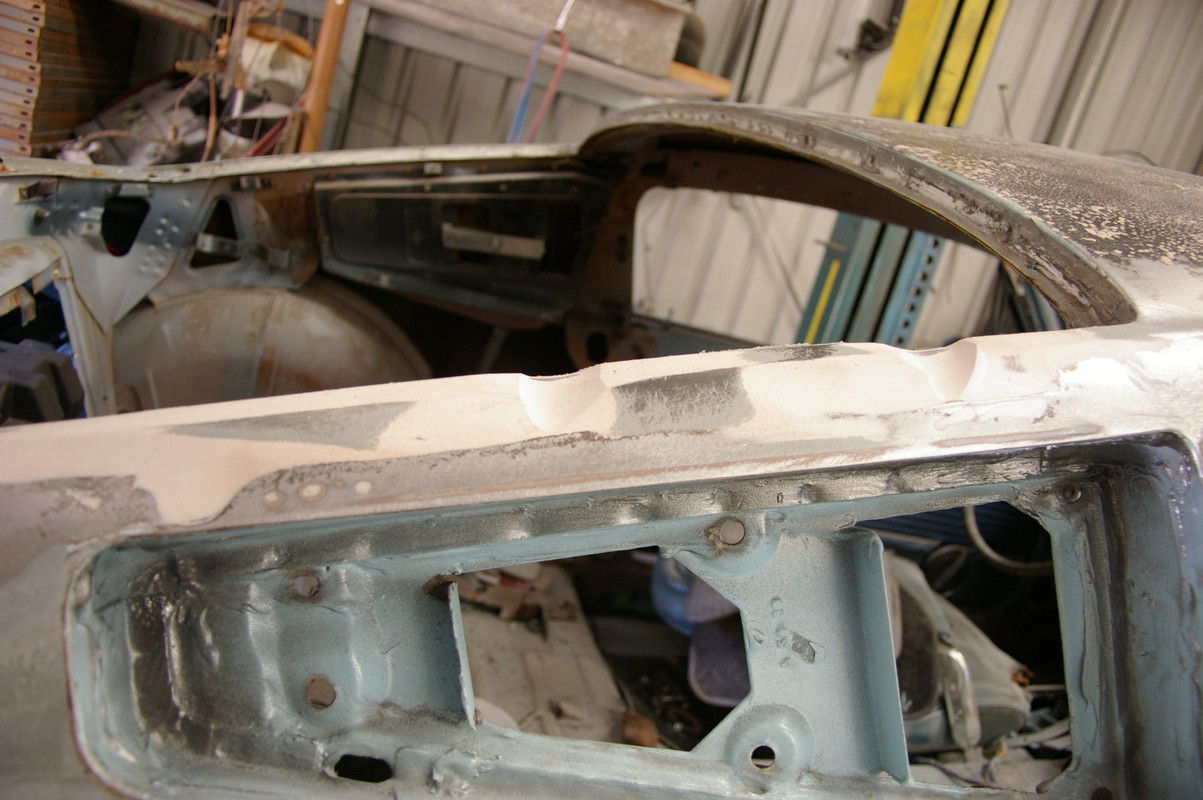
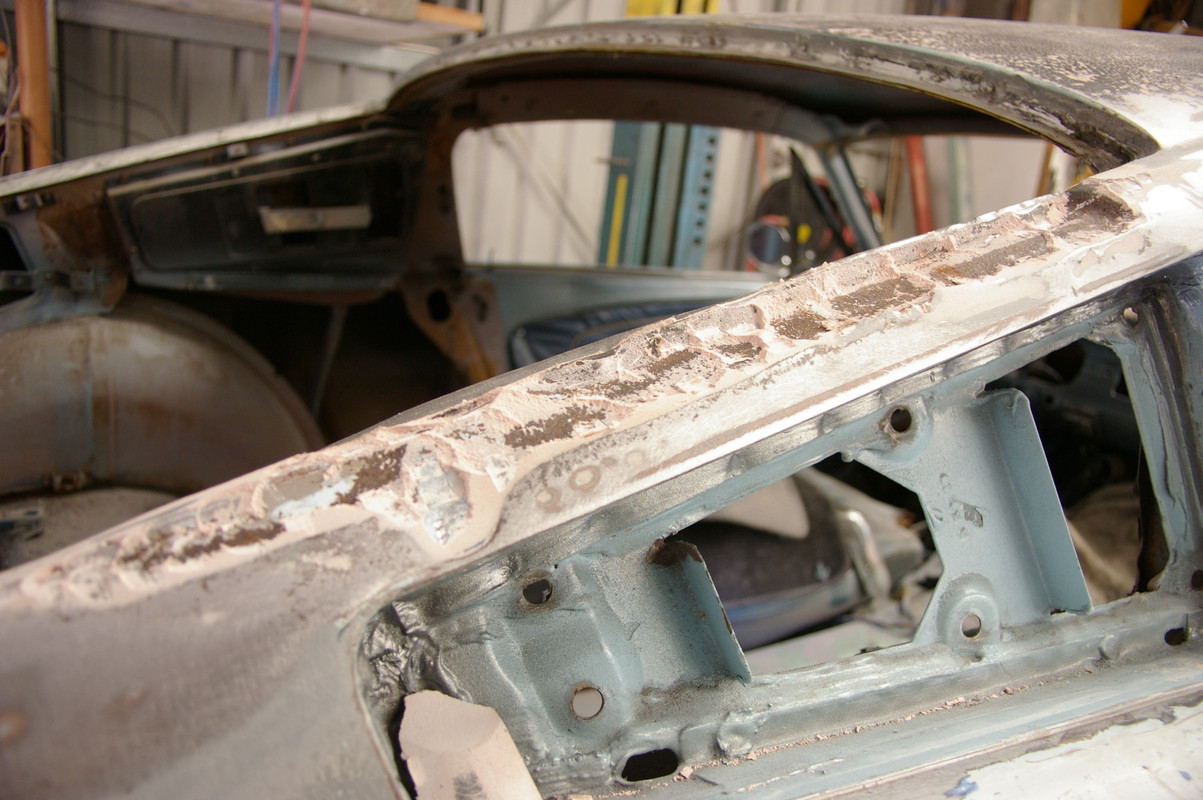
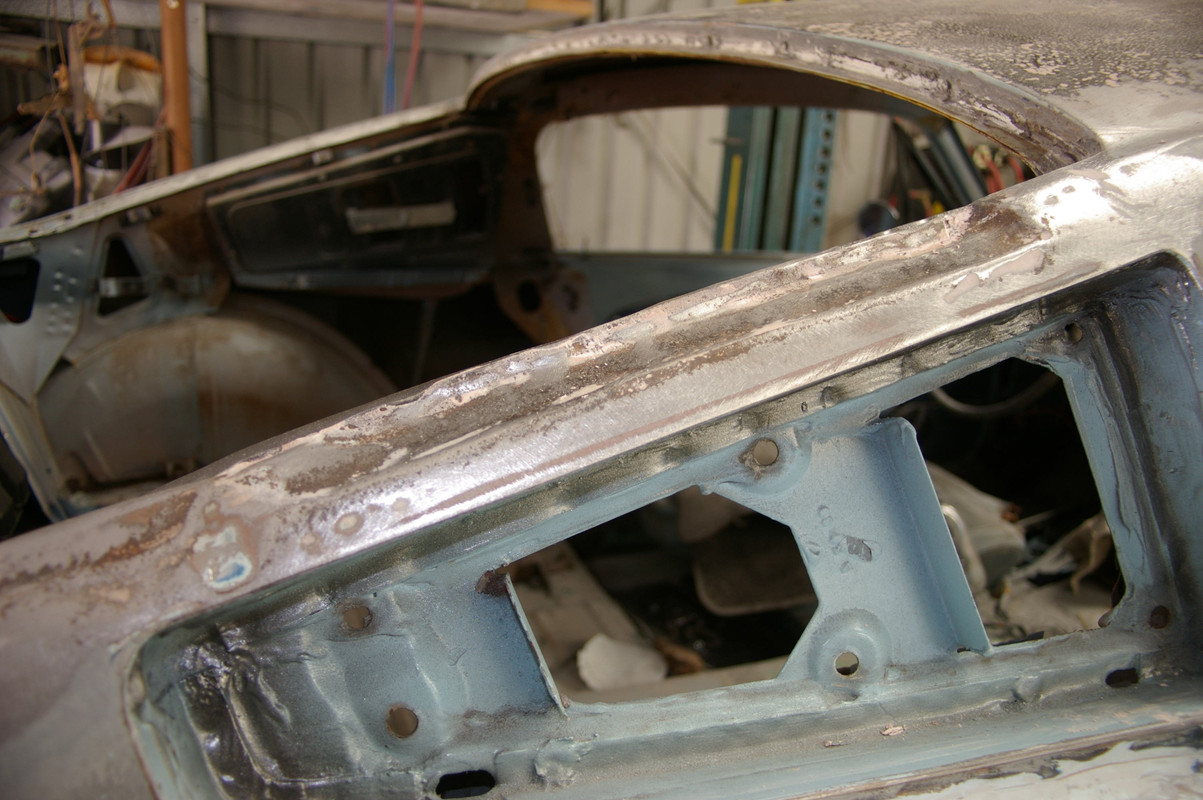
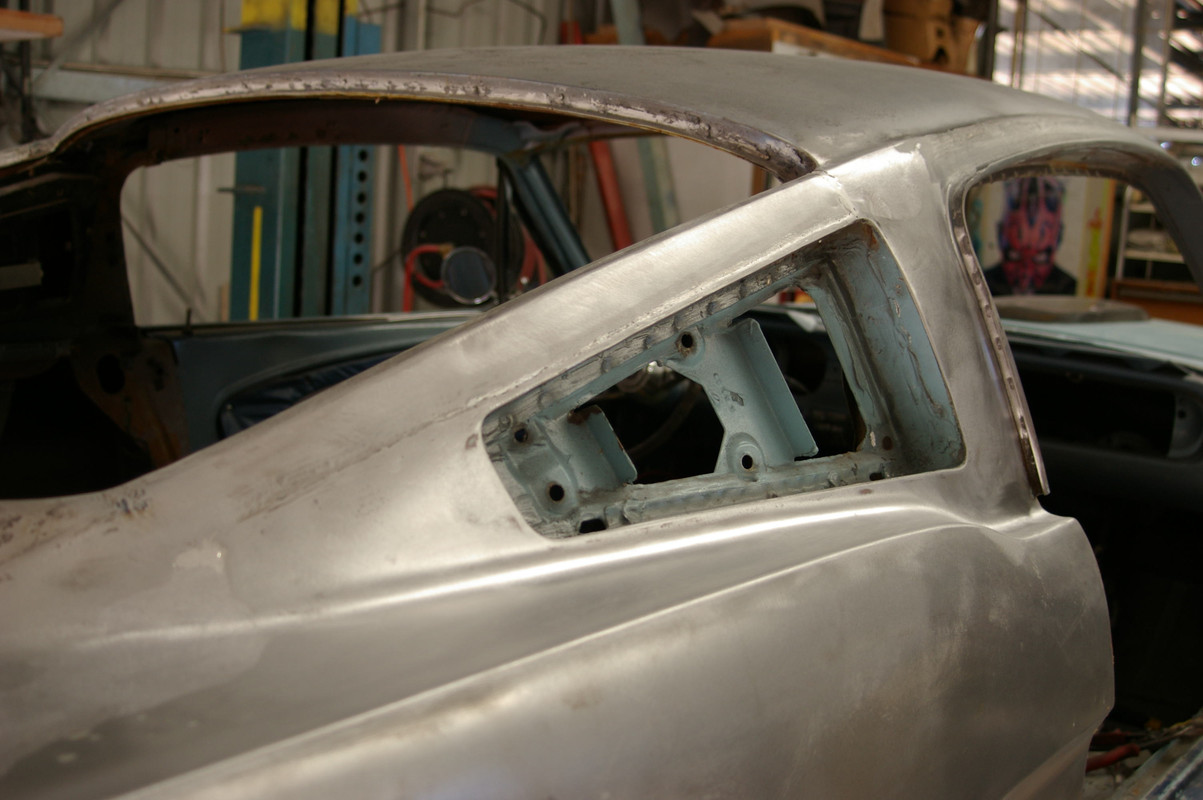
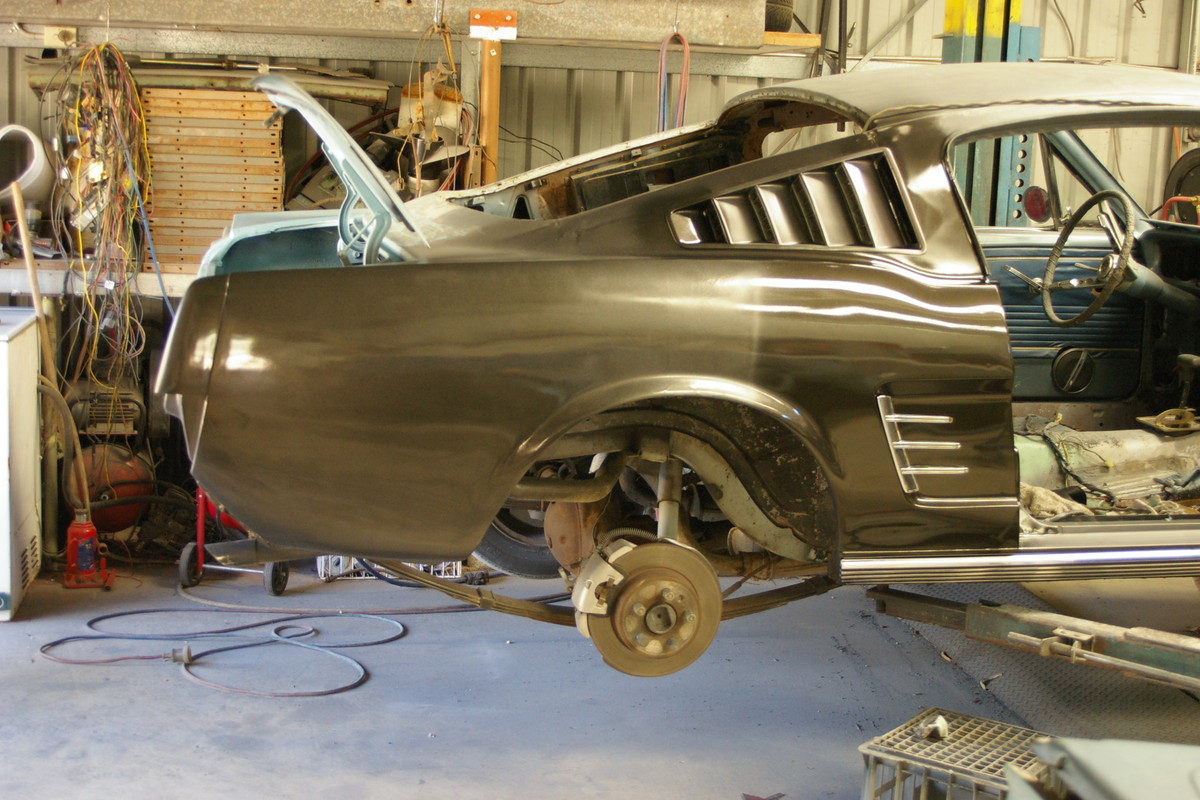
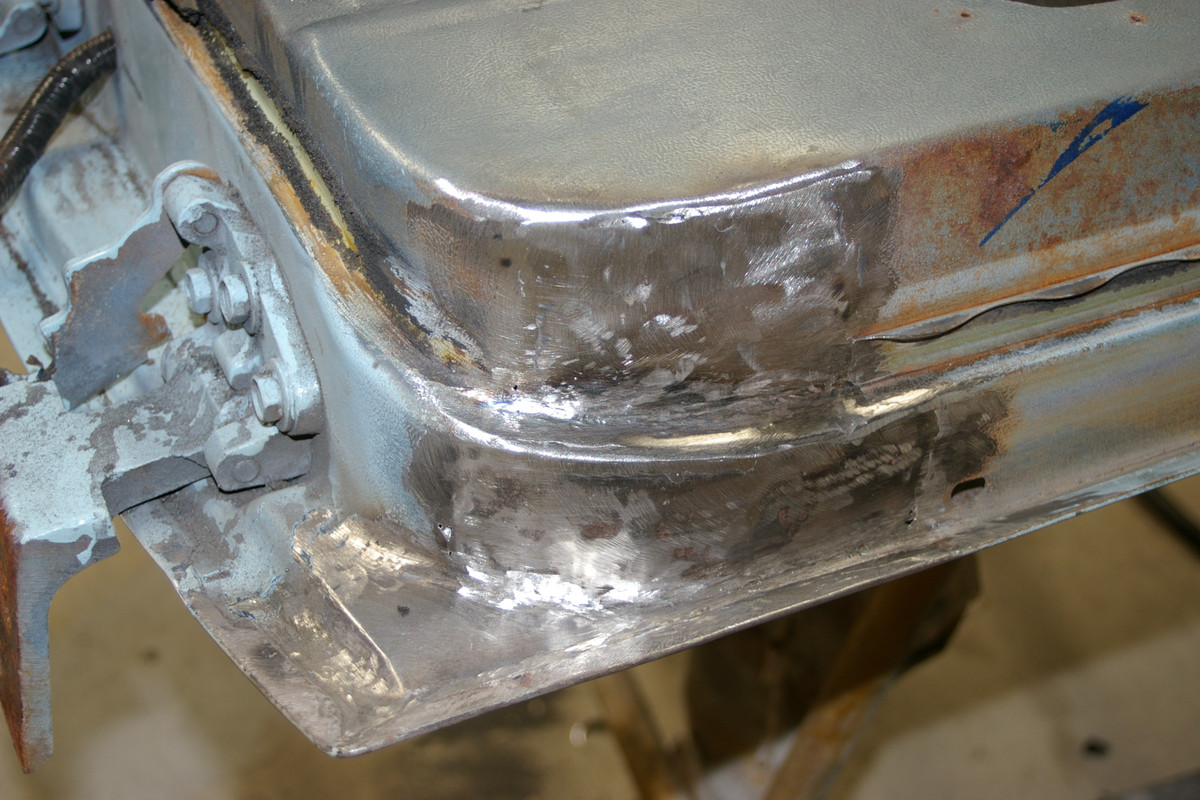
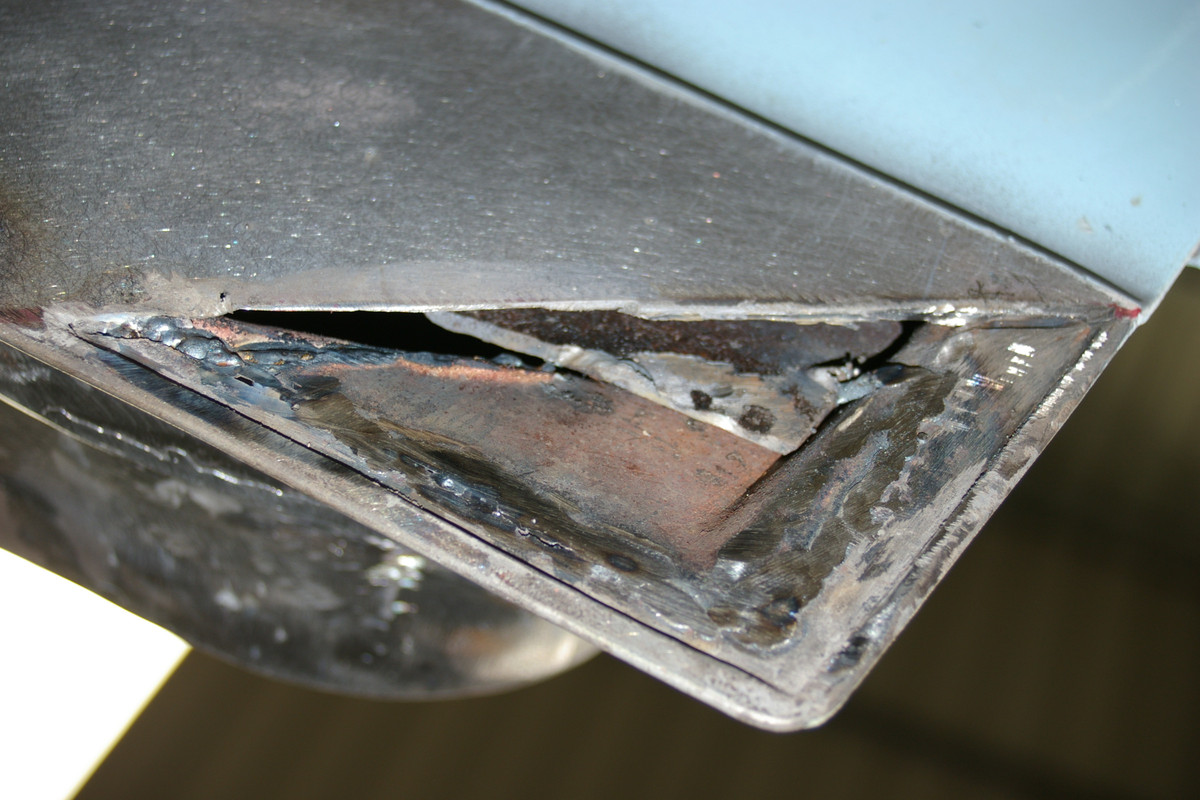
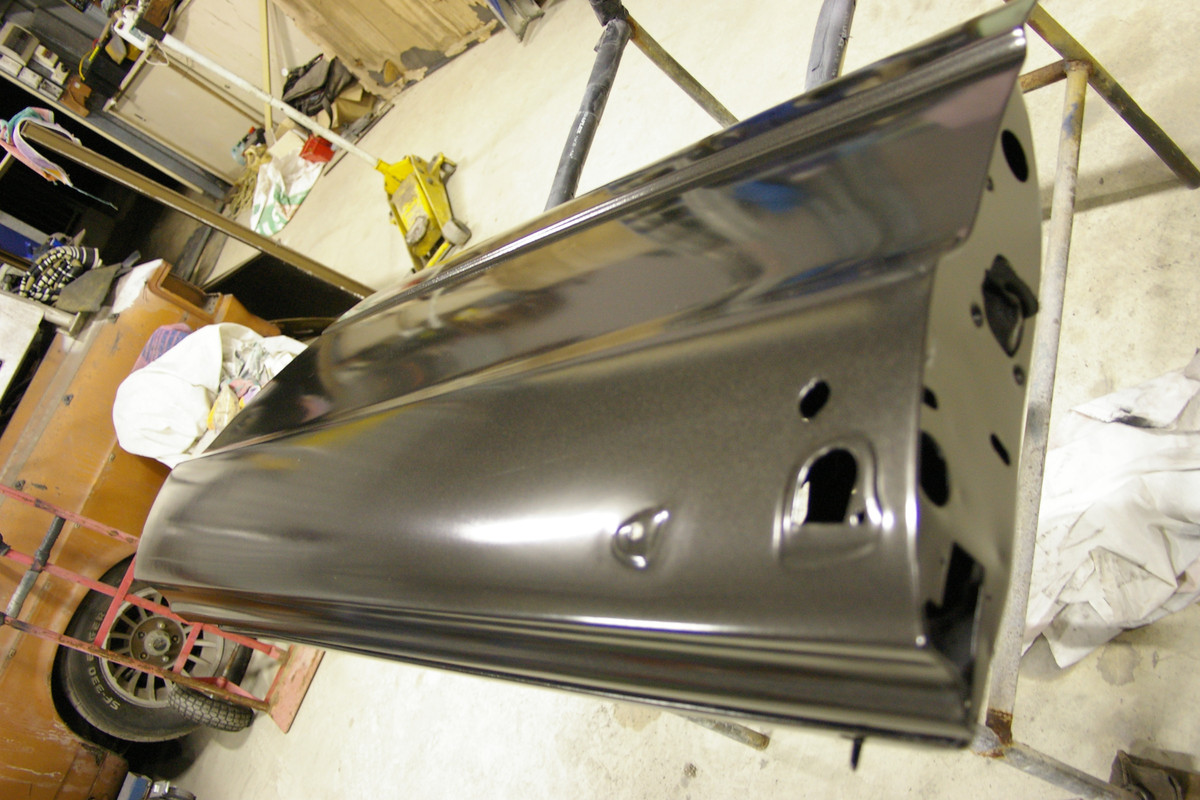
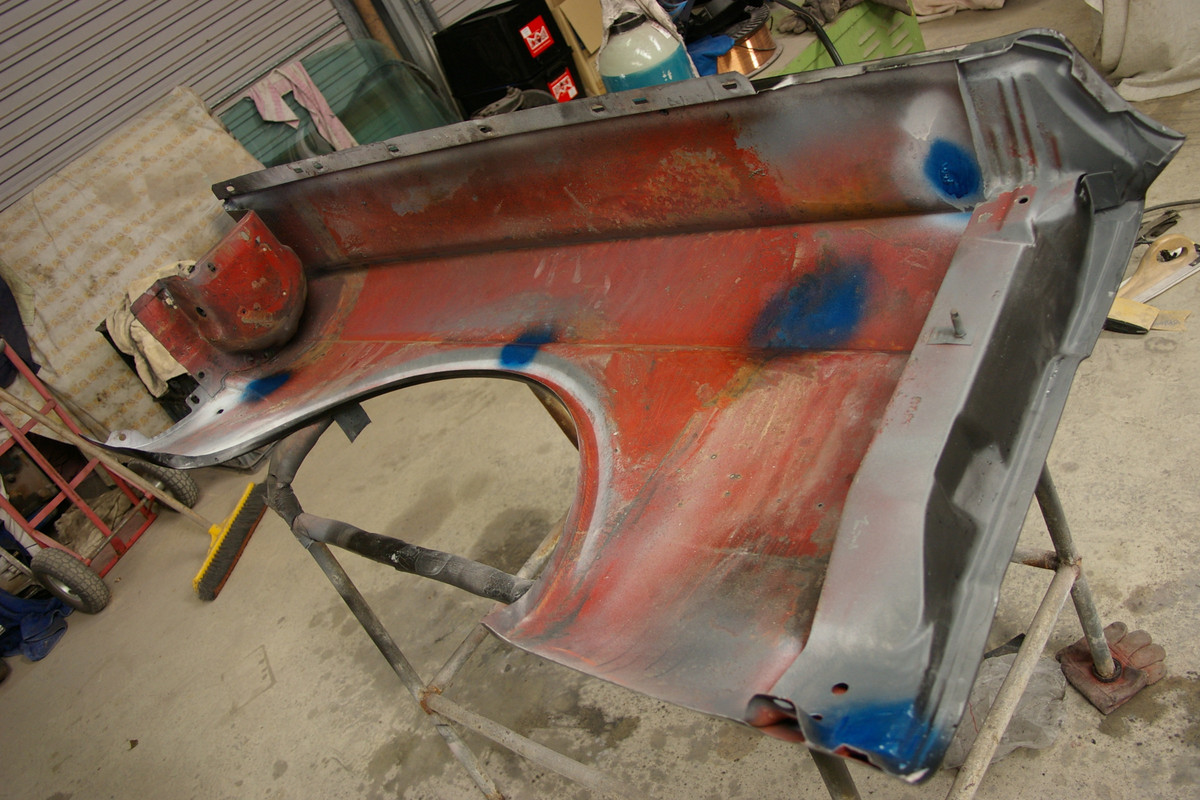
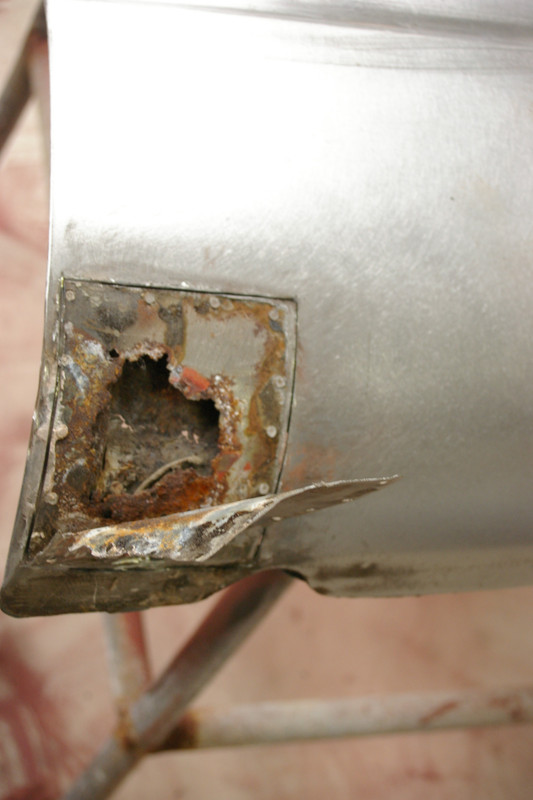
Well after about an hour looking it over and seeing a good chassis with 2 rear floors replaced, signs of rust under the dash cowling area, and rh lower rear quarter, a possible cover up of rust in the boot area and obvious signs of BOG here and there, with a little bit of negotiation , i sealed the deal with a handshake and picked up the stang a few days later.
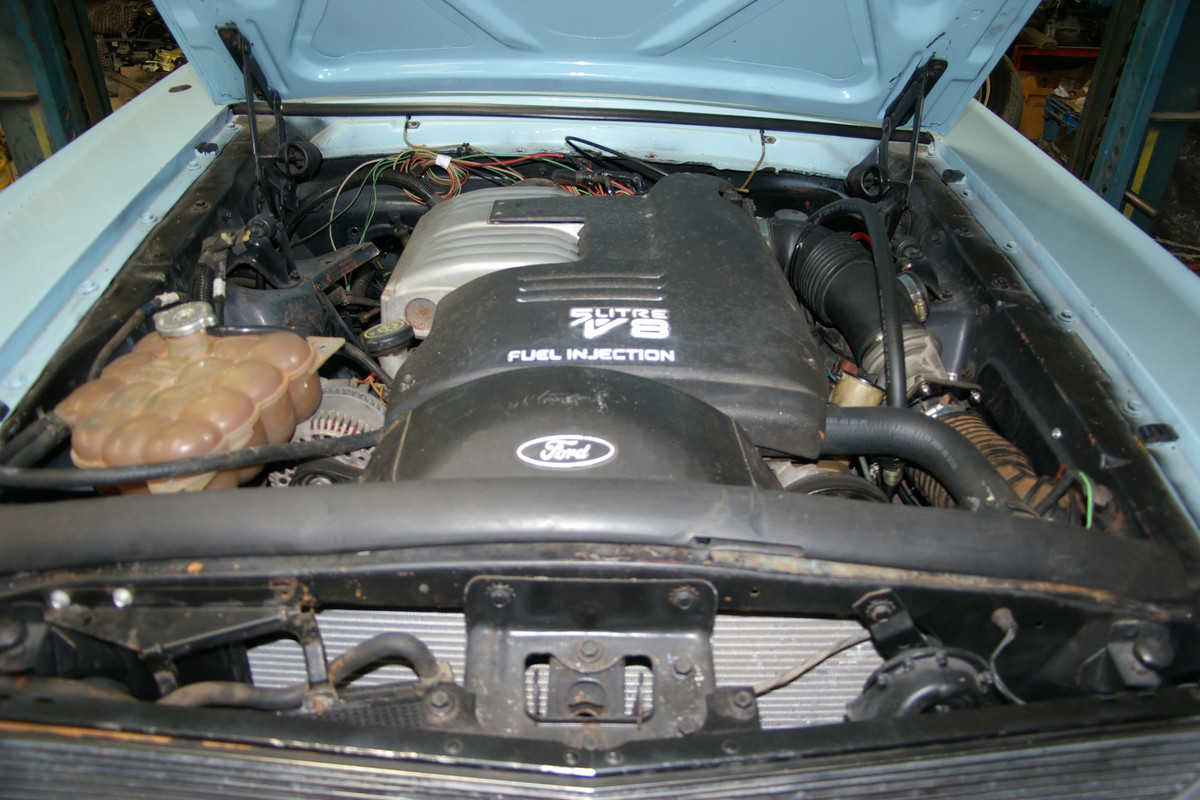
I had a few ideas about what I was going to do about the drive chain, I had a 351w in unknown condition that came with the stang and have many XK-XD cars that I�m playing with and have collected over time so I had a choice of using a 302w that had been seized and C4 gbox , a couple of 200ci & 250ci 6cyl and a 2v head , and some 5speeds. I also had a NC Fairlane with a good engine and auto 4 sp I used as a daily driver but originally got as a donor car for any one of my many projects.
I thought about keeping it a 6cyl , but because it wasn�t matching numbers , had partly been converted to v8 with engine mounts supplied , cougar V8 diff , front and rear drum brakes , the front steering was 6cyl style not the same as V8s , the geometry did not look right and it had a bent steering arm.
I finally decided to use the NC fairlane drive gear, little did I know at the time , because the wiring harness on the fastback was stiff , broken , overall just stuffed . I decided to use the full fairlane wiring harness including P/Windows , Cruise Control , Central Locking , Trip computer , climate control A/C , boot release all light wiring and relays. In the end this was a good move as everything would work as it was in the Fairlane and was only 15yo rather than 43yo and brittle.
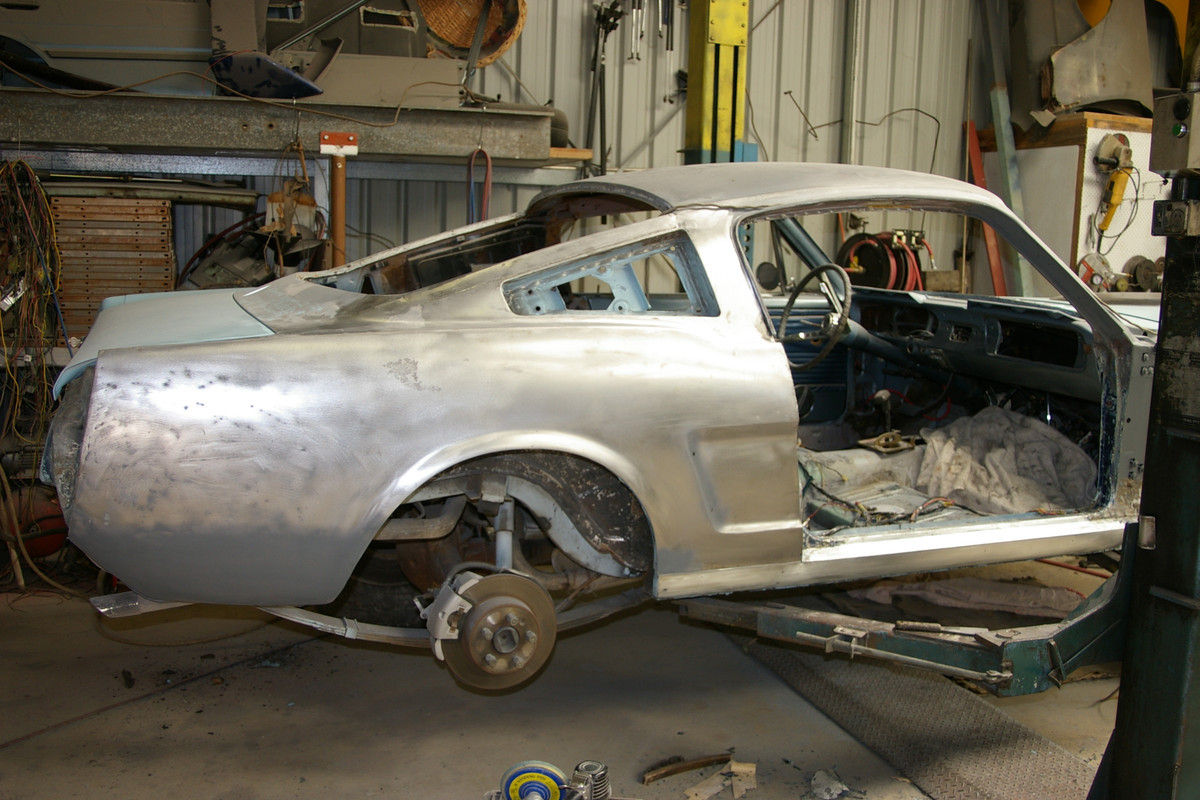
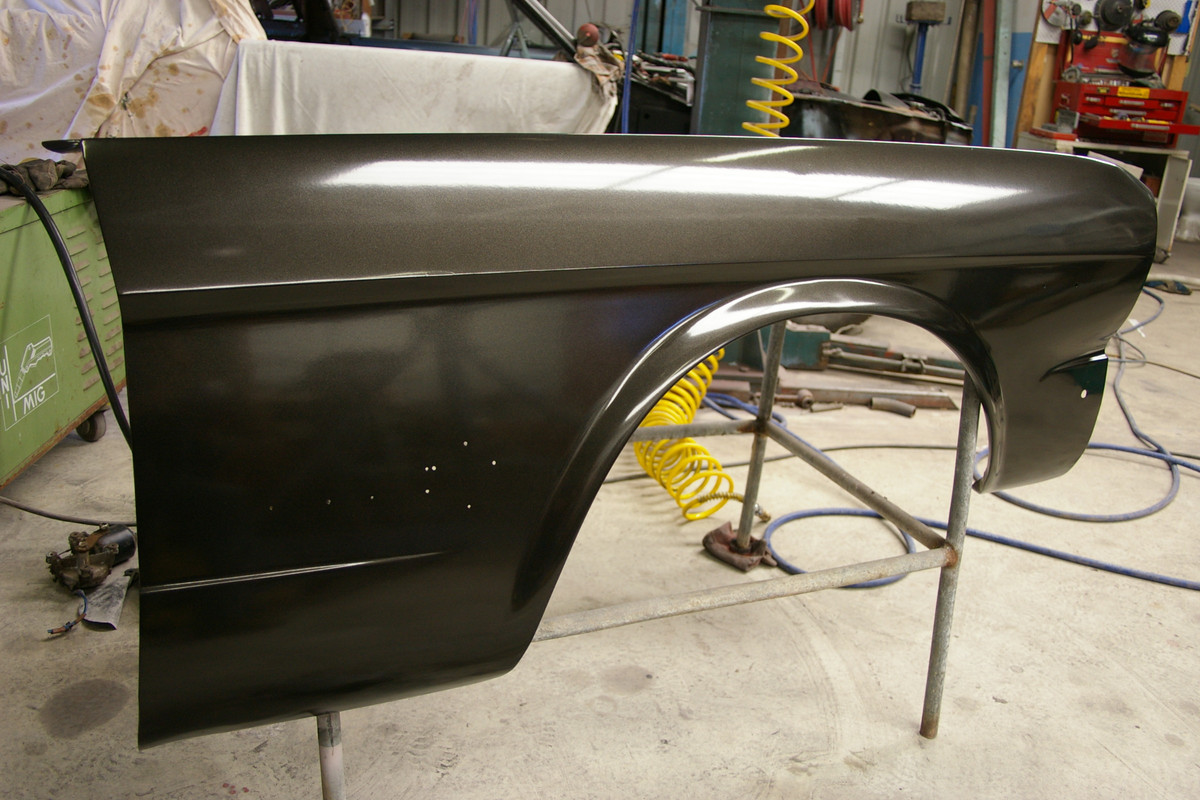
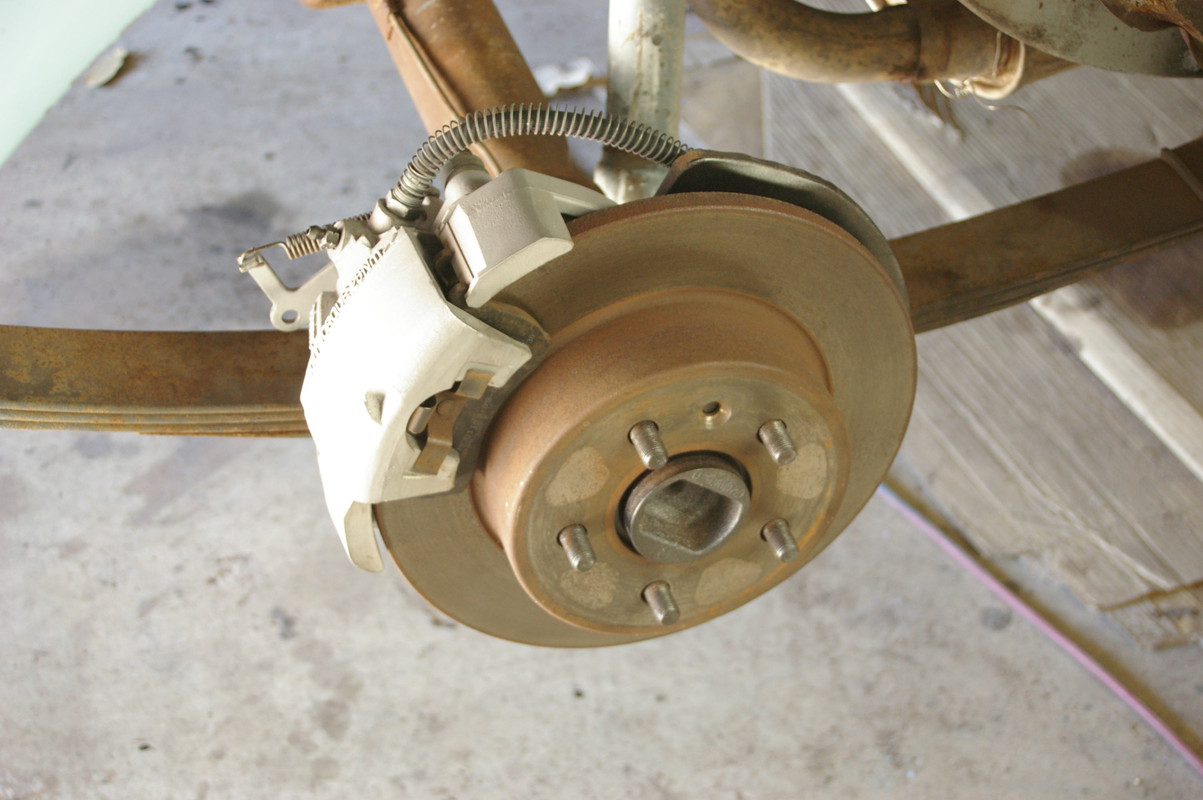
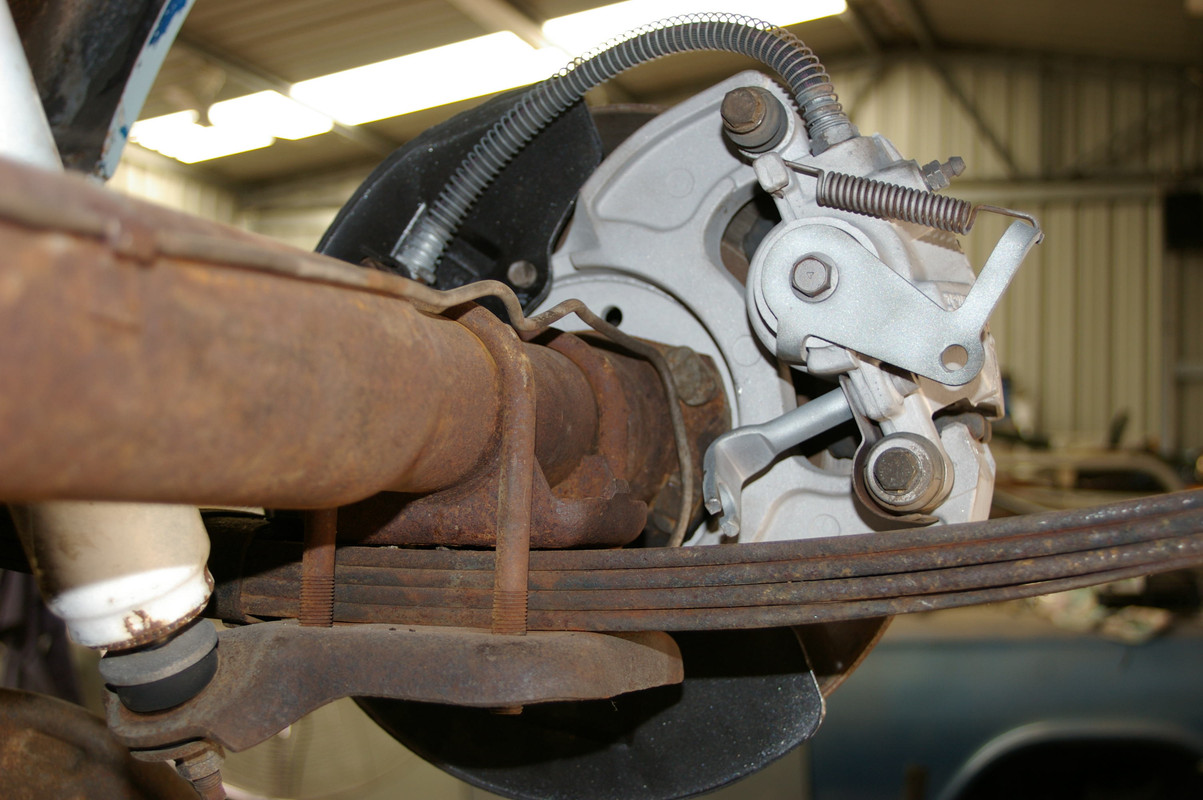
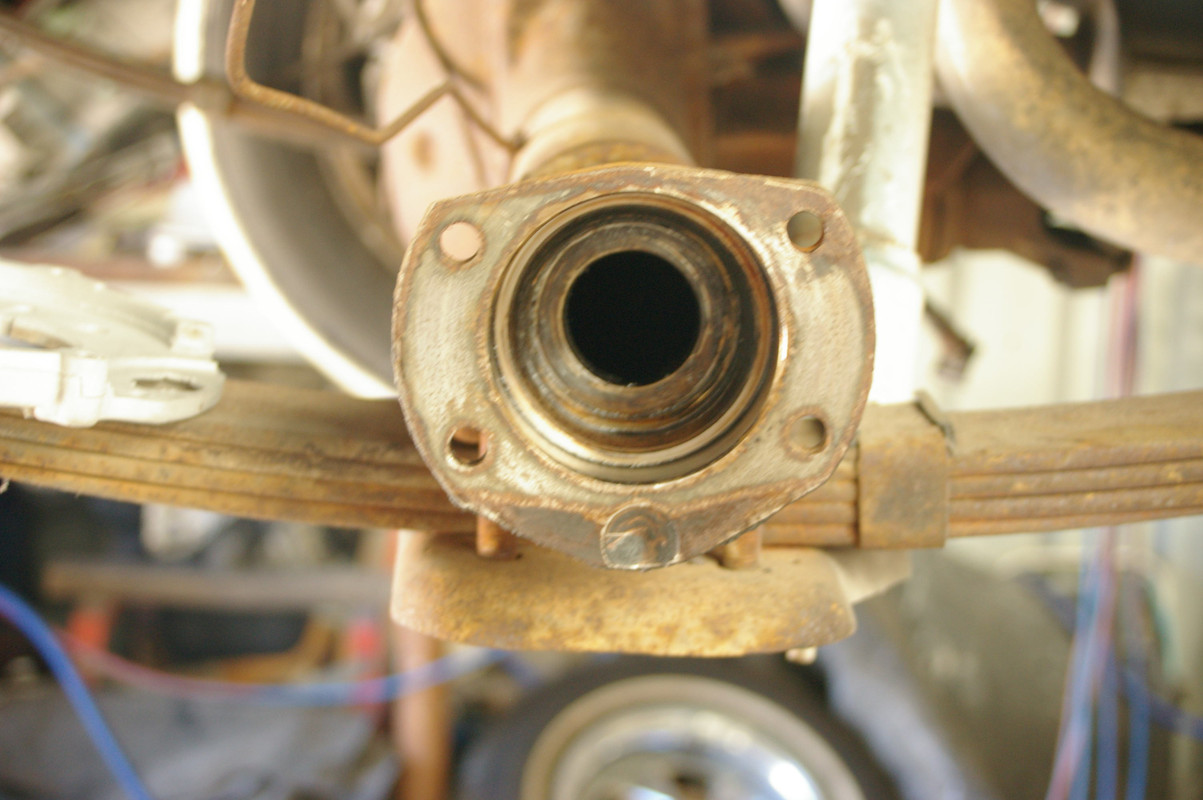
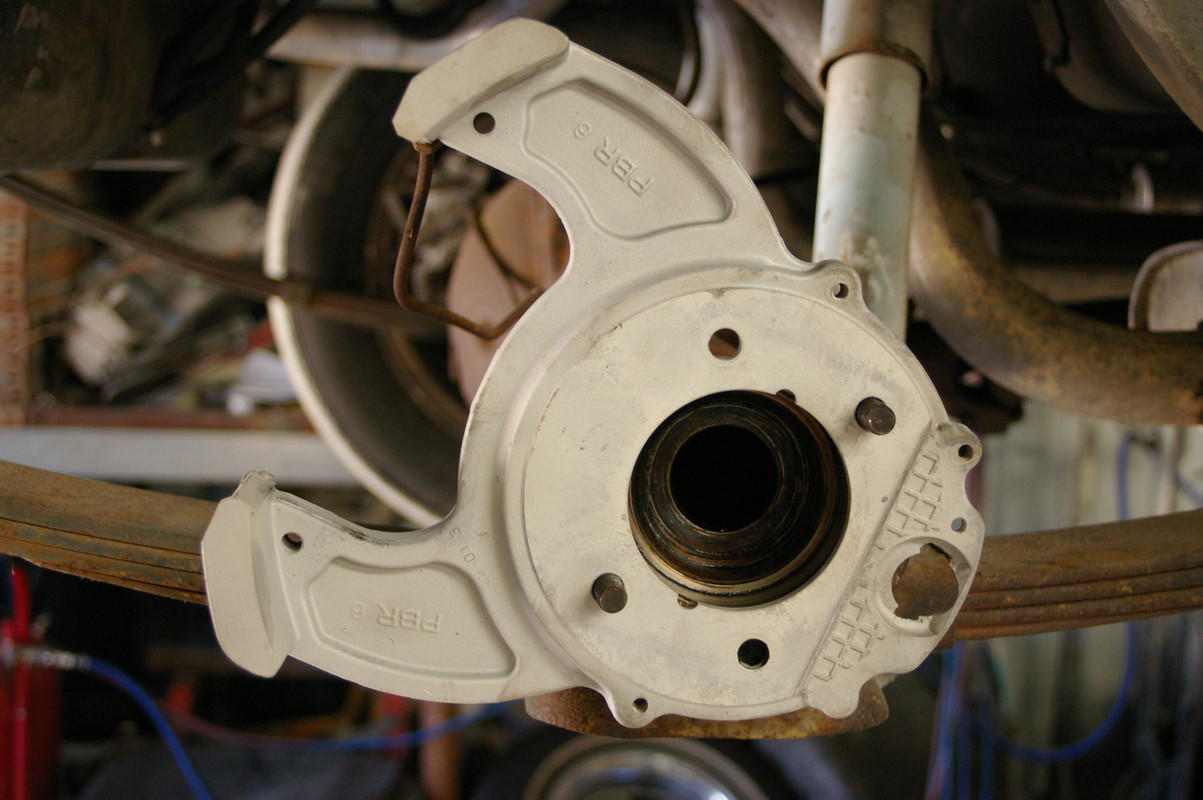
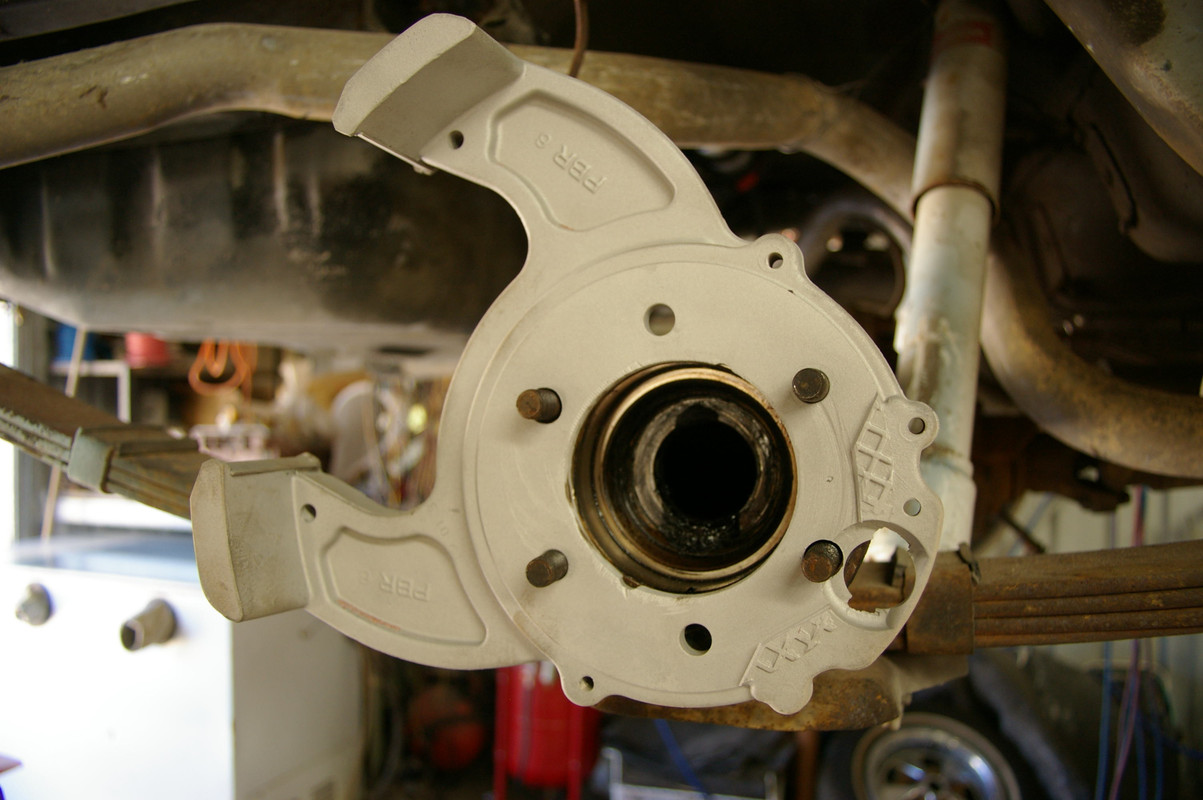
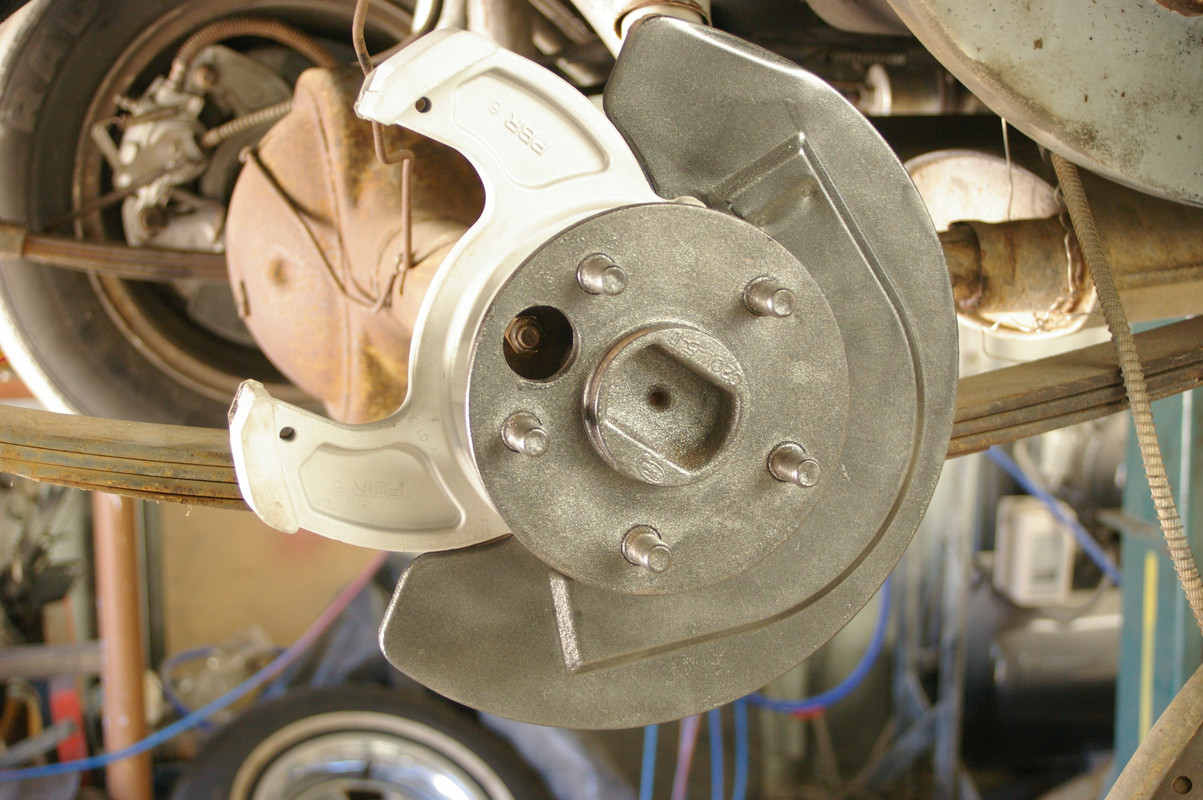
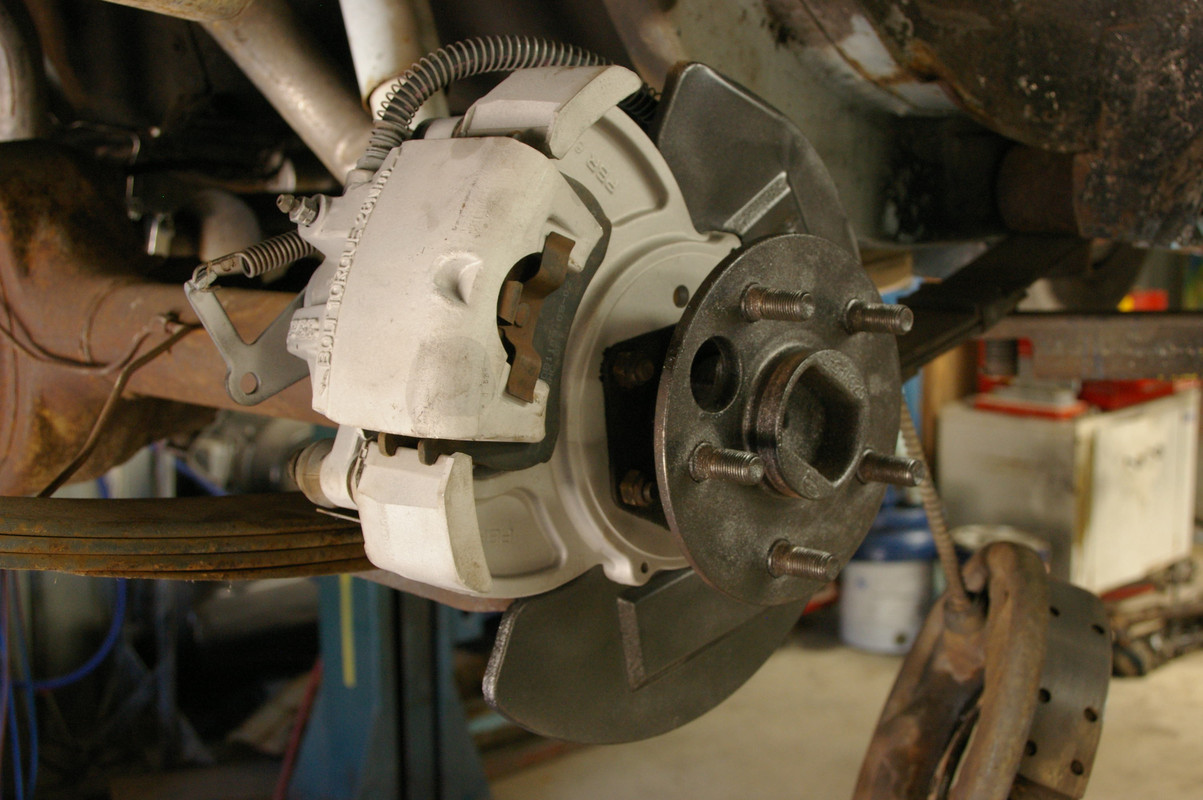
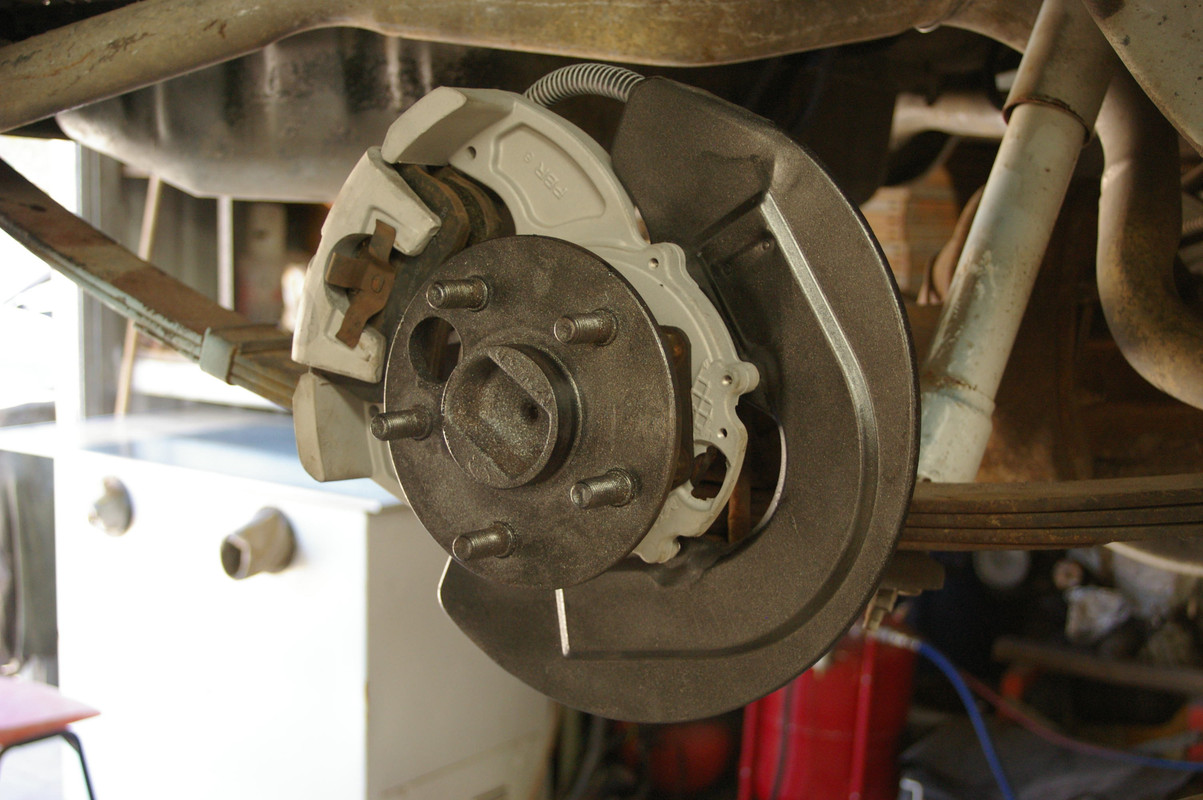
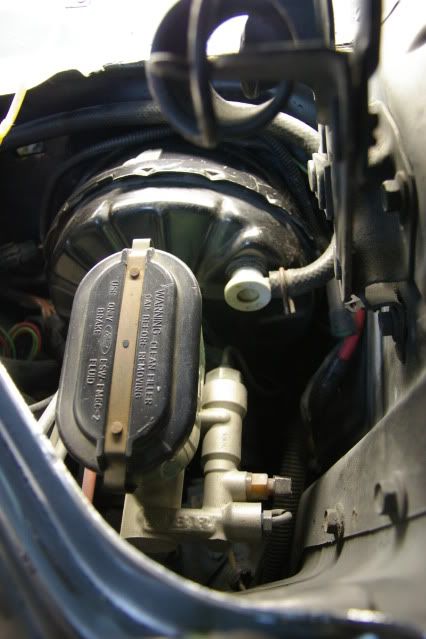
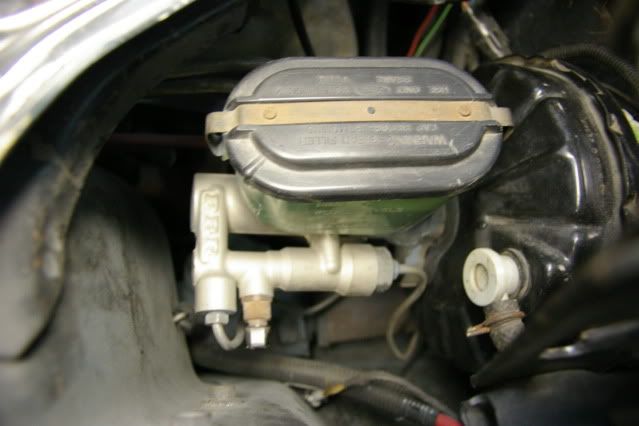
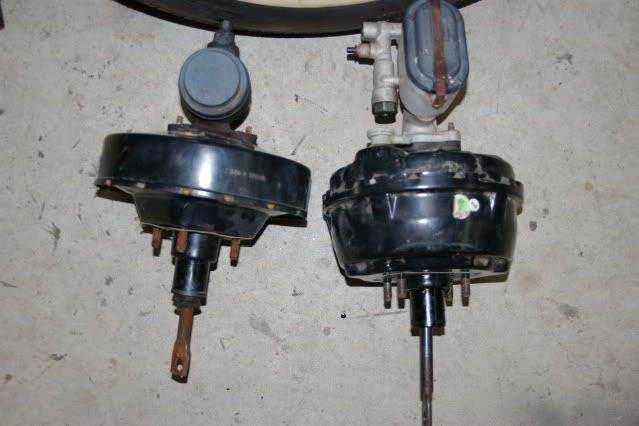
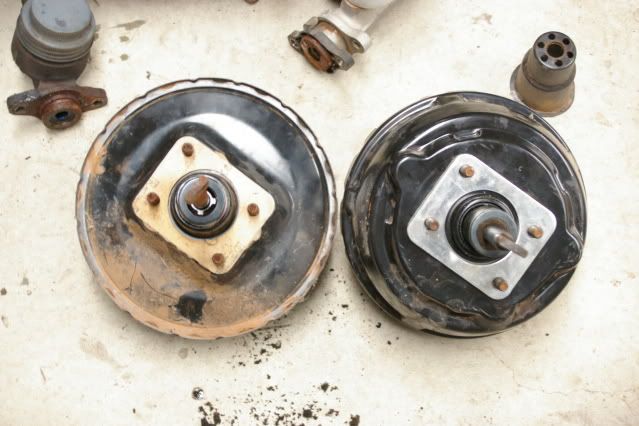
My plan is painting it a custom black and dark silver stripes , 16x7 Speedy Malibu rims 225/50 tyres , RHD , Rack and pinion steering , I have fitted XD-Y frontdisc brakes , Fairlane rear discs and brake booster M/cyl and have driven the mustang around the block a few times with the 5.0l efi and 4speed auto all fitted in at a MOCKUP stage within a few weeks of deciding to go down this track. Summer was too hot to get much done along with other commitment�s, but now its cooler im going flat out and expect to be driving in about 3mths or less. ;}
Enough of the story here are the pics , I have sh�tloads of them and am going to try and sort them out as a progression build up to the stage I am at now , please be patient as I spend a lot more time in the shed than I do on this dang computer.
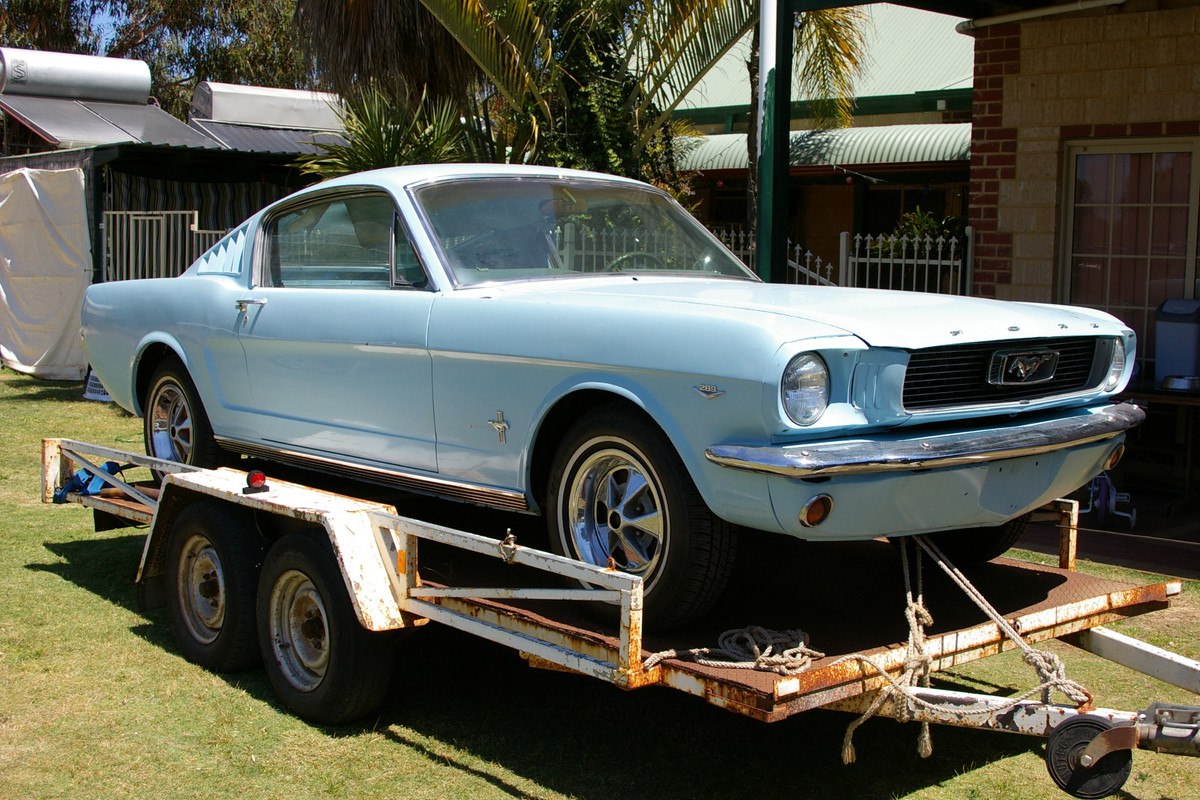
When i got her home
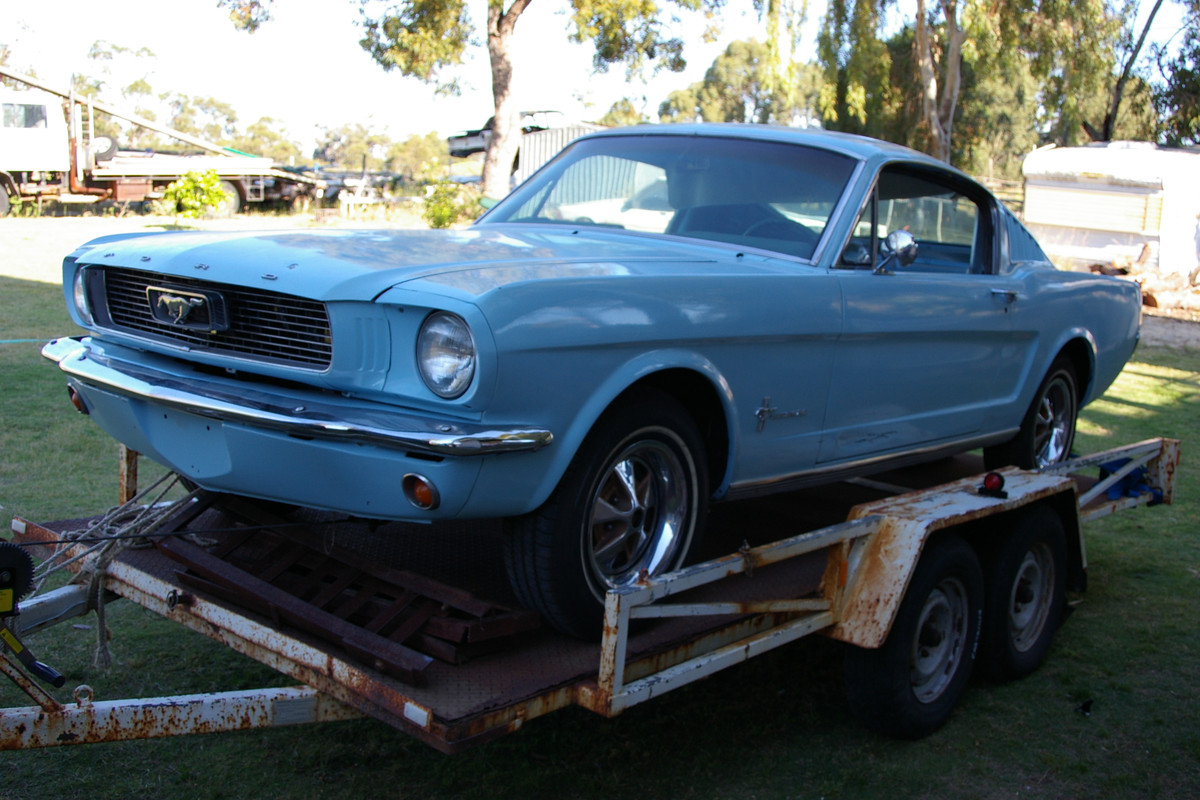
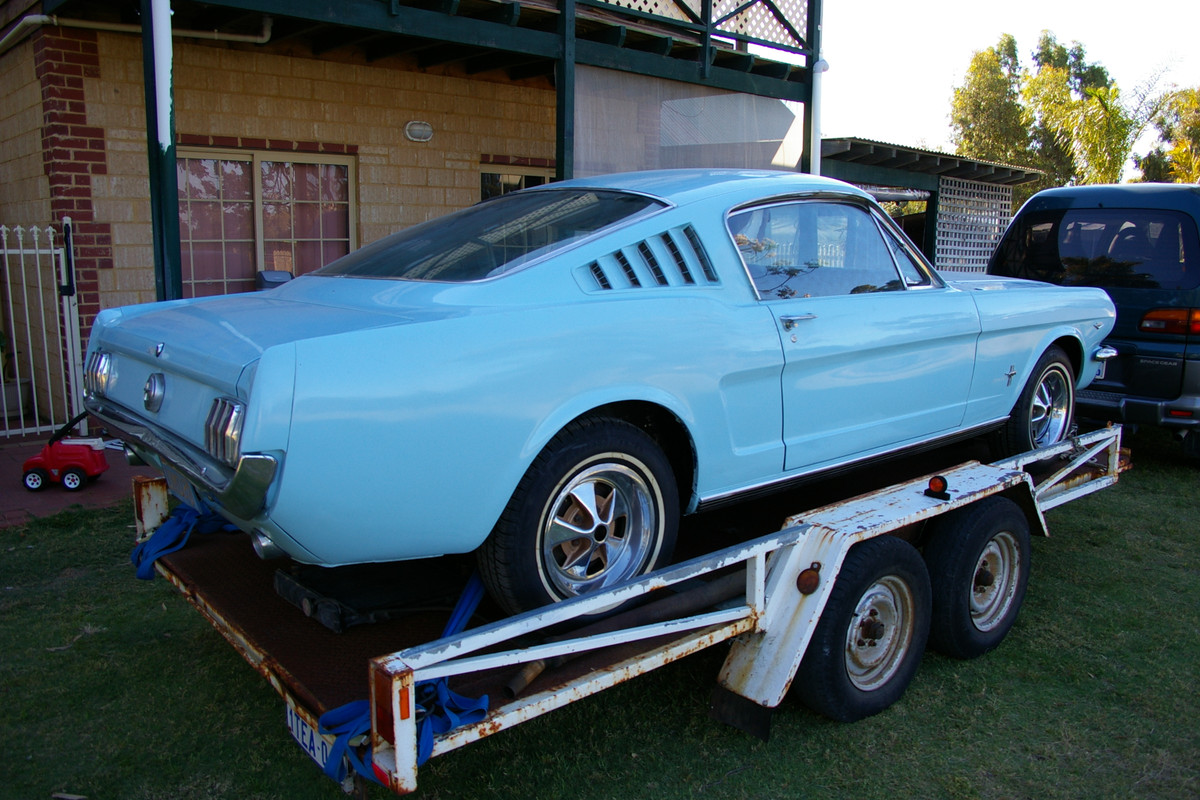
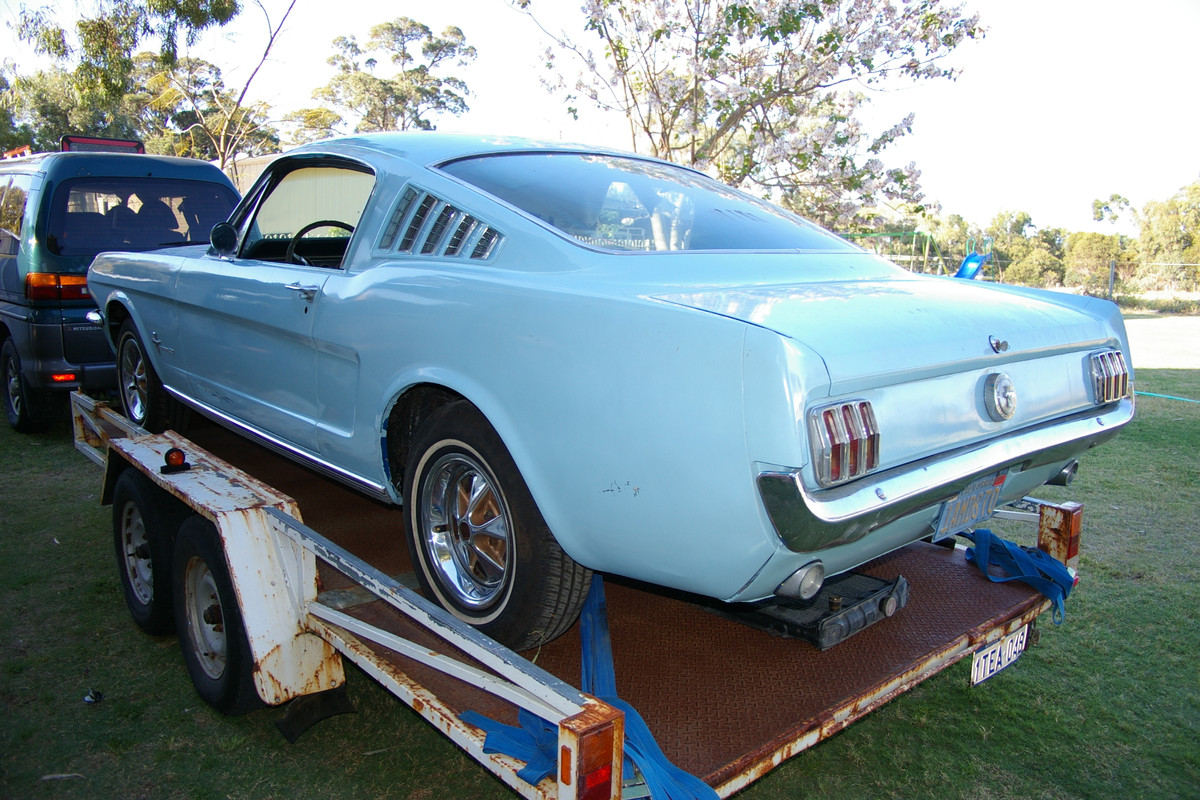
about a month ago